Content .. 1802 1803 1804 1805 ..
Chevrolet Silverado / GMC Sierra. Manual - part 1804
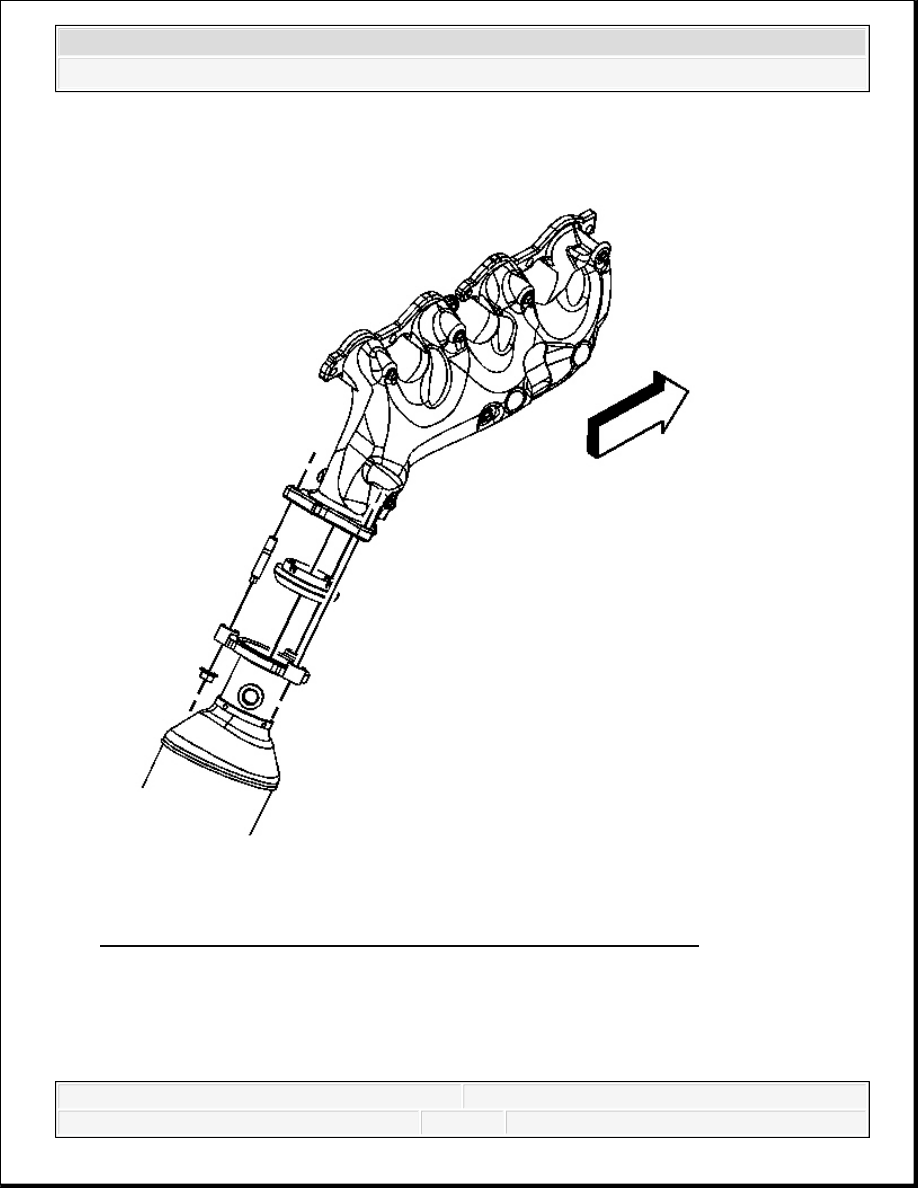
Fig. 44: View Of Exhaust Manifold, Gasket & Catalytic Converter
Courtesy of GENERAL MOTORS CORP.
18. Install the catalytic converter to exhaust manifold nuts, 1500 series shown, 2500 series
similar.
Tighten: Tighten the nuts to 50 N.m (37 lb ft).
2008 Chevrolet Silverado 1500
2008 ENGINE Engine Exhaust - Cab & Chassis Sierra, Cab & Chassis Silverado, Sierra & Silverado

Partially lower the vehicle in order to work through the wheel opening.
Install the HO2S. Refer to Heated Oxygen Sensor Replacement - Bank 2 Sensor 1
(1500 Series) or Heated Oxygen Sensor Replacement - Bank 2 Sensor 1 (2500 Series)
or Heated Oxygen Sensor Replacement - Bank 2 Sensor 1 (2500 Series -
Cab/Chassis) .
EXHAUST MANIFOLD REPLACEMENT - RIGHT SIDE (6.6L)
Removal Procedure
Fig. 45: View Of Exhaust Pipe Bracket Bolts
Courtesy of GENERAL MOTORS CORP.
1. Remove the turbocharger exhaust pipe. Refer to Turbocharger Exhaust Pipe
Replacement (6.6L).
2008 Chevrolet Silverado 1500
2008 ENGINE Engine Exhaust - Cab & Chassis Sierra, Cab & Chassis Silverado, Sierra & Silverado

2. Remove the wheelhouse liner. Refer to Front Wheelhouse Liner Replacement - Right
Side (GMC) or Front Wheelhouse Liner Replacement - Right Side (Chevrolet) .
3. Perform the following steps working through the wheelhouse opening, remove the exhaust
pipe to exhaust manifold bolts (1) and bracket.
Fig. 46: View Of Exhaust Manifold Heat Shield & Bolts
Courtesy of GENERAL MOTORS CORP.
4. Remove the exhaust manifold heat shield bolts (1) and shield.
2008 Chevrolet Silverado 1500
2008 ENGINE Engine Exhaust - Cab & Chassis Sierra, Cab & Chassis Silverado, Sierra & Silverado
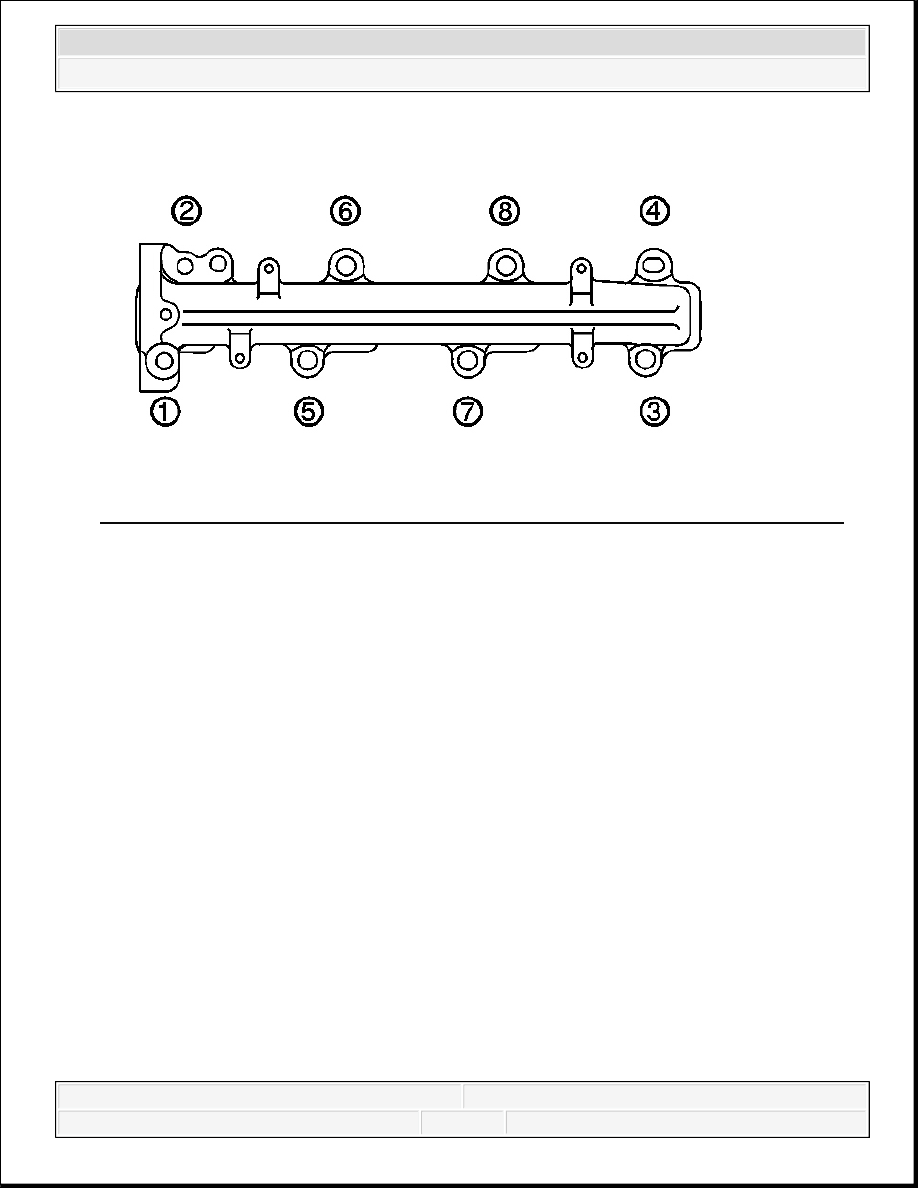
Fig. 47: Right Exhaust Manifold Bolts And Nuts Removal & Installation Sequence
Courtesy of GENERAL MOTORS CORP.
5. Remove the exhaust manifold bolts and nuts in the proper sequence.
2008 Chevrolet Silverado 1500
2008 ENGINE Engine Exhaust - Cab & Chassis Sierra, Cab & Chassis Silverado, Sierra & Silverado
Content .. 1802 1803 1804 1805 ..