Chery Tiggo 5 (T21). Manual - part 475


  Index      Chery     Chery Tiggo 5 (T21) - service repair manual 2014 year


Search            


Content   ..  473  474  475  476   ..


Chery Tiggo 5 (T21). Manual - part 475


43–

80

43

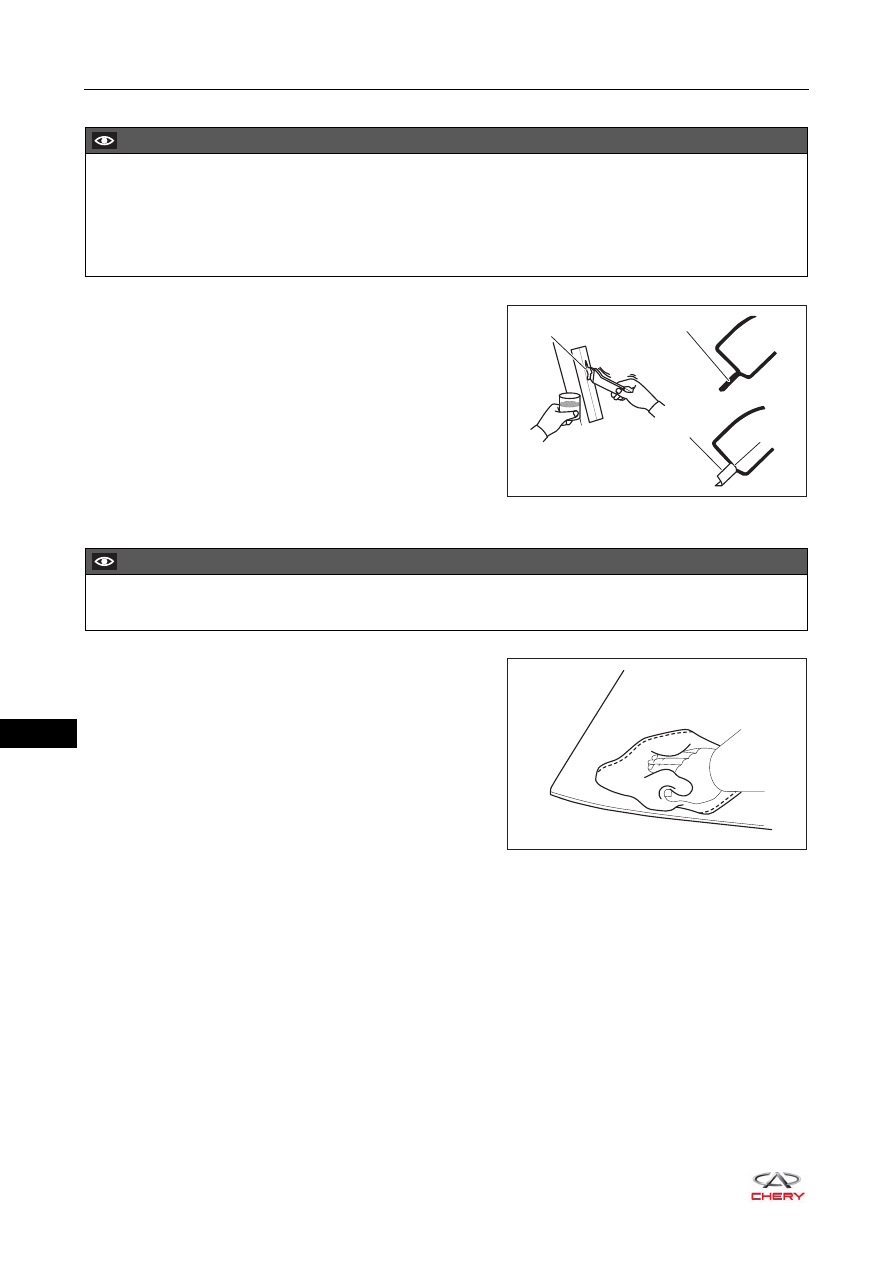
2. Apply a coat of primer M to the contact surface of body.

a. Using a brush, apply a coat of primer M to the contact 

surface of body.

b. Width of primer is 13 - 15 mm.

3. Clean the contact surface of rear windshield.

a. Remove any residue on the contact surface of rear 

windshield with a piece of clean cloth soaked with 
glass cleaner.

CAUTION

 Allow primer to dry for at least 3 minutes.
 DO NOT apply primer to the adhesive.
 DO NOT apply too much primer.
 DO NOT keep any opened primer M for later use.

Primer M

Primer M

Primer M

Adhesive

RT21430350

CAUTION

 DO NOT touch the surface of rear windshield after cleaning it.

RT21430360

43–

81

43

4. Apply a coat of primer G to the contact surface of rear windshield assembly.

a. Using a brush or sponge, apply a coat of primer G to 

the glass rim and contact surface.

b. Use a piece of clean cloth to wipe off the excess 

primer before drying.

c. Width of primer is 13 - 15 mm.

5. Mix the adhesive.

a. Using solvent, thoroughly clean the mixing board and 

scraper.

b. Using a scraper, thoroughly mix 500 g main adhesive 

and 75 g hardener on the mixing board.

6. Apply the adhesive.

a. Cut off the tip of the cartridge nozzle and add adhesive.
b. Install the cartridge to sealer gun.
c. Apply adhesive evenly to the rear windshield 

assembly as shown in the illustration.
Adhesive width: 8 - 10 mm
Adhesive height: 11 - 13 mm

CAUTION

 Allow primer to dry for at least 3 minutes.
 DO NOT apply primer to the adhesive.
 DO NOT apply too much primer.
 DO NOT keep any of the opened primer G for later use.

Primer G

13-15 mm

RT21430370

CAUTION

 Adhesive should be mixed thoroughly within 5 minutes.

RT21430380

11-13 mm

8-10 mm

RT21430390

43–

82

43

7. Install the rear windshield assembly.

a. Align the matchmarks on windshield and vehicle body, 

and gently press in the windshield along the rim.

b. Uniformly apply adhesive to the windshield rim with a 

scraper.

c. Remove any excessive or spilled adhesive with a 

scraper.

d. Apply tape around the windshield, and remove them when the adhesive becomes hard.

8. Install the rear windshield weatherstrip.
9. Check and repair the sealing of glass.

a. Check the glass for leakage after adhesive has completely hardened.
b. If it leaks, seal the leaks by adding adhesive.

10.Install the rear spoiler assembly.
11.Install the rear wiper motor assembly.
12.Install the rear wiper arm assembly.
13.Install the back door protector assembly.
14.Connect the negative battery cable.

CAUTION

 Check that lower/upper clearance and right/left clearance of rear windshield are uniform to ensure it is fit 

well with the surrounding moulding.

Matchmarks

RT21430470

Adhesive

RT21430410

43–

83

43

Rear Window Defroster

General Information

Description

When rear window defroster switch is turned on, rear window defogger wire is heated to remove the fog, frost 
or water vapors on rear windshield, thus realizing a clear view.
To turn on the rear window defogger, it is necessary to turn ignition switch to ON and press rear window 
defogger switch. The rear window defogger switch indicator comes on while the rear window defogger 
operation begins. The rear window defogger stops and the indicator turns off after pressing the rear window 
defogger switch again.

RT21430490

Rear Window Defogger Wire


Content   ..  473  474  475  476   ..