Chery QQ6 (S21) / S12LHD. Manual - part 130


  Index      Chery     Chery QQ6 (S21) / S12LHD - service repair manual


Search            


Content   ..  128  129  130  131   ..


Chery QQ6 (S21) / S12LHD. Manual - part 130


4. Removal & Adjustment of of Front Hood Assembly 

Preparation of Tools: 13# sleeve, wheel wrench and extension bar 
4.1. Turn and remove the four adjusting bolts off the front hood, and 
then the front hood can be taken down. And the positing of the front 
hood  can  be  adjusted  in  all  directions  by  loosening  the  four 
adjusting bolts. 


4.2. Installation of Front Hood Assembly:   
The installation steps are reverse to those for removal. 
Installation torque is 29±3Nm 

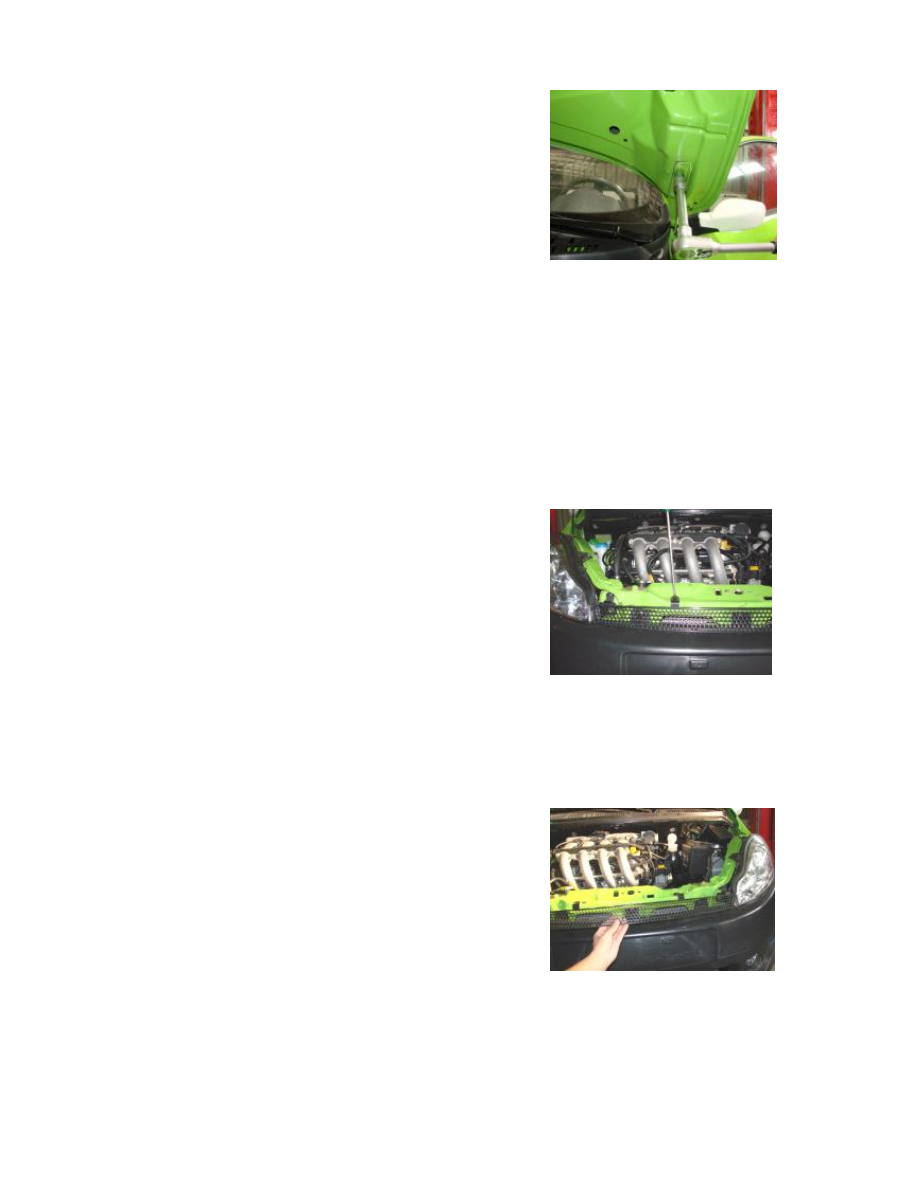
5. Removal and Installation of Air Inlet Grid Assembly 

5.1. Removal Steps 

5.1.1. Use the wrench to remove the four fastening screws on the Air 
Inlet Grid assembly as shown in the picture.   


5.1.2. Remove the Air Inlet Grid. 


5.2. Installation Steps 

The installation steps are reverse to those for removal. 
Installation torque is 5±0.5Nm 


6. Removal of Front Hood Lock 

6.1. Removal Steps 

6.1.1. Turn and remove two screws off  the  front hood to  take down 
its lock.   


6.1.2.  Remove  the  front  hood  lock  cable  off  the  front  hood  lock 
assembly. 


6.2. Installation Steps 

The installation steps are reverse to those for removal. 
 

7. Removal & Adjustment of of Hood Cable 

7.1. Removal & Adjustment of Steps   
7.1.1.  Remove  the  plastic  nut  behind  the  front  hood  handle  in 
driver’s  cab.And  you  can  also  regulate  the  cable  by  adjusting  this 
nut. 


7.1.2.  Use  snipe  nose  pliers  to  remove  the  front  hood  cable  off  the 
pull cover. 


7.1.3. Drag out the cable. 


7.2. Installation Steps 

The installation steps are reverse to those for removal. 

II. Removal of Rear Trunk Cover 

1. Preparations 

Tools:  flat  head  screwdriver,  13#  sleeve,  wrench  and  cross  head 
screwdriver 
Material(s): Clip   

2. Removal of Rear Decoration Plate 

2.1.  Pry  up  the  rear  decoration  plate  with  a  flat  head  screwdriver 
before you take it apart. 


2.2. Installation of Rear Decoration Plate 
The installation steps are reverse to those for removal. 


3. Removal and Installation of Trunk Lock   

3.1. Removal Steps 

3.1.1. Remove the pull rod off the upper lock. 


3.1.2. Pull off the connector on top of the upper lock. 


3.1.3.  Use  a  cross  head  screwdriver  to  remove  the  three  screws  on 
the upper lock.   


3.1.4. Remove the trunk lock. 


Content   ..  128  129  130  131   ..