Alfa Romeo Giulia Quadrifoglio (2017 year). Manual - part 3
IGNITION SYSTEM
Operation
To activate the keyless ignition, the key
fob must be inside the passenger
compartment.
The keyless ignition has the following
modes:
STOP: engine off, steering locked.
Some electrical devices (e.g. central
door locking system, alarm, etc.) are
still available.
ON: all electrical devices are
available. This state can be entered by
pushing the ignition button once,
without pressing the brake pedal.
AVV: engine starting. This state can be
entered by pushing the ignition button
once while pressing the brake pedal.
Note:
With the keyless ignition in the ON
position: if 30 minutes pass with the
gear selector in P (Park) and the
engine stopped, the keyless ignition
will automatically reset to the STOP
position.
With the engine started, it is
possible to remove the key fob from
the vehicle. The engine will remain
running and the instrument cluster will
indicate the absence of the key fob
when the door is closed.
For more information on the engine
start-up, refer to "Starting The Engine"
in "Starting And Operating."
Warning!
Never use the PARK position as a
substitute for the parking brake. Always
apply the parking brake fully when parked
to guard against vehicle movement and
possible injury or damage.
When leaving the vehicle, always make
sure the ignition is in the OFF mode,
remove the key fob from the vehicle, and
lock your vehicle.
Never leave children alone in a vehicle,
or with access to an unlocked vehicle.
Allowing children to be in a vehicle
unattended is dangerous for a number of
reasons. A child or others could be
seriously or fatally injured. Children should
be warned not to touch the parking brake,
brake pedal or the transmission gear
selector.
Do not leave the key fob in or near the
vehicle, (or in a location accessible to
children), and do not leave the ignition in
the AVV or ON/RUN mode. A child could
operate power windows, other controls, or
move the vehicle.
Be sure the parking brake is fully
disengaged before driving; failure to do so
can lead to brake failure and a collision.
Always fully apply the parking brake
when leaving your vehicle, or it may roll and
cause damage or injury. Also be certain to
leave the transmission in PARK. Failure to
do so may allow the vehicle to roll and
cause damage or injury.
Driving the vehicle with the parking brake
engaged, or repeated use of the parking
brake to slow the vehicle may cause
serious damage to the brake system.
Caution!
If the Brake System Warning Light remains
on with the parking brake released, a brake
system malfunction is indicated. Have the
brake system serviced by an authorized
dealer immediately.
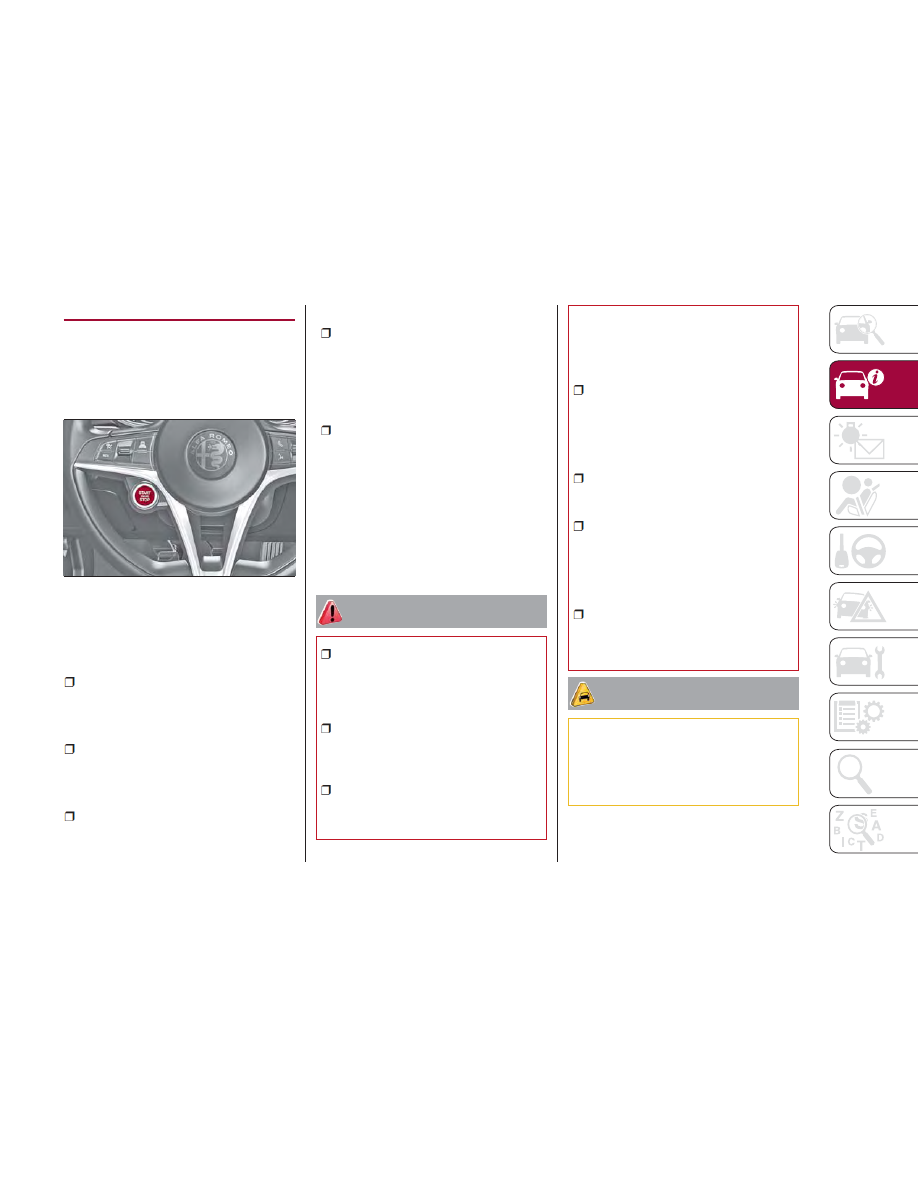
GUID-04026S0001EM
Keyless Ignition START/STOP
Button
17