Seat Leon. Service Manual - part 11
-------------------------------------------------------------------------------------------------------------------------------------------------------------
Driving
Functioning mode of automatic air recircula-
tion (air conditioning menu)
With the automatic air recirculation mode ac-
tivated, the entry of fresh air into the cabin
interior is enabled. If the system detects a
high concentration of hazardous substances
in the ambient air, air recirculation mode is
switched on automatically. When the level of
impurities drops to within a normal range, re-
circulation mode is switched off.
The system is unable to detect unpleasant
smells.
The air recirculation will
not connect auto-
matically in versions without humidity sensor
and in the following external conditions:
●
The outside temperature is lower than +3°C
(+38°F).
●
The cooling system is switched off and the
outside temperature is below +10°C (+50°F).
●
The cooling system is switched off, the out-
side temperature is below +15°C (+59°F) and
the windscreen wipers are switched on.
Activation/deactivation of automatic air recir-
culation is done in the air conditioner menu,
under Configuration.
WARNING
Observe the safety warnings
.
●
If the cooling system is switched off and air
recirculation mode switched on, the windows
can mist over very quickly, considerably limit-
ing visibility.
●
Switch air recirculation mode off when it is
not required.
CAUTION
Do not smoke when air recirculation is
switched on in vehicles with an air condition-
er. The smoke taken in could lie on the cool-
ing system vaporiser and on the activated
charcoal cartridge of the dust and pollen fil-
ter, leading to a permanently unpleasant
smell.
Note
Climatronic: air recirculation mode is activa-
ted to prevent exhaust gas or unpleasant
odours from entering the vehicle interior
when it is in reverse and while the automatic
windscreen wiper is working.
Driving
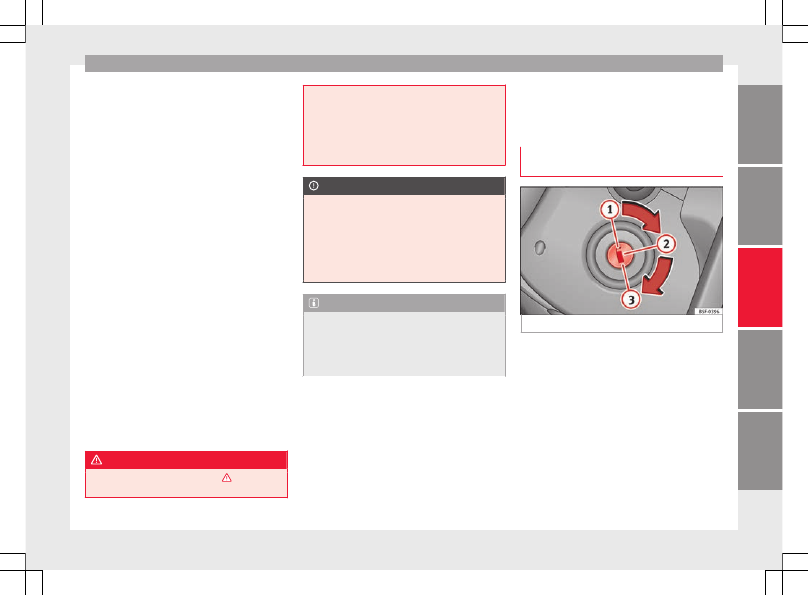
Ignition lock
Switching the ignition on and starting
the engine with the key
Fig. 186
Ignition key positions.
Read the additional information carefully
›››
Diesel engines can take a few seconds longer
than usual to start on cold days. Therefore
the clutch pedal (manual gearbox) or the
brake pedal (automatic gearbox) must re-
main pressed until the engine starts up. Dur-
ing preheating, the warning lamp remains
lit.
The preheating time depends on the coolant
and exterior temperatures. With the engine at
operating temperature, or at outside temper-
atures above +8°C, the warning lamp will
»
167