Pontiac Grand Am (2002 year). Manual - part 7
2-38
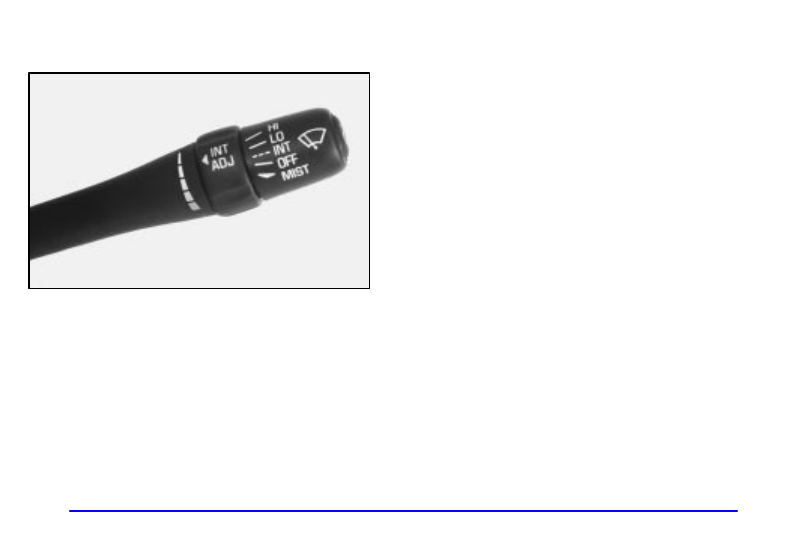
Windshield Wipers
You control the windshield wipers by moving the lever
with the wiper symbol on it up or down.
For a single wiper cycle, push the lever down to
MIST, then release it. For more cycles, hold the lever
down longer.
For steady wiping at low speed, move the lever up to
the LO position. For high
-
speed wiping, move the
lever up further, to HI. To stop the wipers, move the
lever to OFF.
You can set the wiper speed for a long or short
delay between wipes. This can be very useful in light
rain or snow.
Move the lever to INT (Intermittent), then turn the inner
band, labeled INT ADJ (Intermittent Adjustment), and
choose the delay you want. Turn the inner band up for
shorter delay times between wiper cycles. Turn the band
down for a longer delay time between wiper cycles.
Remember that damaged wiper blades may prevent
you from seeing well enough to drive safely. To avoid
damage, be sure to clear ice and snow from the wiper
blades before using them. If they’re frozen to the
windshield, carefully loosen or thaw them. If your
blades do become damaged, get new blades or
blade inserts.
Heavy snow or ice can overload your wiper motor.
A circuit breaker will stop the motor until it cools.
Clear away snow or ice to prevent an overload.