Iran Khodro Bardo. Service Manual - part 1
-------------------------------------------------------------------------------------------------------------------------------------------------------------
6
1
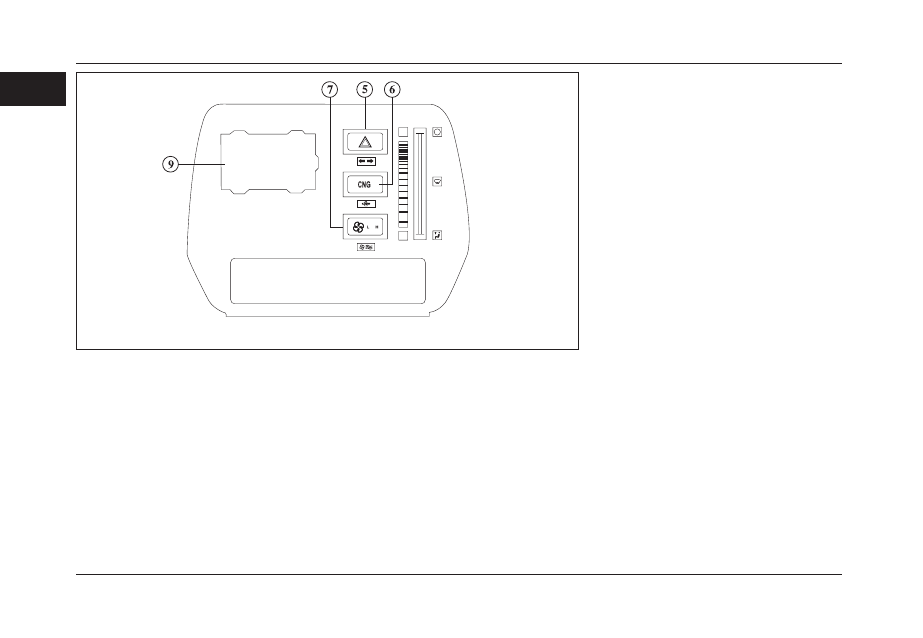
PICKUP AT A GLANCE
Vehicle components
1- Indicator stalk, horn & changing
headlamp high/low beam
2- Ventilator
3- Instrument panel
4- Ignition switch
5- Flasher knob
6- Fuel type conversion switch*
7- Heating knob
8- Gear lever
9- Ashtray
10- Heater outlet
11- Glove box
12- Ac outlet