Snowmobile Polaris Two Stroke (2007 year). Manual - part 17
3.11
MAINTENANCE
3
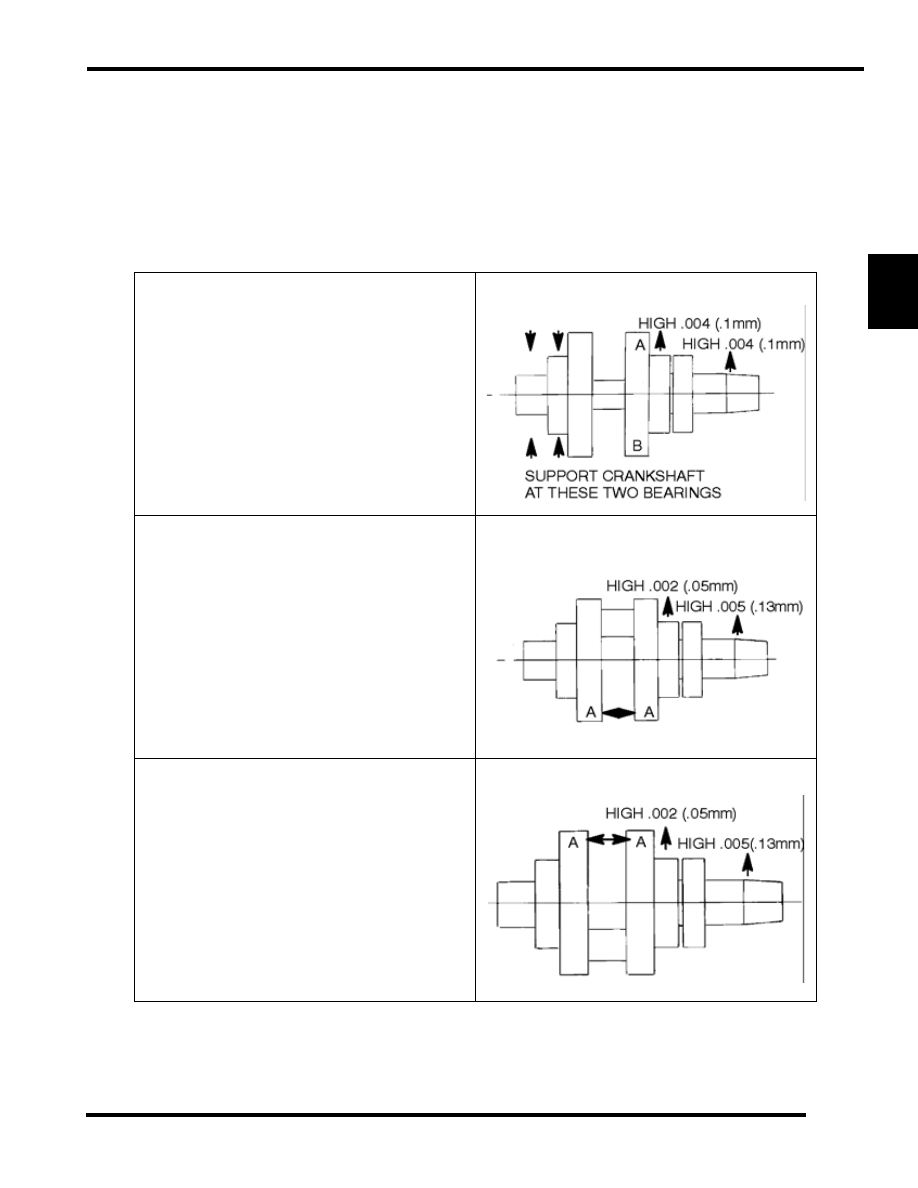
Crankshaft Trueing
Lubricate the bearings and clamp the crankshaft securely in the holding fixture.If trueing the crankshaft requires striking with a
hammer, always be sure to re-check previously straightened areas to verify trueing. Refer to the illustrations below. Use Crankshaft
alignment kit PN 2870569.
NOTE: The Rod Pin position in relation to the dial indicator tells you what action is required to straighten the
shaft.
Truing Examples
To correct a situation like this. Strike the shaft at point A
with a brass hammer.
To correct a situation like the one shown in this. Squeeze
the crankshaft at point A. You will use the tool from the
alignment kit PN 2870569.
If the crank rod pin location is 180° from the dial
indicator (opposite of above), it will be necessary to
spread the crankshaft at the A position as shown in
illustration 3. When rebuilding and straightening a
crankshaft, straightness is of utmost importance. Runout
must be as close to zero as possible.