TRAKTOR PRO 2.9. Manual Englisch (2015) - part 8
8.4
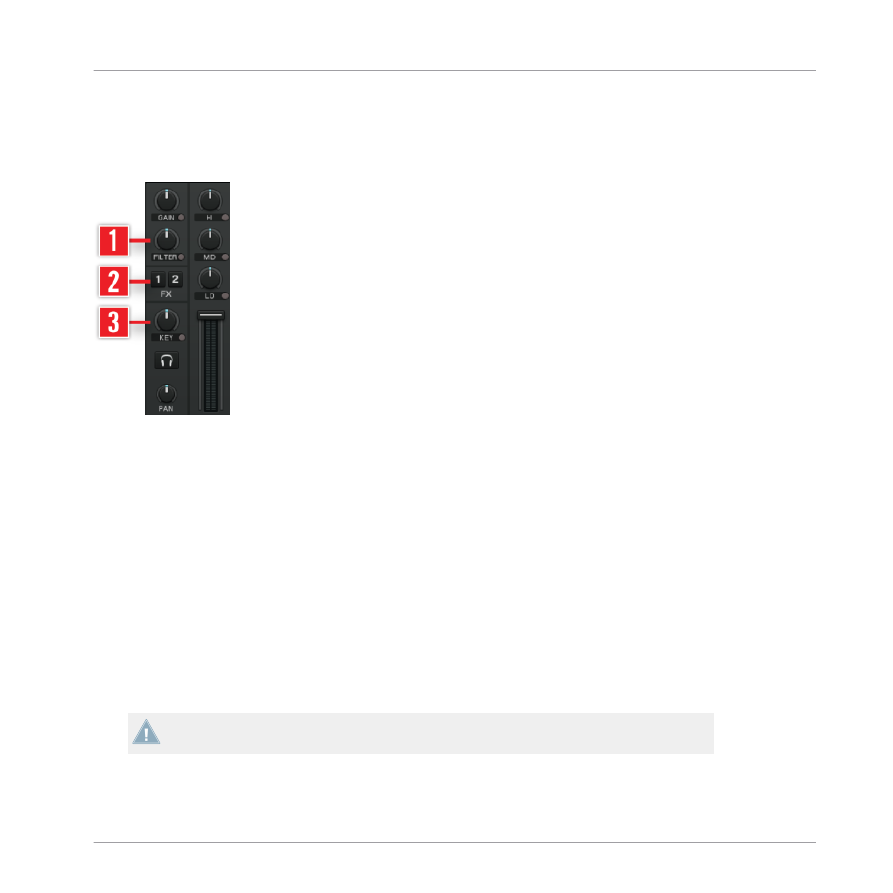
FILTER, KEY and Effect Insert
Mixer with Filter, Key and Effect Insert.
This chapter provides information on basic concepts and functionalities of the
FILTER
knob,
the
KEY
knob and the Effect inserts (
FX
knobs).
(1) FILTER: The
FILTER
knob provides a bipolar filter.
►
In center position, the filter is inactive.
►
Turning the knob to the right activates a high-pass-filter. The more you move it to the
right, the more low and middle frequencies are cut out.
►
Turning it to the left activates a low-pass-filter. The more you move it to the left, the
more high and middle frequencies are cut out.
►
In Preferences > Mixer > Filter Selection you can choose between
Xone:92
, emulating Al-
len & Heath’s Xone Series filters, and Filter for a regular
Ladder
filter.
The filter selection is limited to Xone:92 in ME 2.
The Internal Mixer & the Crossfader
FILTER, KEY and Effect Insert
TRAKTOR - Manual - 129