CFMoto ATV CF500-5C/CF625-C 4x4. Service Manual - part 7
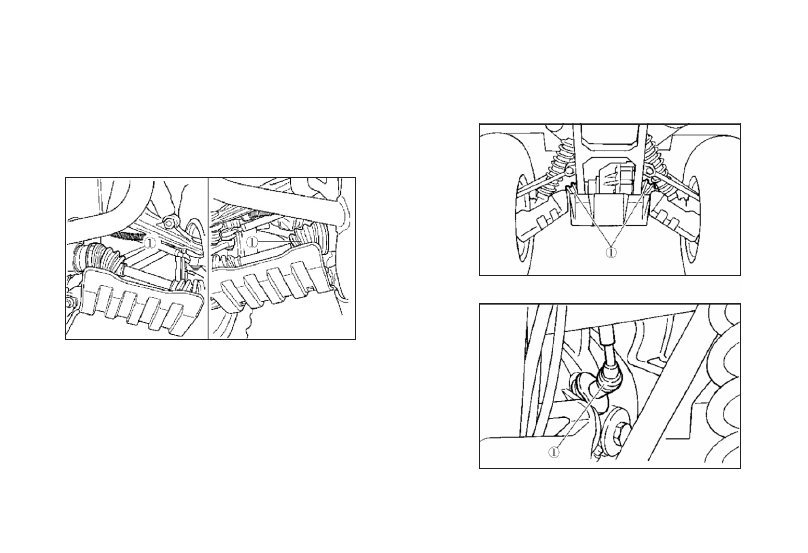
Axle boots
Check the protective boot for hole or tears.
If
there is any damage,have your dealer replace it.
Check the spark plug
Removal
1.
Remove the panel.
2.
Remove the spark plug cap.
3.
Remove spark plug with wrench in the tool kit
as per instruction.
95
-
-
MAINTENANCE AND LUBRICATION