Volkswagen Golf / Golf GTI / Jetta. Manual - part 47
15-77
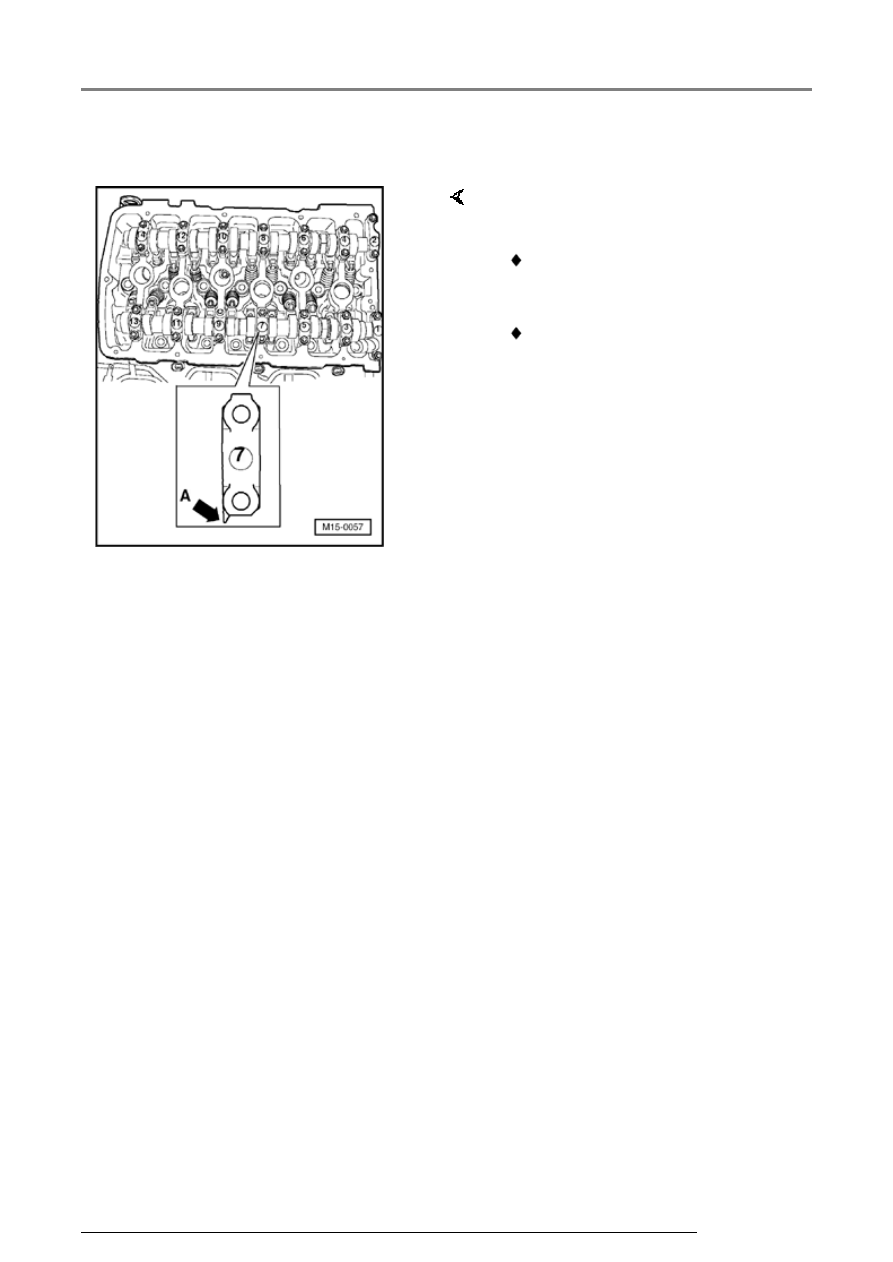
Note:
Observe installation position of
bearing caps:
Points of bearing caps (arrow -A-
) of intake and exhaust
camshafts face outward.
Identifications on bearing caps
are legible when read from intake
side.
Valve gear, servicing