Dacia SuperNova (engine E7J). Manual - part 124


  Index      Dacia     Dacia SuperNova (engine E7J) - service repair manual 2004 year


Search            


Content   ..  122  123  124  125   ..


Dacia SuperNova (engine E7J). Manual - part 124


82A

HORN - ENGINE IMMOBILISER

82A - 29

FAILURES LOCATING BASED ON CLIENT CLAIM

(algorithm for damage locating)

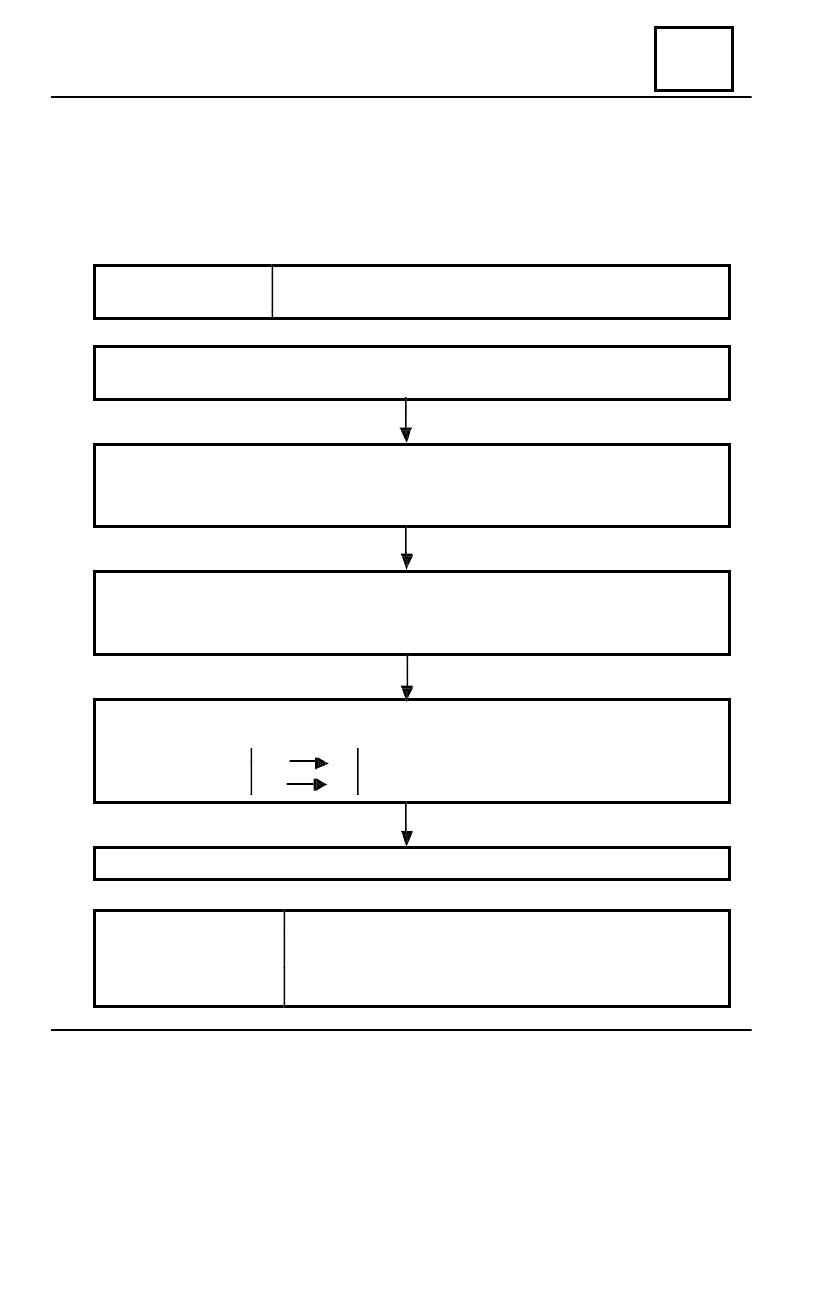
ALP1. MISSING COMMUNICATION CLIP TESTER / E.C.U DECODER

RECOMMENDATION Check if the lines K and L are not perturbed by another computer

of the vehicle.

Check the situation of the F15 fuse ( up to 01.06.2001) or F7 (after 01.06.2001)
Replace it if  necessary.

Be sure the CLIP tester is not the cause of the failure, by trying the communication with
another computer of the vehicle.
Check the tension of the battery (U>10,5V). If it is necessary, charge the battery.

Check the correct connection of the E.C.U. decoder to the wiring.
Check the supply of the E.C.U. decoder : - ground at pin A8

- supply (+IC) at pin A9

Be sure that the diagnostic socket is correctly supplied.
Check the continuity and the isolation of the electric wiring on the pins’ line corresponding to:

E.C.U.  decoder

A3

7     diagnostic socket

A4

15

If the dialogue CLIP tester – E.C.U. decoder cannot be established, then replace the decoder.

When the communication with the tester is established, solve

AFTER REPAIRING

the failures displayed by CLIP.
Perform a conformity checking.

DIAGNOSTIC

82A

HORN - ENGINE IMMOBILISER

82A - 30

ALP2. CONTACT SET ON. THE ANTI STARTING INDICATOR BLINKS.
(THE ENGINE DOES NOT STARTS)

RECOMMENDATION

-

Set the contact on.
Connect the  CLIP tester.
Is there any communicat

ion with the E.C.U. decoder

?

See ALP 1.

Check the fuse F15 ( up to 01.06.2001) or
F07 ( after 01.06.2001) for anti starting
bushing supply.
Is it good?

Replace the fuse.

Set the contact on and check if the state 4D
becomes ACTIVE  ?

Is the state 19 D PASSIVE ?

Perform  « Procedure  repla cement
E.C.U. decoder and memorising anti
starting code » if the starter is new ;
if it’s not new, replace it.

Cut out the contact. The anti starting indicator
will start  to  blink after  10  seconds.(ACTIVE
anti starting ).
Set again the contact and check: the failure
« Defective communication decoder bushing ».
Does exist  such a  failure  ?

Study « DEFECTIVE
COMMUNICATION
BUSHING – DECODER » from
the chapter DIAGNOSTIC

Study « STA

TE 4D : SUPPLY +12 V »

from the chapter DIAGNOSTIC.

Try the engine start with the second key.

Does the  engine start  ?

Replace the first key.

Yes

Yes

Yes

Yes

Yes

Yes

No

No

No

No

No

No

DIAGNOSTIC

82A

HORN - ENGINE IMMOBILISER

82A - 31

No

Is the  anti starting bushings correctly fixed on the
steering column and is it correctly connected?

Position the bushing and fix its

connection.

Check the continuity and the isolation
related to  the  ground  and  the +12 V  wiring.

Pin2

ground

Pin3

supply +IC

Pin4

pin A2 of the E.C.U. decoder.

Is the wiring in good condition?

Fix the electric wiring.

Disconnect the E.C.U. decoder and check the
presence of +12 V at pin A2 of the wiring.
Is there any tension?

Replace the anti starting bushing.

Connect the E.C.U. decoder. Perform the
impulse detection test with the tester  CLIP
branched to the pin A2 of the E.C.U. decoder.
Set the contact on and check the presence of
an impulse. Is there any impulse?

Replace the anti starting bushing.

Replace the key.

No

No

No

No

Yes

Yes

Yes

No

DIAGNOSTIC

82A

HORN - ENGINE IMMOBILISER

82A - 32

ALP3. THE ANTI STARTING INDICATOR REMAINS PERMANENTLY LIGHTED
(even when the contact is taken off) OR IT REMAINS PERMANENTLY SWITCHED OFF.

RECOMMENDATION

Check if the  “Procedure E.C.U. decoder replacement” was correctly
performed.

Check the fuse F15 ( up to 01.06.2001) or
F07 (after 01.06.2001).
Is the fuse good?

Is there the failure “DOORS’ LOCKING
CONTACT”?

Check the continuity and the isolation related
to the ground, between the pin A 5 of the
E.C.U. decoder and the dashboard.
Is the wiring good?

Replace the fuse.

Analyse this failure and replace.

Fix the wiring.

Perform the following tests in order to find the
failure element:

- if the anti starting indicator is permanently

lighted, disconnect the connector of the E.C.U.
decoder and check if the indicator switches off;

- if the anti starting system is turned off,

connect the pin A5 of the wiring connector from
the E.C.U. decoder to an electric ground and
check if the indicator turns on.
Are the answers affirmatives?

Replace the instrument panel.

Replace the E.C.U. decoder.

Perform a conformity checking.

AFTER REPAIRING

Check the operation of the anti starting system.
Remove by means of the CLIP tester the possible memorised failures.

No

No

No

Yes

Yes

No

Yes

Yes

DIAGNOSTIC


Content   ..  122  123  124  125   ..