Nissan Titan A60. Manual - part 826


  Index      Nissan     Nissan Titan A60 (2011 year) - Service and Repair Manual


Search            


Content   ..  824  825  826  827   ..


Nissan Titan A60. Manual - part 826


SEAT BELTS

SB-7

< REMOVAL AND INSTALLATION >

C

D

E

F

G

I

J

K

L

M

A

B

SB

N

O

P

Removal - King Cab

CAUTION:

Before servicing the SRS, turn the ignition switch off, disconnect the battery terminals nad wait at

least three minutes.
1. Disconnect both the negative and positive battery terminals, then wait at least three minutes.
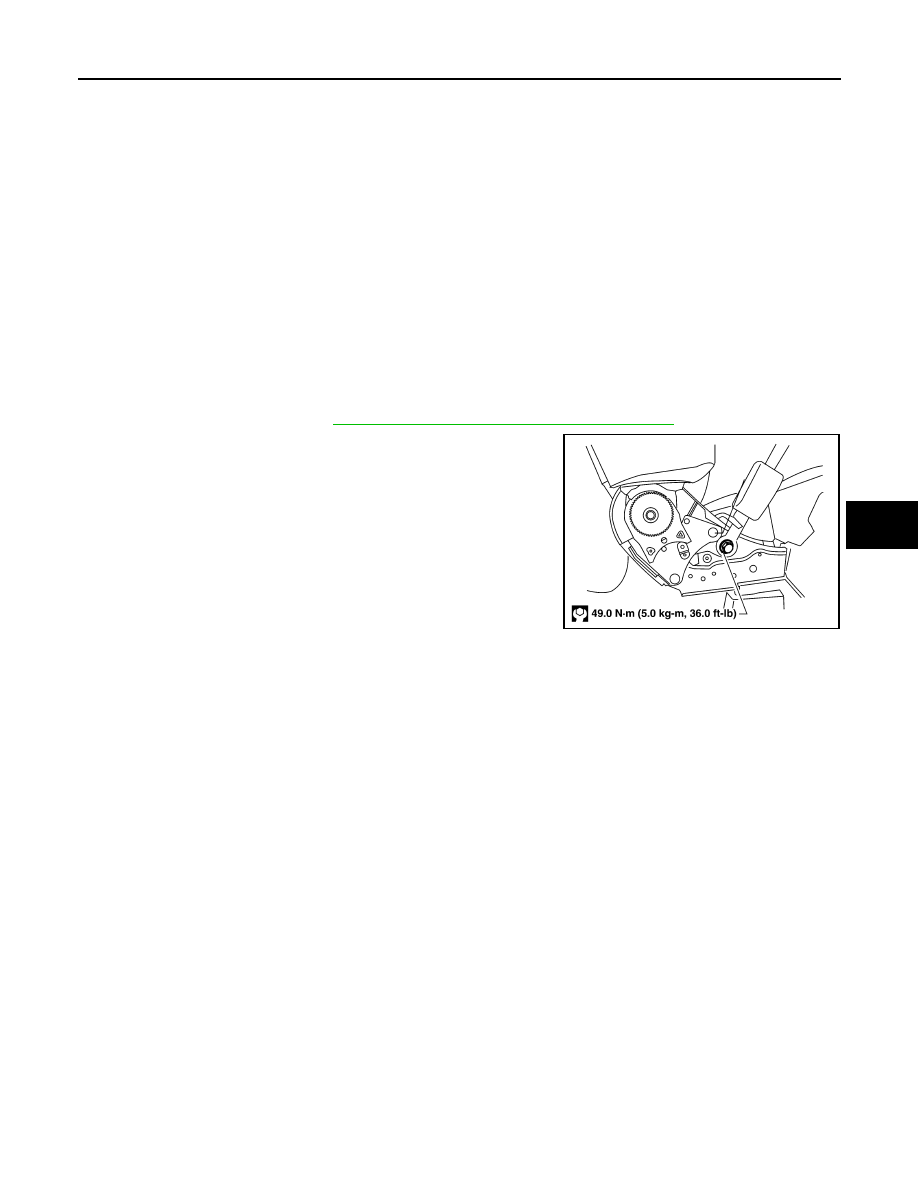
2. Remove D-ring anchor bolt cover and bolt.
3. Remove anchor cover and bolt.
4. Remove lower door finisher.
5. Disconnect seat belt pre-tensioner connector.
6. Remove seat belt retractor and belt assembly.

Installation - King Cab

Installation is in the reverse order of removal.

REMOVAL AND INSTALLATION OF SEAT BELT BUCKLE

Removal - Bucket Seat

1. Disconnect both the negative and positive battery terminals, then wait at least three minutes.
2. Remove the front seat. Refer to 

SE-30, "Removal and Installation For Front Seat"

.

3. Remove screw and seat cushion inner finisher.
4. Remove the anchor bolt and buckle.
5. Disconnect the buckle switch connector from the seat connector.

Installation - Bucket Seat

CAUTION:

• Passenger seat is equipped with Occupant Classification System sensor and control module. Do not

disassemble front passenger seat cushion assembly or remove trim as this will affect the Occupant

Classification System calibration.

• On passenger seat during installation, the wire harness clips must be installed in the holes they were

originally in.

 Installation is in the reverse order of removal.

REMOVAL AND INSTALLATION OF CENTER BENCH SEAT BELT AND SEAT BELT BUCKLE

WHIA0128E

SB-8

< REMOVAL AND INSTALLATION >

SEAT BELTS

Removal

1. Remove center front seat. Refer to 

SE-30, "Removal and Installation For Front Seat"

.

2. Remove anchor bolt cover, bolt and seat belt.
3. Remove anchor bolt cover, bolt and seat belt buckle.

Installation

Installation is in the reverse order of removal.

1.

Center front seat

2.

Seat belt anchor bolts

3.

Anchor bolt covers

4.

Seat belt assembly

5.

Seat belt buckle

WIIA0993E

SEAT BELTS

SB-9

< REMOVAL AND INSTALLATION >

C

D

E

F

G

I

J

K

L

M

A

B

SB

N

O

P

Removal and Installation of Rear Seat Belt

INFOID:0000000006158504

REMOVAL

1. Remove rear kicking plates. Refer to 

INT-14, "Removal and Installation"

.

2. Remove rear seat assembly. Refer to 

SE-36, "Removal and Installation"

.

3. Remove seat belt D-ring anchor bolt cover and bolt.
4. Remove seat belt lower anchor cover and bolt.

1.

D-ring anchor bolt cover

2.

D-ring anchor

3.

Seat belt retractor and belt assembly 
RH

4.

Seat belt pre-tensioner connector

5.

Lower side finisher

6.

Seat belt lower anchor

7.

Seat belt lower anchor cover

8.

Push pins

9.

Center anchor bracket cover

10. Center seat belt retractor and belt as-

sembly

11. Seat belt buckles

12. Center seat belt anchor bracket

13. Seat belt retractor and belt assembly 

LH

AWHIA0264GB

SB-10

< REMOVAL AND INSTALLATION >

SEAT BELTS

5. Remove lower side finisher. Refer to 

INT-14, "Removal and Installation"

.

6. Remove seat belt retractor anchor bolt and the seat belt assembly.
7. Remove center seat belt lower anchor bolt.
8. Remove center seat belt retractor.
9. Remove center anchor bracket cover.
10. Remove push pins from center seat belt webbing sleeve.
11. Remove bolts from anchor bracket and remove center seat belt retractor and belt assembly.
12. Remove center belt bracket from floor.
13. Remove seat belt buckles.

INSTALLATION

 Installation is in the reverse order of removal.

• Attach rear center seat belt retractor anchor bracket bolts before seat installation.

• Attach rear center seat belt retractor anchor bolt after seat installation with the seat cushion raised.

Seat Belt Inspection

INFOID:0000000006158505

AFTER A COLLISION

WARNING:

Inspect all seat belt assemblies including retractors and attaching hardware after any collision.

NISSAN recommends that all seat belt assemblies in use during a collision be replaced unless the col-

lision was minor and the belts show no damage and continue to operate properly. Failure to do so

could result in serious personal injury in an accident. Seat belt assemblies not in use during a colli-

sion should also be replaced if either damage or improper operation is noted. Seat belt pre-tensioners

should be replaced even if the seat belts are not in use during a frontal collision in which the air bags

are deployed.

Replace any seat belt assembly (including anchor bolts) if:

• The seat belt was in use at the time of a collision (except for minor collisions and the belts, retractors and

buckles show no damage and continue to operate properly).

• The seat belt was damaged in an accident. (i.e. torn webbing, bent retractor or guide).

• The seat belt attaching point was damaged in an accident. Inspect the seat belt attaching area for damage

or distortion and repair as necessary before installing a new seat belt assembly.

• Anchor bolts are deformed or worn out.

• The seat belt pre-tensioner should be replaced even if the seat belts are not in use during the collision in

which the air bags are deployed.

PRELIMINARY CHECKS

1. Check the seat belt warning lamp/chime for proper operation as follows:
a. Switch ignition ON. The seat belt warning lamp should illuminate. Also, the seat belt warning chime should

sound for about seven seconds.

b. Fasten drivers seat belt. The seat belt warning lamp should go out and the chime (if sounding) should

stop.

2. If the air bag warning lamp is blinking, conduct self-diagnosis using CONSULT-III, and air bag warning

lamp. Refer to 

SRC-13, "SRS Operation Check"

.

3. Check that the seat belt retractor, seat belt anchor and buckle bolts are securely attached.
4. Check the shoulder seat belt guide and shoulder belt height adjuster for front seats. Ensure guide swivels

freely and that belt lays flat and does not bind in guide. Ensure height adjuster operates properly and

holds securely.

5. Check retractor operation:
a. Fully extend the seat belt webbing and check for twists, tears or other damage.
b. Allow the seat belt to retract. Ensure that belt returns smoothly and completely into the retractor. If the

seat belt does not return smoothly, wipe the inside of the loops with a clean paper cloth, because dirt built

up in the loops of the upper anchors can cause the seat belts to retract slowly.

c.

Fasten the seat belt. Check the seat belt returns smoothly and completely to the retractor. If the belt does

not return smoothly, the cause may be an accumulation of dust or dirt. Use the “SEAT BELT TAPE SET”

and perform the following steps.


Content   ..  824  825  826  827   ..