Nissan Quest E52. Manual - part 564
PRECAUTIONS
EM-5
< PRECAUTION >
[VQ35DE]
C
D
E
F
G
H
I
J
K
L
M
A
EM
N
P
O
• Mark and arrange disassembly parts in an organized way for easy troubleshooting and reassembly.
• When loosening nuts and bolts, as a basic rule, start with the one furthest outside, then the one diagonally
opposite, and so on. If the order of loosening is specified, do exactly as specified. Power tools may be used
in the step.
ASSEMBLY AND INSTALLATION
• Use torque wrench to tighten bolts or nuts to specification.
• When tightening nuts and bolts, as a basic rule, equally tighten in several different steps starting with the
ones in center, then ones on inside and outside diagonally in this order. If the order of tightening is specified,
do exactly as specified.
• Replace with new gasket, packing, oil seal or O-ring.
• Thoroughly wash, clean, and air-blow each part. Carefully check engine oil or engine coolant passages for
any restriction and blockage.
• Avoid damaging sliding or mating surfaces. Completely remove foreign materials such as cloth lint or dust.
Before assembly, oil sliding surfaces well.
• After disassembling, or exposing any internal engine parts, change engine oil and replace oil filter with a new
one.
• Release air within route when refilling after draining engine coolant.
• After repairing, start the engine and increase engine speed to check engine coolant, fuel, engine oil, and
exhaust gases for leakage.
Precaution for Angle Tightening
INFOID:0000000009652740
• Use the angle wrench [SST: KV10112100 (BT8653-A)] for the final tightening of the following engine parts:
- Cylinder head bolts
- Main bearing cap bolts
- Connecting rod cap bolts
- Crankshaft pulley bolt (No the angle wrench is required as bolt flange is provided with notches for angle
tightening)
• Never use a torque value for final tightening.
• The torque value for these parts are for a preliminary step.
• Ensure thread and seat surfaces are clean and coated with engine oil.
Precaution for Liquid Gasket
INFOID:0000000009652741
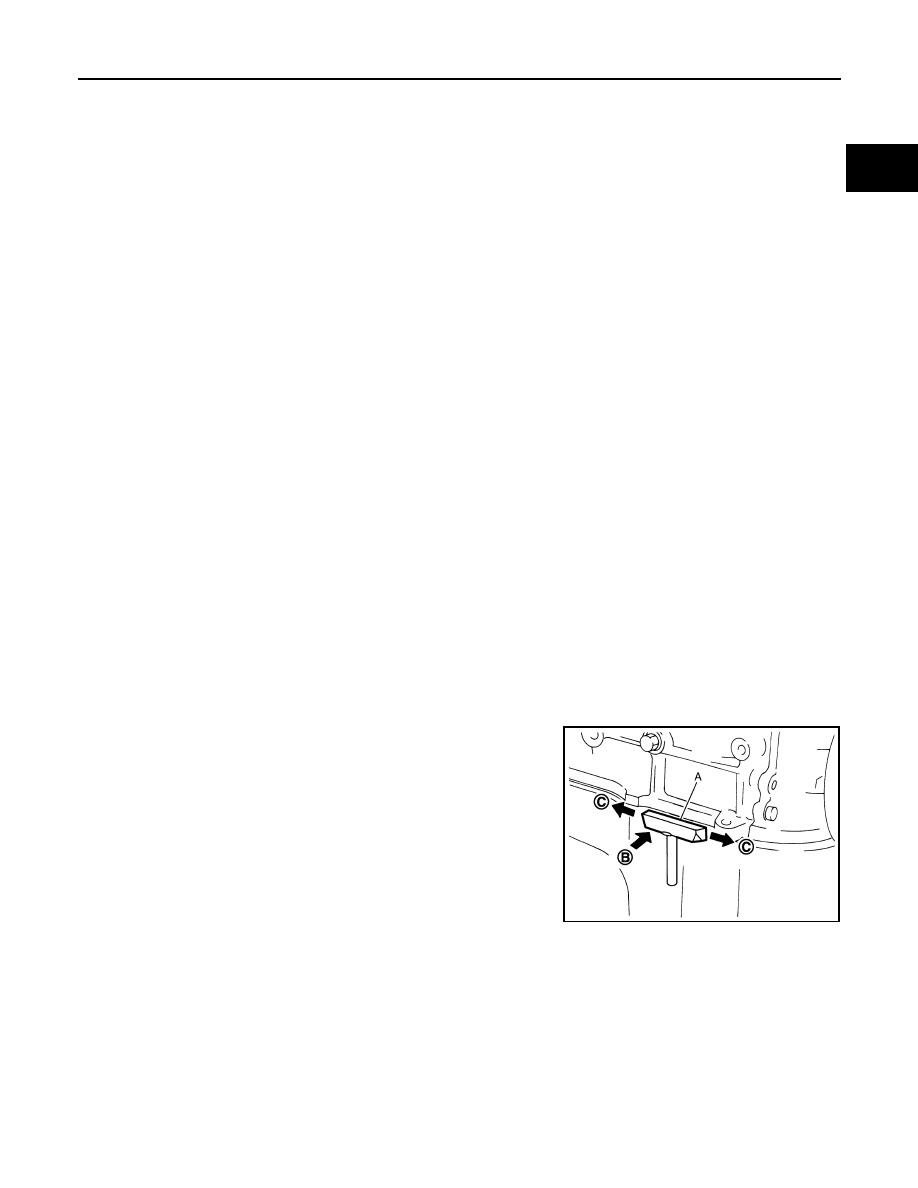
REMOVAL OF LIQUID GASKET SEALING
• After removing mounting nuts and bolts, separate the mating sur-
face using the seal cutter [SST: KV10111100 (J-37228)] (A) and
remove old liquid gasket sealing.
CAUTION:
Be careful not to damage the mating surfaces.
• Tap (B) the seal cutter [SST: KV10111100 (J-37228)] to insert it,
and then slide (C) it by tapping on the side as shown in the figure.
• In areas where the seal cutter [SST: KV10111100 (J-37228)] is dif-
ficult to use, use a plastic hammer to lightly tap the parts, to
remove it.
CAUTION:
If for some unavoidable reason tool such as a screwdriver is
used, be careful not to damage the mating surfaces.
LIQUID GASKET APPLICATION PROCEDURE
JPBIA0052ZZ