Nissan Maxima. Manual - part 654
MUDGUARD
EXT-25
< REMOVAL AND INSTALLATION >
C
D
E
F
G
H
I
J
L
M
A
B
EXT
N
O
P
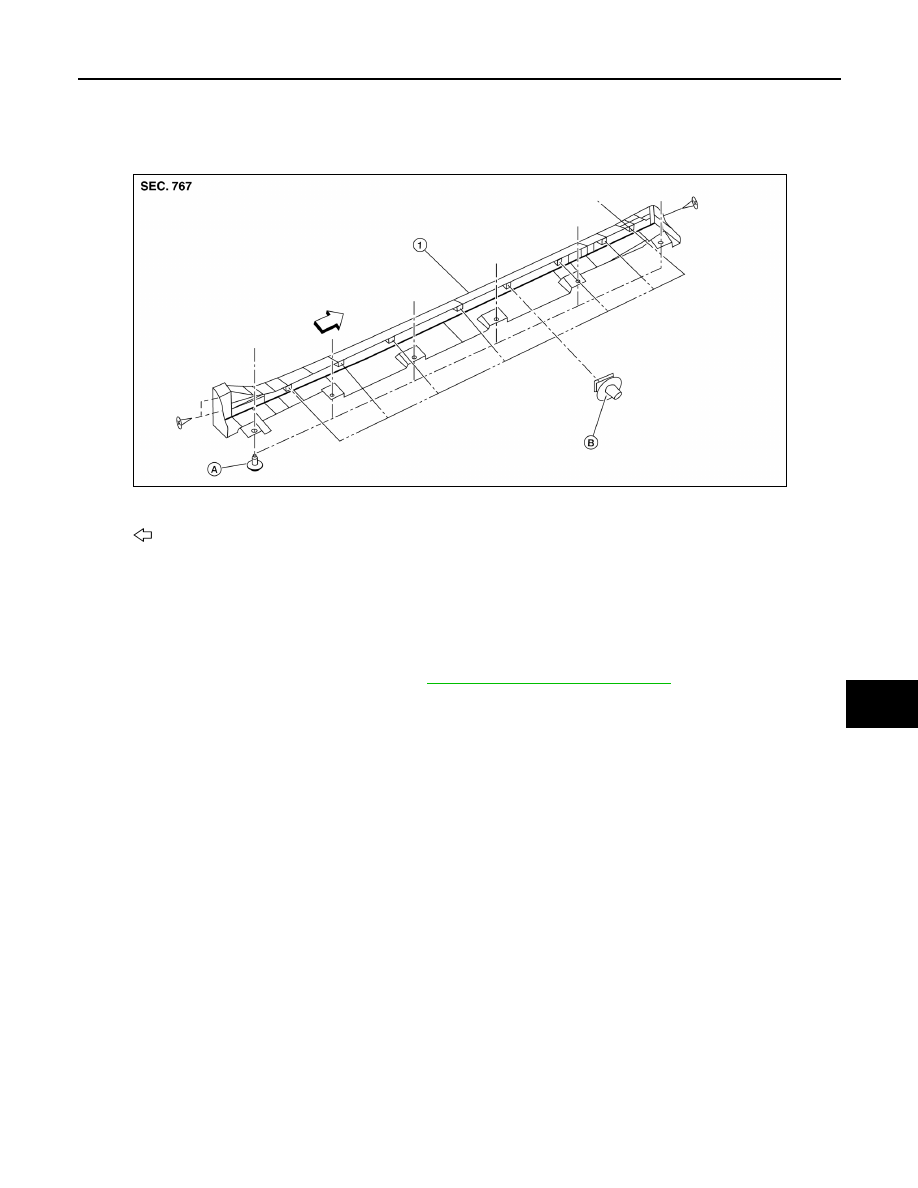
MUDGUARD
Exploded View
INFOID:0000000009465816
Removal and Installation
INFOID:0000000009465817
REMOVAL
1. Remove the clips located on the underbody.
2. Remove the center mudguard front and rear screws.
3. Remove the rear wind deflector bolt. Refer to
EXT-24, "Removal and Installation"
4. Release the clips located behind the center mudguard using a suitable tool, beginning with the front work-
ing rearward.
5. Remove the center mudguard from body side.
INSTALLATION
Installation is in the reverse order of removal.
1.
Mudguard
A.
Clip C205
B.
Clip CF118
Front
ALKIA2269ZZ