Nissan Qashqai J11. Manual - part 21
AIR CLEANER AND AIR DUCT
EM-23
< REMOVAL AND INSTALLATION >
[HRA2DDT]
C
D
E
F
G
H
I
J
K
L
M
A
EM
N
P
O
AIR CLEANER AND AIR DUCT
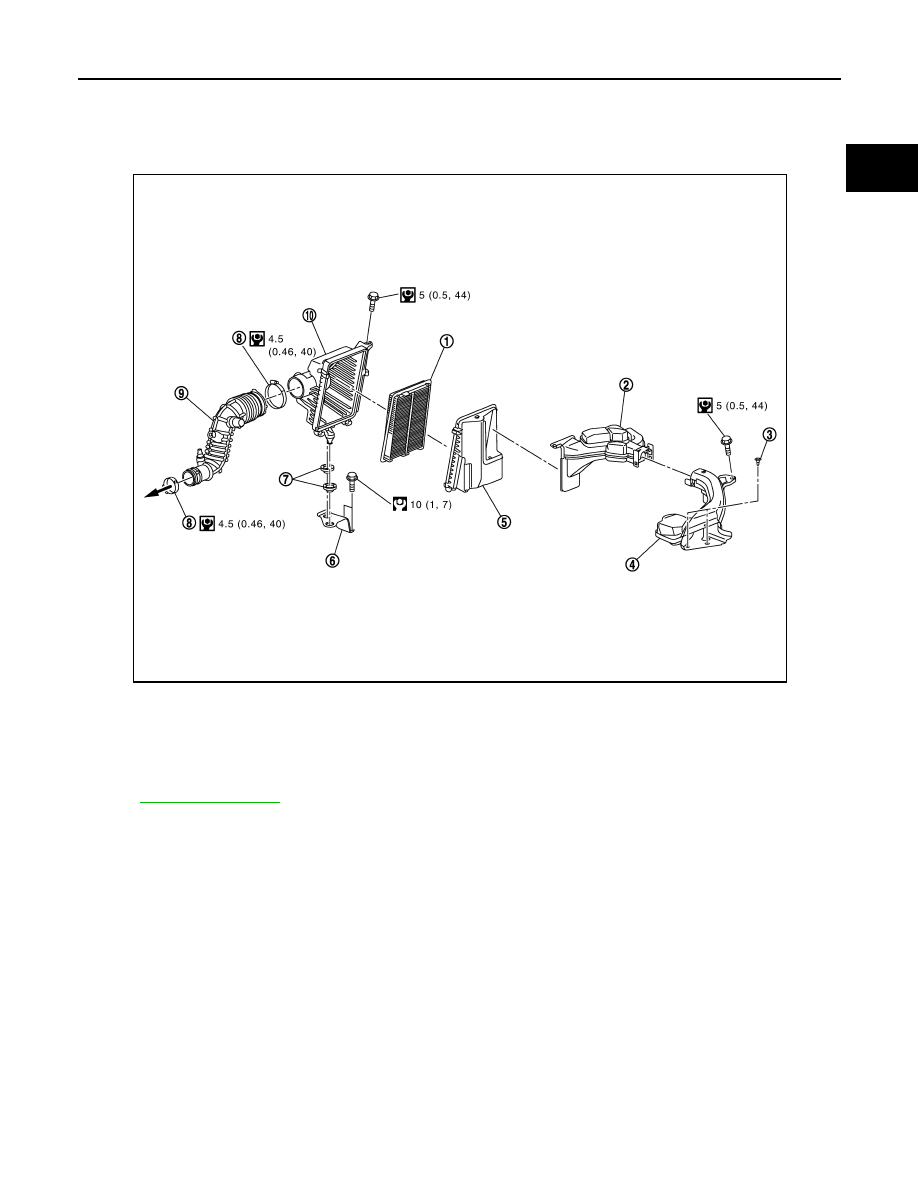
Exploded View
INFOID:0000000010282212
for symbol marks in the figure.
Removal and Installation
INFOID:0000000010282213
REMOVAL
1.
Remove air resonator.
2.
Remove the air duct (inlet).
3.
Remove air cleaner filter unit with air cleaner filter holder assembly.
• Add matching marks if necessary for easier installation.
4.
Disconnect:
• EVAP vacuum hose from air duct.
• bypass valve hose from air duct.
• wastegate controle valve from air duct.
- Add matching marks if necessary for easier installation.
5.
Remove air duct.
1.
Air cleaner filter
2.
Air resonator
3.
Clip
4.
Air duct (inlet)
5.
Holder
6.
Air cleaner filter unit bracket
7.
Mounting rubber
8.
Clamp
9.
Air duct
10. Air cleaner filter unit
E1BIA1008GB