Mitsubishi Grandis. Manual - part 339
DOOR TRIM
INTERIOR
52A-12
DOOR TRIM
REMOVAL AND INSTALLATION
M1521006400138
AC310945
6
3
1
2
5
3
4
C
C
A
A
B
B
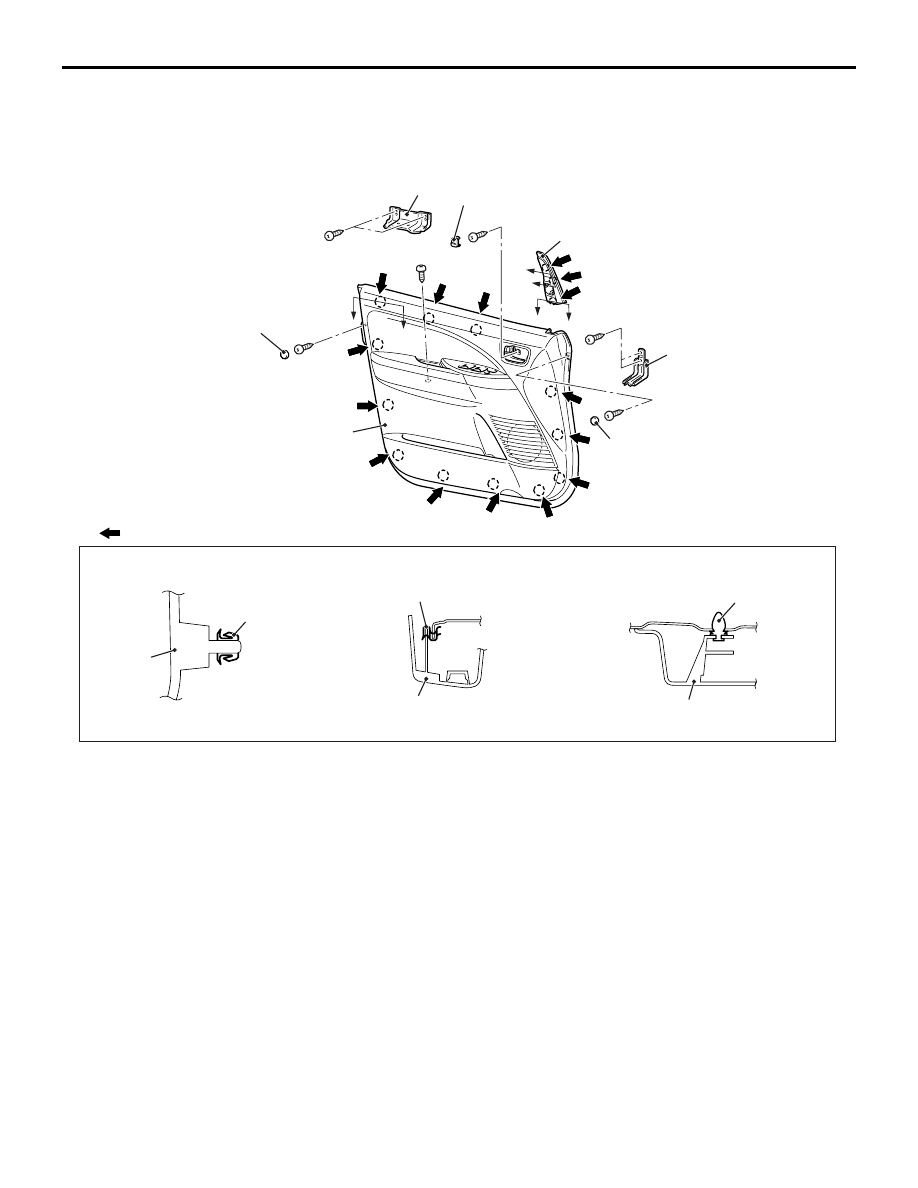
NOTE
: Clip position
Section A – A
Section B – B
Section C – C
1
1
4
Clip
Clip
Clip
AB
<Front door trim>
Removal steps
1.
Front door sash trim
<<A>>
2.
Inside handle screw cap
3.
Door trim screw cap
<<B>>
>>A<<
4.
Front door trim
5.
Pull handle bracket (driver’s side)
6.
Front door arm rest bracket
(passenger’s side)
Removal steps (Continued)