Jeep XJ. Manual - part 855
Symptom:
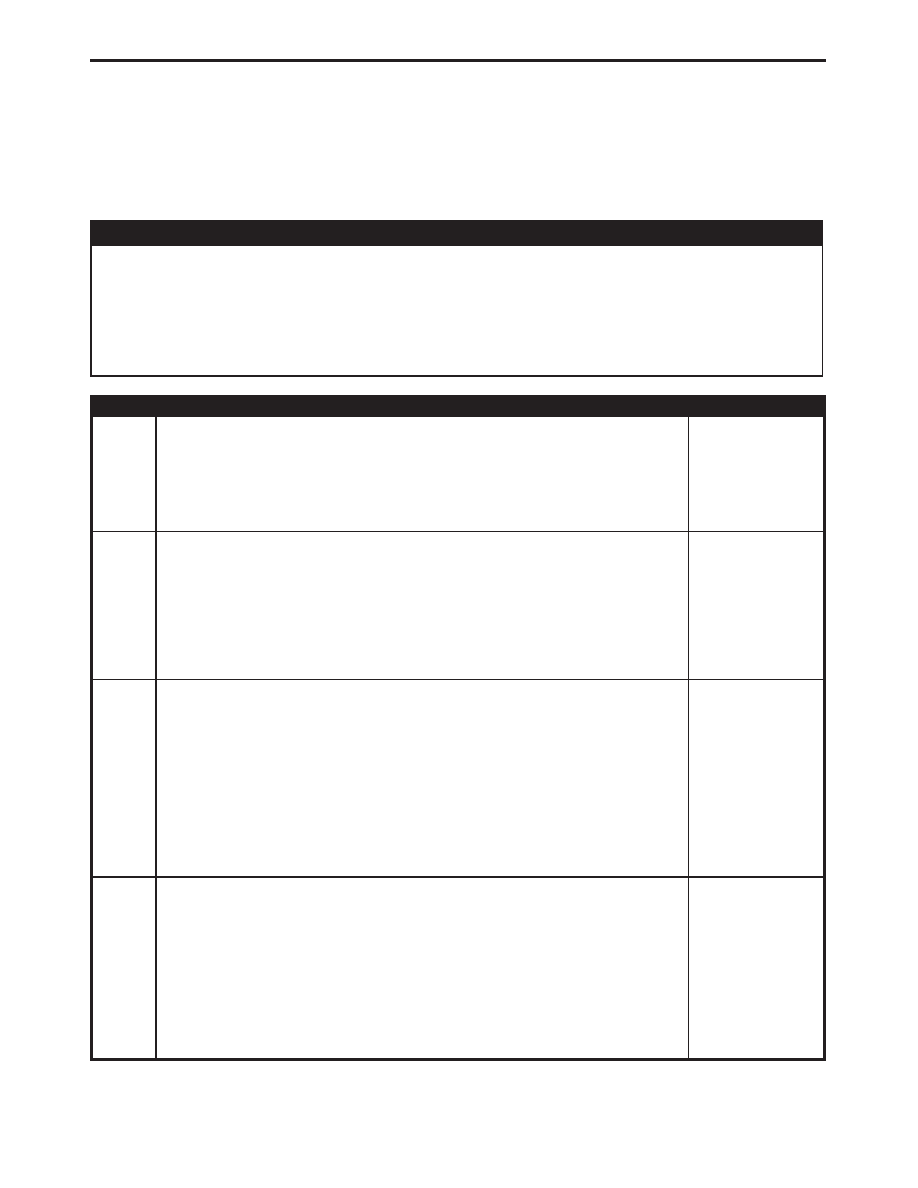
P1899-P/N SWITCH PERFORMANCE
POSSIBLE CAUSES
INTERMITTENT PARK/NEUTRAL SWITCH SENSE CIRCUIT
PARK/NEUTRAL POSITION SWITCH
PARK/NEUTRAL SWITCH SENSE CIRCUIT OPEN
PARK/NEUTRAL SWITCH SENSE CIRCUIT SHORTED TO GROUND
POWERTRAIN CONTROL MODULE
TEST
ACTION
APPLICABILITY
1
Turn the ignition on.
With the DRBIII
t, read DTCs.
Is the Good Trip Counter for P-1899 displayed and equal to 0?
All
Yes
→
No
→
2
Turn the ignition on.
With the DRBIII
t, read the PNP switch input state.
While moving the gear selector through all gear positions (Park to 1st and back to
Park), watch the DRB display.
Did the DRBIII
t display P/N and D/R in the correct gear positions?
All
Yes
→
Test Complete.
No
→
3
Turn the ignition off.
Disconnect the PCM C1 harness connector.
Disconnect the PNP switch harness connector.
Check connectors - Clean/repair as necessary
Measure the resistance of the PNP switch sense circuit between the PCM C1 harness
connector and the PNP switch harness connector.
Is the resistance below 5.0 ohms?
All
Yes
→
No
→
Repair the PNP switch sense circuit for an open.
Perform AW4 TRANS VERIFICATION TEST-VER1.
4
Turn the ignition off.
Disconnect the PCM C1 harness connector.
Disconnect the PNP switch harness connector.
Check connectors - Clean/repair as necessary
Measure the resistance between ground and the PNP switch sense circuit.
Is the resistance below 5.0 ohms?
All
Yes
→
Repair the PNP switch sense circuit for a short to ground.
Perform AW4 TRANS VERIFICATION TEST-VER1.
No
→
181
DRIVEABILITY - GAS