Jaguar X-Type Sedan and Estate (Wagon). Manual - part 317
Published: 11-May-2011
Evaporative Emissions - Evaporative Emission Canister2.5L NA V6 - AJV6/3.0L NA V6 -
AJ27
Removal and Installation
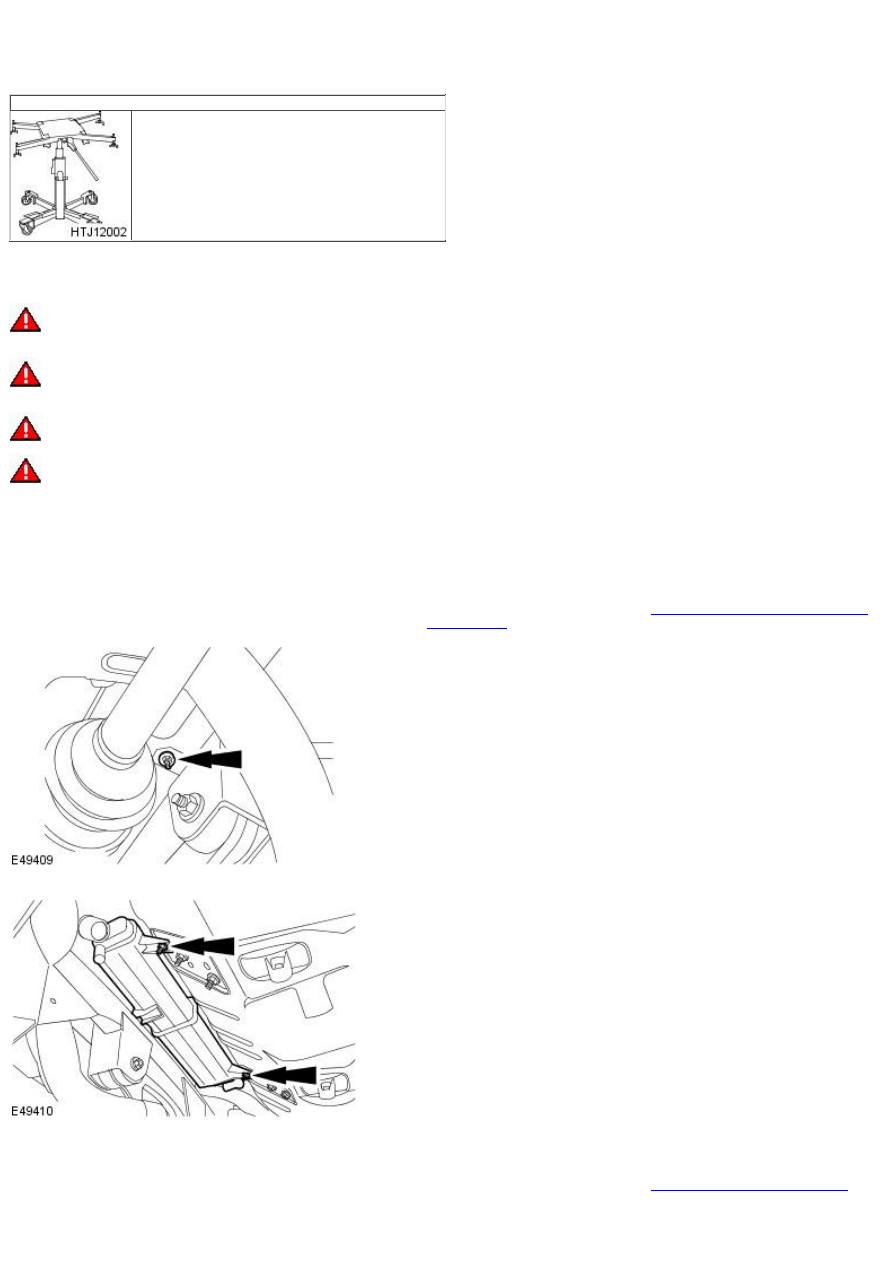
Special Tool(s)
Powertrain Assembly Jack (federal market vehicles
only)
HTJ1200-2
Removal
• W ARNINGS:
Do not smoke or carry lighted tobacco or an open flame of any type when working on or near any fuel related components. Highly
flammable vapors are always present and may ignite. Failure to follow these instructions may result in personal injury.
Do not carry or operate cellular phones when working on or near any fuel related components. Highly flammable vapors are always
present and may ignite. Failure to follow these instructions may result in personal injury.
Due to the heavy weight, make sure that the fuel tank is securely attached to the powertrain assembly jack when installing.
This procedure involves fuel handling. Be prepared for fuel spillage at all times and always observe fuel handling precautions. Failure
to follow these instructions may result in personal injury.
• NOTE: Non federal market vehicles, refer to steps 1 to 3.
• NOTE: Federal market vehicles, refer to steps 4 to 22.
1. NOTE: Non federal market vehicles only.
Remove the fuel tank.
For additional information, refer to:
Fuel Tank - 2.5L NA V6 - AJV6/3.0L
NA V6 - AJ27
(310-01 Fuel Tank and Lines, Removal and Installation).
2. NOTE: Non federal market vehicles only.
Remove the evaporative emission canister rear retaining nut.
3. NOTE: Non federal market vehicles only.
Remove the evaporative emission canister.
4. NOTE: Federal market vehicles only.
Disconnect the battery ground cable.
For additional information, refer to:
Battery Disconnect and Connect
(414-01 Battery, Mounting and Cables, General Procedures).
5. NOTE: Federal market vehicles only.
Remove the fuel filler cap.