Isuzu N-Series. Manual - part 607
6B-14 ENGINE COOLING
• Remove the radiator valve and check a negative
pressure valve as the center of the valve seat side.
If the negative pressure valve does not work
smoothly, clean or replace the radiator valve.
Tighten:
Radiator valve to 6 N
⋅m (0.6 kg⋅m/4 lb⋅ft)
• Conduct cooling system leakage check after rein-
stalling the radiator valve.
Radiator Core
• Deformed radiator fins could reduce radiation ef-
fects, resulting in overheat. Straighten the fins. In
such a case, take care not to damage the fin roots.
• Remove dust and other foreign materials.
Flushing the Radiator
• Wash the inside of radiator and the coolant pas-
sage with water and neutral detergent. Remove all
scales and rust.
Checking for Coolant Leakage
• Clog up the reservoir tank hose carefully and check
the cooling system for leakage with a radiator cap
tester by applying an air pressure of 147 kPa (1.5
kg/cm
2
/21 psi) from filler neck to inside the radia-
tor.
• As the radiator upper tank is provided with a valve,
the pressure fails to rise higher than the valve
opening pressure unless the hose is clogged up.
Installation
1. Radiator Assembly
• Install the radiator.
2. Cushion Rubber
• Install cushion rubbers on both sides of radiator
bottom.
• Install radiator assembly with hose, taking care not
to damage the radiator core by a fan blade.
3. Condenser
4. Radiator Stay
5. Air Intake Duct
• Connect the duct and tighten clip securely.
6. Radiator Hose
• Connect inlet hose and outlet hose to the engine.
• Connect battery ground cable.
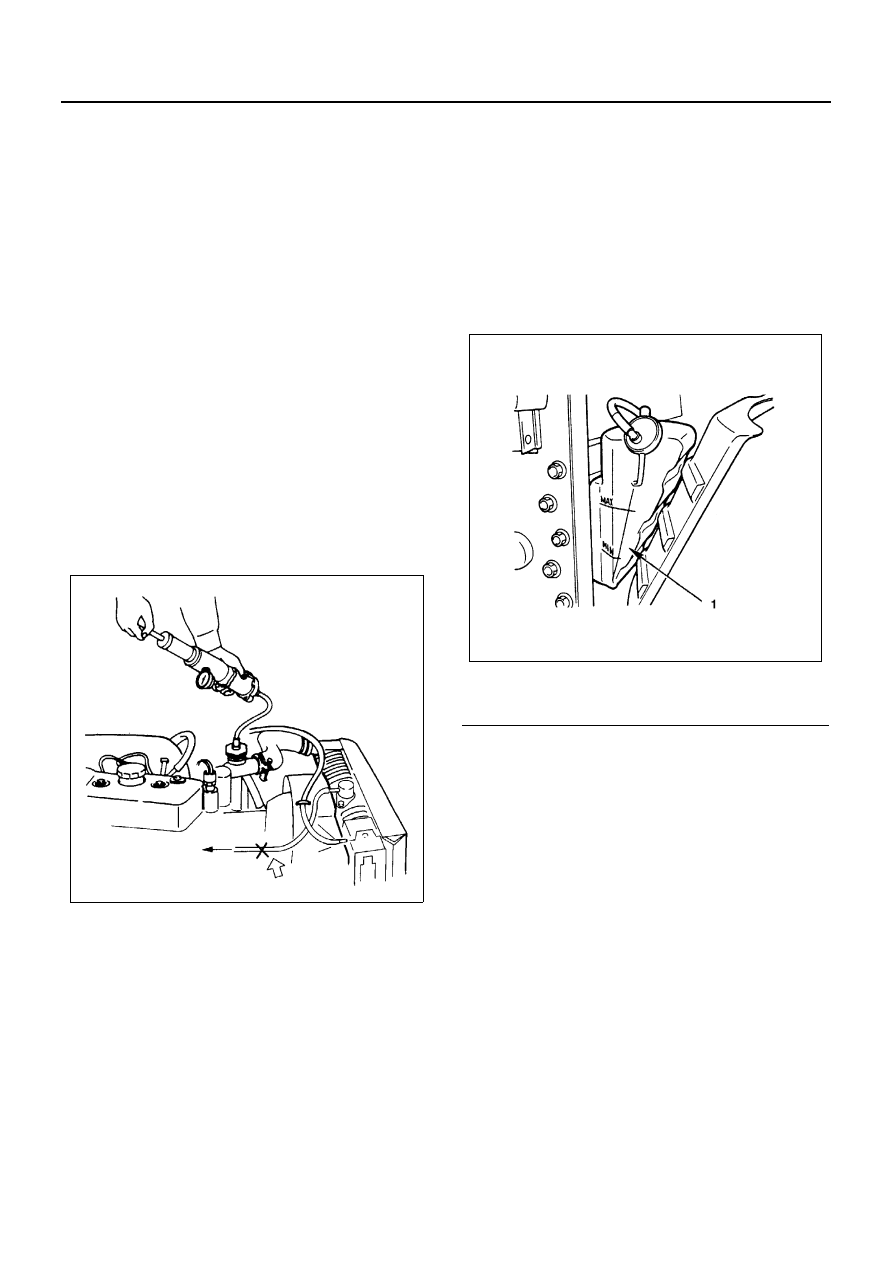
• Pour coolant up to filler neck of radiator, and up to
MAX mark of reservoir tank.
7. Reservoir Tank Hose & Bypass Hose
• Start engine to warm up, and check for coolant lev-
el.
N6A3389E
Legend
1. Reservoir tank
N6A3390E