Infiniti F50. Manual - part 214
DOOR
BL-103
C
D
E
F
G
H
J
K
L
M
A
B
BL
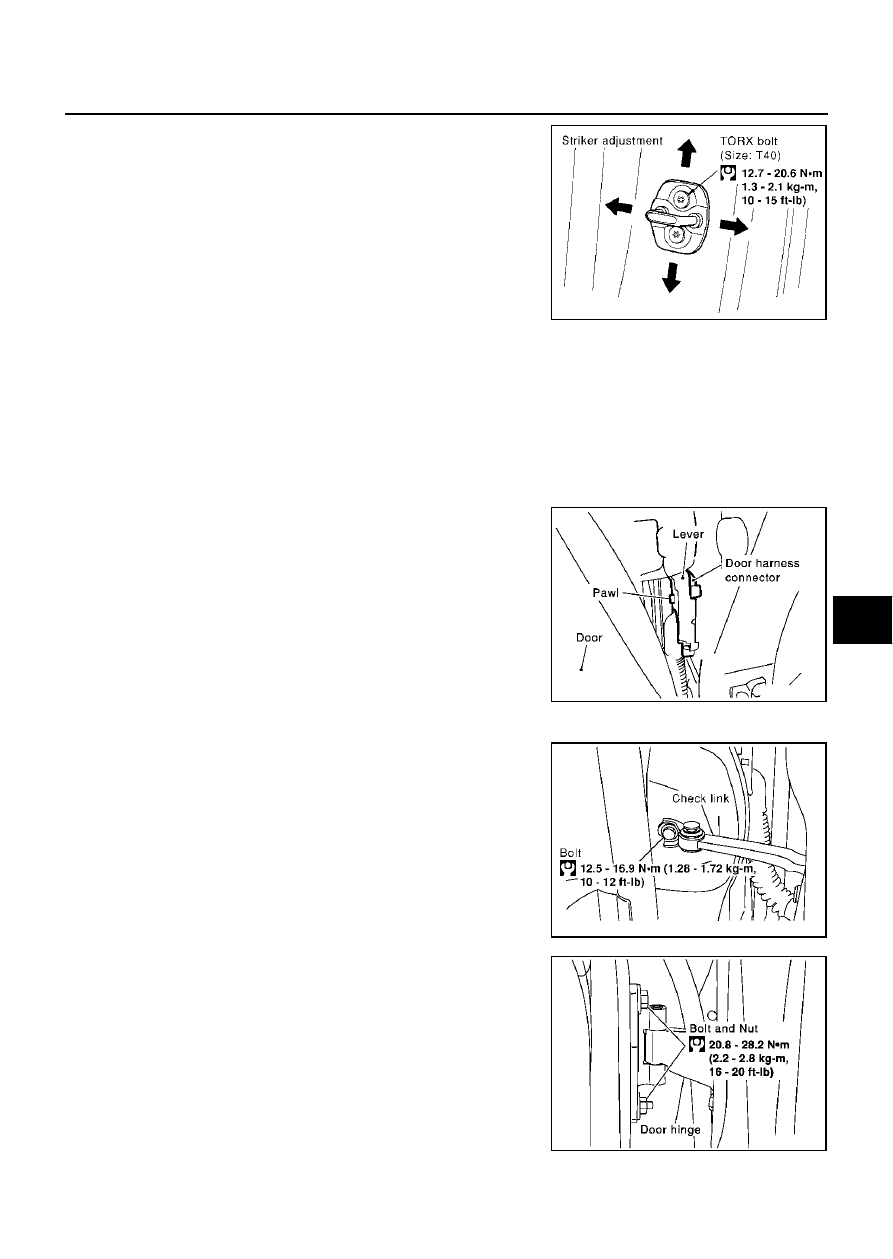
2.
Adjust the striker so that it becomes parallel with the lock inser-
tion direction.
Removal and Installation of Front Door
EIS000HB
CAUTION:
●
When removing and installing the door assembly, support the door with a jack and cloth to protect
the door and body.
●
When removing and installing door assembly, be sure to carry out the fitting adjustment.
●
Check the hinge rotating part for poor lubrication. If necessary, apply “body grease”.
●
After installing, check operation.
REMOVAL
1.
Pull the lever and remove the front door harness connector
while removing tabs of door harness connector.
2.
Remove the check link cover.
3.
Remove the mounting bolts of the check link on the vehicle.
4.
Remove the door-side hinge mounting nuts and bolts, and
remove the door assembly.
SIIA0338E
PIIA2514E
SIIA0339E
PIIA3473E