Infiniti G20 (P11). Manual - part 481
AMA063
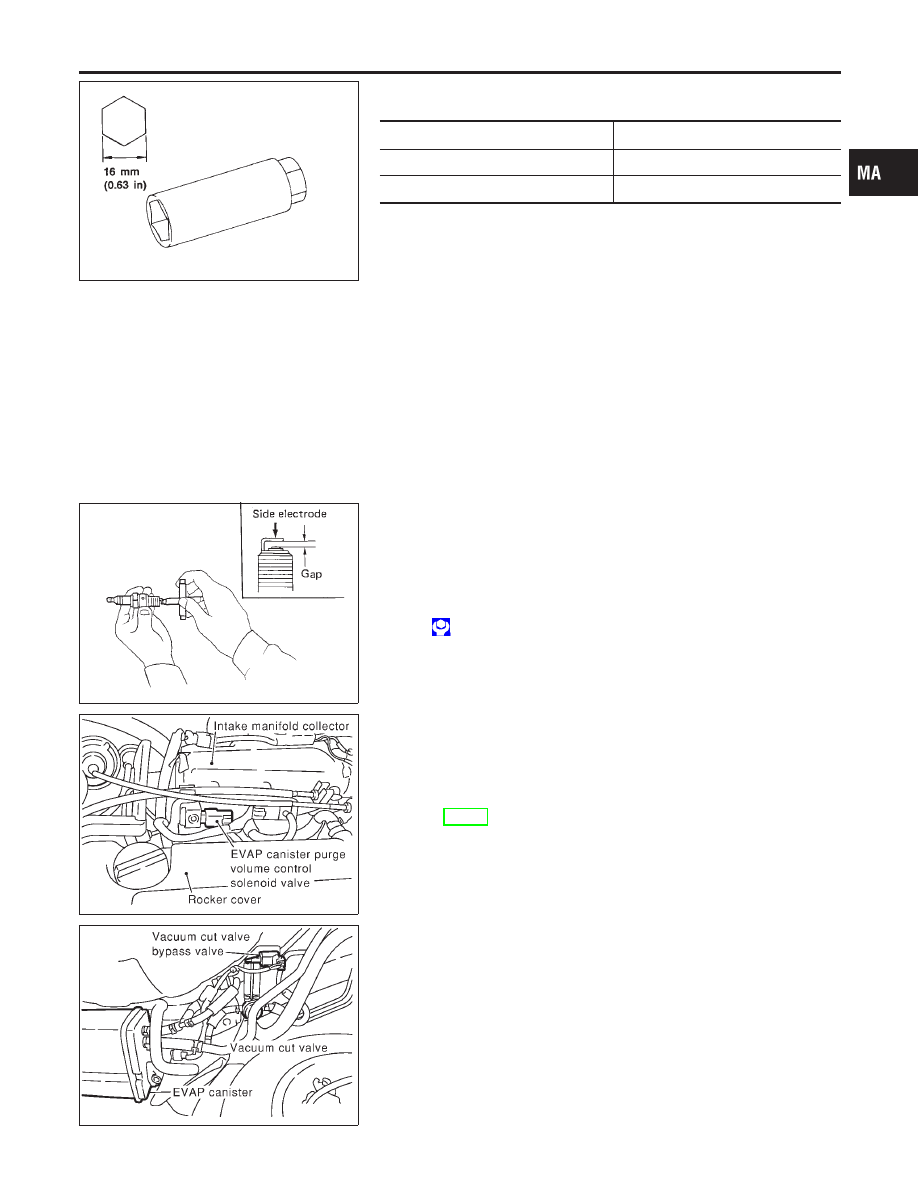
2.
Remove spark plugs with spark plug socket.
Spark plug:
Standard type
BKR5E
Hot type
—
Cold type
BKR6E, BKR7E
Use standard type spark plug for normal condition.
The hot type spark plug is suitable when fouling occurs with the
standard type spark plug under conditions such as:
I
frequent engine starts
I
low ambient temperatures
The cold type spark plug is suitable when spark knock occurs with
the standard type spark plug under conditions such as:
I
extended highway driving
I
frequent high engine revolution
SMA476
3.
Check plug gap of each new spark plug.
Gap: 0.8 - 0.9 mm (0.031 - 0.035 in)
I
Use a wire brush for cleaning, if necessary.
4.
Install spark plugs. Reconnect ignition wires according to num-
bers indicated on them.
Spark plug:
: 20 - 29 N·m (2.0 - 3.0 kg-m, 14 - 22 ft-lb)
SMA079D
SMA080D
Checking EVAP Vapor Lines
NCMA0006S09
1.
Visually inspect EVAP vapor lines for improper attachment,
cracks, damage, loose connections, chafing or deterioration.
2.
Inspect vacuum relief valve of fuel tank filler cap for clogging,
sticking, etc.
Refer to EC-33, “EVAPORATIVE EMISSION SYSTEM”.
GI
EM
LC
EC
FE
CL
MT
AT
AX
SU
BR
ST
RS
BT
HA
SC
EL
IDX
ENGINE MAINTENANCE
Changing Spark Plugs (Conventional type) (Cont’d)
MA-21