Infiniti FX35 / FX45. Manual - part 186
 

  Index      Infiniti     Infiniti FX35 / FX45 (S50) - service repair manual 2008 year


Search            


Content   ..  184  185  186  187   ..


Infiniti FX35 / FX45. Manual - part 186


SQUEAK AND RATTLE TROUBLE DIAGNOSIS

BL-11

< SERVICE INFORMATION >

C

D

E

F

G

H

J

K

L

M

A

B

BL

N

O

P

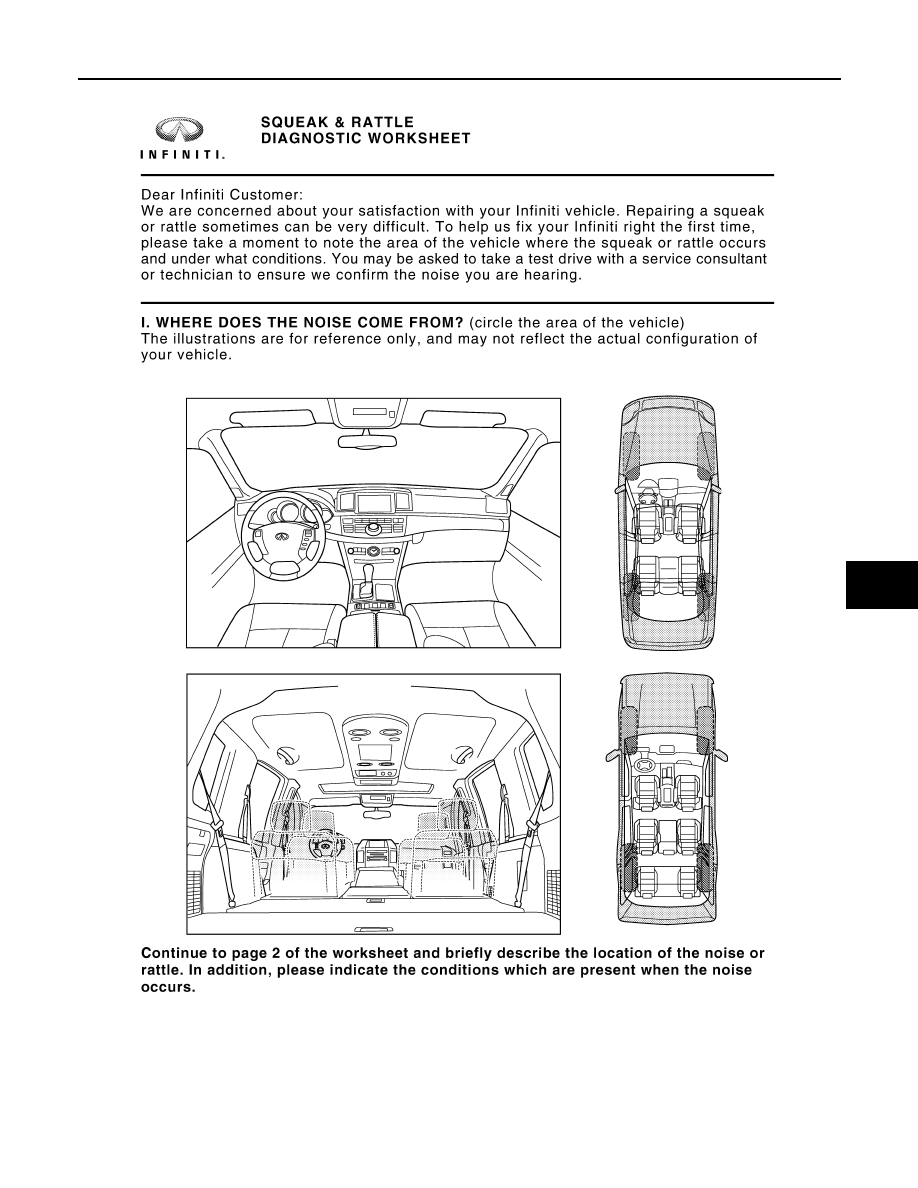
Diagnostic Worksheet

INFOID:0000000001327782

PIIB8741E

BL-12

< SERVICE INFORMATION >

SQUEAK AND RATTLE TROUBLE DIAGNOSIS

PIIB8742E

HOOD

BL-13

< SERVICE INFORMATION >

C

D

E

F

G

H

J

K

L

M

A

B

BL

N

O

P

HOOD

Fitting Adjustment

INFOID:0000000001327783

LONGITUDINAL AND LATERAL CLEARANCE ADJUSTMENT

1.

Remove hood lock assembly, loosen the hood hinge nuts and close the hood.

2.

Adjust the lateral and longitudinal clearance, and open the hood to tighten the hood hinge mounting bolts
to the specified torque.

3.

Install the hood lock temporarily, and align the hood striker and lock so that the centers of striker and lock
become vertical viewed from the front, by moving the hood lock laterally.

4.

Tighten hood lock mounting bolts to the specified torque.

CAUTION:

Adjust right/left clearance between hood and headlamp to the following specification.

FRONT END HEIGHT ADJUSTMENT

1.

Remove the hood lock and adjust the height by rotating the bumper rubber until the hood becomes 1 to1.5
mm (0.04 to 0.059 in) lower than the fender.

2.

Temporarily tighten the hood lock, and position it by engaging it with the hood striker. Check the lock and
striker for looseness, and tighten the hood lock mounting bolts to the specified torque.

SURFACE HEIGHT ADJUSTMENT

1.

Remove hood lock, and adjust the surface height difference of hood, fender and headlamp according to
the fitting standard dimension, by rotating RH and LH bumper rubbers.

2.

Install hood lock temporarily, and move hood lock laterally until the centers of striker and lock become ver-
tical when viewed from the front.

1.

Hood hinge

2.

Nut

3.

Hood stay

4.

Hood lock

5.

Bolt

6.

Bumper rubber

PIIB1212E

Hood and headlamp (C–C)

: Less than 2.0 mm (0.08 in)

BL-14

< SERVICE INFORMATION >

HOOD

3.

Make sure that the hood lock secondary latch is properly
engaged with the secondary striker with hood's own weight.

4.

Make sure that the hood lock primary latch is securely engaged
with the hood striker with hood's own weight by dropping hood
from approx. 200 mm (7.87 in) height.

CAUTION:

Do not drop hood from a height of 300 mm (11.81 in) or
more.

5.

Move hood lockup and down until striker smoothly engages the
lock when the hood is closed.

6.

When pulling the hood opener lever gently, make sure that front
end of the hood rises by approximately 20 mm (0.79 in) and that
hood striker and hood lock primary latch is disengaged. Also make sure that hood opener returns to the
original position.

7.

After adjustment, tighten lock bolts to the specified torque.

CAUTION:

Adjust evenness between hood and each part to the following specification.

Removal and Installation of Hood Assembly

INFOID:0000000001327784

REMOVAL

Hood and head lamp (C–C)

: 0.9 

±

 1.5 mm (0.035 

±

 0.059 in)

Hood and fender (D–D)

: 0.1 

±

 1.0 mm (0.004 

±

 0.04 in)

PIIB1082E

1.

Hood assembly

2.

Hood front sealing rubber

3.

Hood insulator

4.

Hood hinge

5.

Hood stay

6.

Hood lock

7.

Bolt 8.

Nut 

PIIA6016E


Content   ..  184  185  186  187   ..