Dodge Durango (HB). Manual - part 468
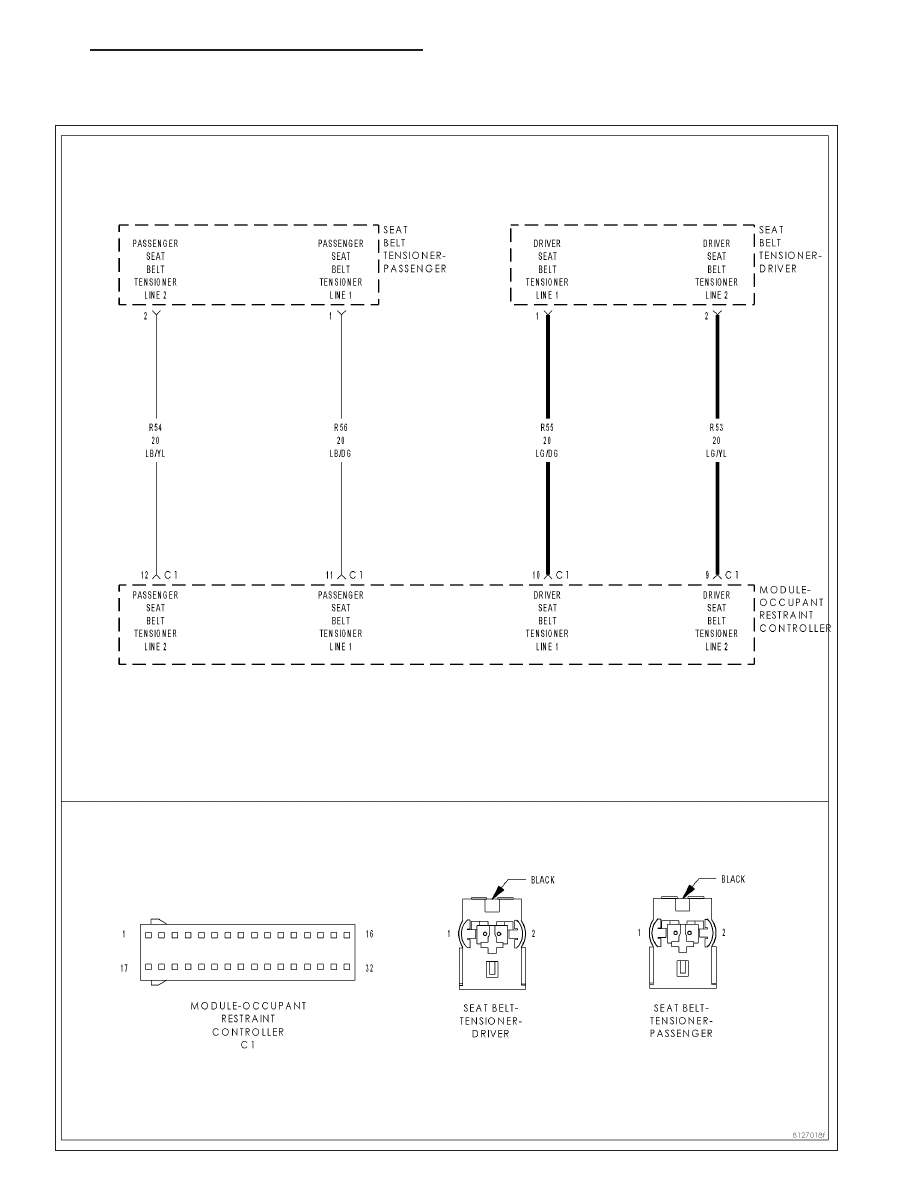
B1B2B-1st ROW DRIVER SEAT BELT PRETENSIONER CIRCUIT SHORT TOGETHER
HB
RESTRAINTS - ELECTRICAL DIAGNOSTICS
8O - 141
|
|
|
B1B2B-1st ROW DRIVER SEAT BELT PRETENSIONER CIRCUIT SHORT TOGETHER HB RESTRAINTS - ELECTRICAL DIAGNOSTICS 8O - 141 |