DAF LF45, LF55 Series. Manual - part 204


  Index      DAF     DAF LF45, LF55 Series - service repair manual


Search            


Content   ..  202  203  204  205   ..


DAF LF45, LF55 Series. Manual - part 204


©

 200505

3-5

Description of components

CE ENGINE COOLING SYSTEM

ΛΦ45/55 series

2

6

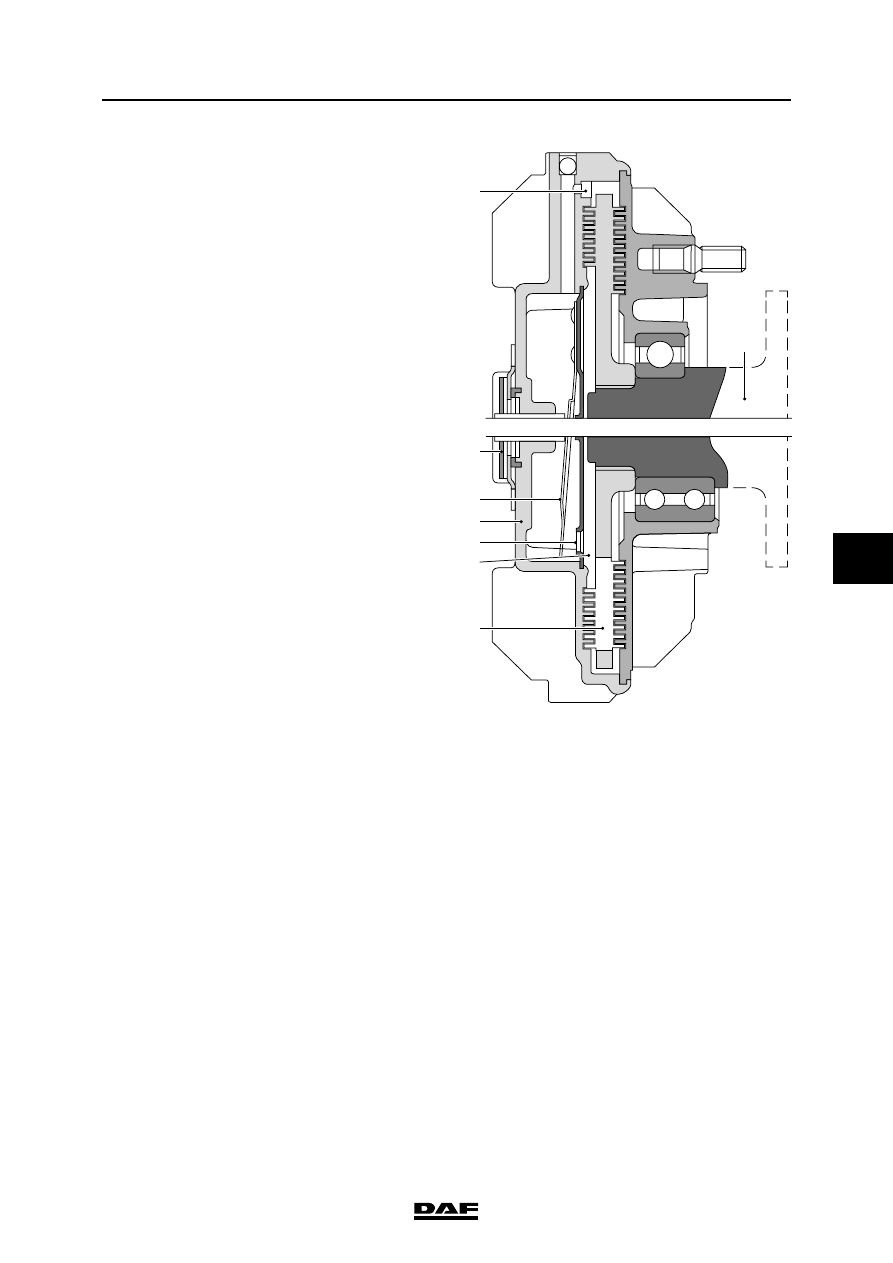
As the air temperature rises, the bimetallic strip 

(6) will continue to bend and the opening (4) in the 

supply chamber (3) will be fully released.

The further the opening (4) in the supply chamber 

(3) is released, the more silicone fluid will flow into 

the working area (1) and past the rotor (2). As a 

result of the increase in friction, the difference in 

rotating speed (slip) between the drive flange (7) 

and the supply chamber (3) will further decrease.

M201039

6

8

7

5

2

3

4
1

CE ENGINE COOLING SYSTEM

3-6

©

 200505

Description of components

6

ΛΦ45/55 series

2

©

 200505

4-1

Checking and adjusting

CE ENGINE COOLING SYSTEM

ΛΦ45/55 series

2

6

4. CHECKING AND ADJUSTING

4.1 PRESSURE-TESTING COOLING SYSTEM

When the coolant is hot, there is 

overpressure in the cooling system. 

Carefully remove the filler cap to 

release the overpressure. Coolant is 

a toxic fluid. Contact with the skin 

should therefore be avoided. To 

avoid damaging the cylinder block, 

do not top up a warm engine with 

cold coolant.

The cooling system can be checked for leaks with 

a pressure-test pump.

If this is done when the engine is warm, any 

cracks can be spotted more quickly.

1.

Open the grille.

2.

Remove the filler cap.

3.

Fill the cooling system to the correct level.

4.

Raise the engine temperature. This need not 

be the operating temperature.

Note:

By fitting the pressure-test pump onto the filler 

opening of the header tank, the pressure cap can 

also be tested.

5.

Fit a pressure-test pump. Pressure-test the 

system at the specified pressure. See 

"Technical data".

6.

Check the cooling system for leakage.

}

M201149

CE ENGINE COOLING SYSTEM

4-2

©

 200505

Checking and adjusting

6

ΛΦ45/55 series

2

4.2 INSPECTING THE THERMOSTAT

1.

Remove the thermostat. See "Removal and 

installation".

2.

Inspect the sealing surfaces of the 

thermostat housing for damage.

3.

Check the thermostat seat for damage.

4.

Check whether the thermostat is fully closed.

5.

Place the thermostat in a container filled with 

clean water.

6.

Place a thermometer in the container and 

heat the water. Check at which temperature 

the thermostat opens and whether it opens 

fully. See "Technical data".

M200513


Content   ..  202  203  204  205   ..