DAF 95XF. Manual - part 428


  Index      DAF     DAF 95XF Series - service repair manual


Search            


Content   ..  426  427  428  429   ..


DAF 95XF. Manual - part 428


4

XE ENGINE INLET/EXHAUST SYSTEM

Removal and installation

95

XF series

4-6

4.3

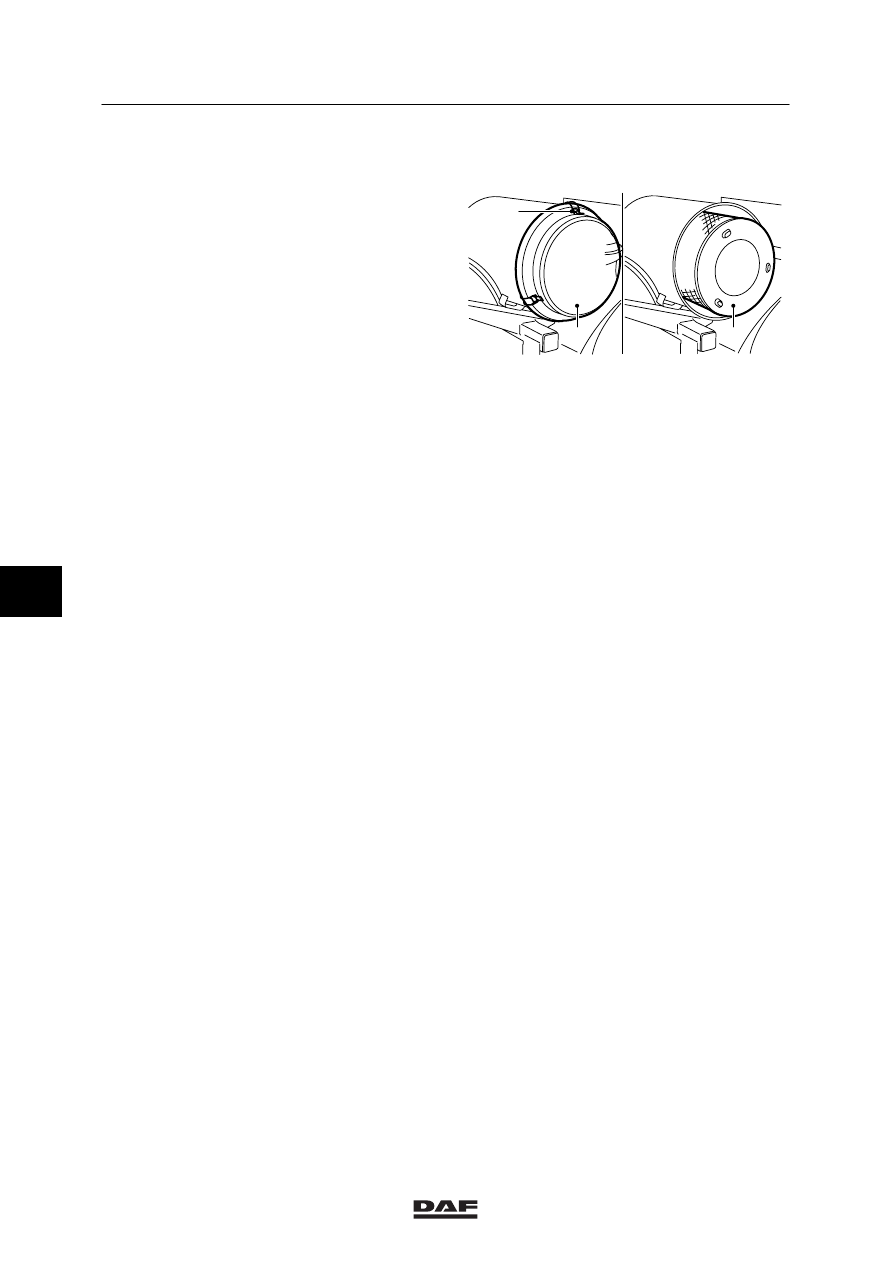
REMOVAL AND INSTALLATION OF AIR CLEANER ELEMENT

Removing the air cleaner element
1.

Remove the clamping bracket
connectors (1) from the air-filter
cover (2).

2.

Remove the air-filter cover.

3.

Remove the air-filter element (3).

4.

Check the air cleaner element for damage.
If the air-filter element or its seals are
damaged, the air-filter element must be
replaced.

5.

Clean the inside of the air cleaner housing
and the air cleaner cover.

6.

If required, clean the air-filter element, see
chapter “Cleaning”.

Installing the air cleaner element
1.

Install the air-filter element in the air-filter
housing.

2.

Install the air-filter cover, making sure the
arrow on the cover points upwards.

Note:
This position is important if a rubber sealing
valve has been installed on the air-filter
cover.

3.

Install the clamping brackets.

i 400207

3

2

1

6

©

 0008

4

95

XF series

Cleaning

XE ENGINE INLET/EXHAUST SYSTEM

5-1

5.  CLEANING

5.1

CLEANING THE RADIATOR AND INTERCOOLER

Inhalation of dust may have serious
consequences for your health.
Take the necessary precautions,
such as wearing goggles and a face
mask.

Cleaning the protective screen
1.

Remove the lower grille.

2.

Unscrew the protective screen attachment
bolts.

3.

Remove the protective screen.

4.

Clean the protective screen with a hard
brush, and blow-clean it with compressed
air.

Cleaning the radiator and intercooler
elements
With the aid of a simple tool, the radiator and the
intercooler can be blow-cleaned.
This tool can be made in your own workshop. It
cannot be obtained from DAF.

Key to drawing:
1.

Solder up

2.

Solder

3.

Quick-release coupling for air pipe

4.

Steel pipe, 

 10 mm

5.


 1.5 mm diameter holes, with a

centre-to-centre distance between the
holes of 7 mm, drilled on one side.

100mm

5mm

2

1150mm

2

4

3

5

5

4

1

1

M2108

6

©

 0008

4

XE ENGINE INLET/EXHAUST SYSTEM

Cleaning

95

XF series

5-2

1.

Note:
Make sure not to damage the intercooler
and radiator element when fitting the
radiator cleaner.

Insert the radiator cleaner (4) between the
intercooler (1) and radiator (2), from the
bottom upwards, with the air holes facing
the intercooler (1).

2.

Apply air pressure to the radiator
cleaner (4) and continue blow-cleaning the
intercooler (1) until the release of dirt has
stopped.

3.

Turn the radiator cleaner over, turning the
holes towards the radiator (2), and
blow-clean the radiator (2).

1

2

3

4

M2109

P

1

2

3

4

M2110

P

6

©

 0008

4

95

XF series

Cleaning

XE ENGINE INLET/EXHAUST SYSTEM

5-3

5.2

CLEANING THE AIR CLEANER ELEMENT

Inhalation of dust may have serious
consequences for your health.
Take the necessary precautions,
such as wearing goggles and a face
mask.

1.

Remove the air cleaner element, see
chapter “Removal and installation”.

2.

Check the air cleaner element for damage.
If the air-filter element or its seals are
damaged, the air-filter element must be
replaced.

3.

Knock on the air cleaner element to remove
any dirt.

4.

Blow-clean the air-filter element by blowing
pressurised air through from the inside,
using a maximum pressure of approx.
1.5 bar.

5.

Install the air cleaner element. See
“Removal and installation”.

M2009

6

©

 0008


Content   ..  426  427  428  429   ..