BMW 3 (E46). Manual - part 49
 

  Index      BMW     BMW 3 (E46) - service repair manual 2006 year


Search            


Content   ..  47  48  49  50   ..


BMW 3 (E46). Manual - part 49


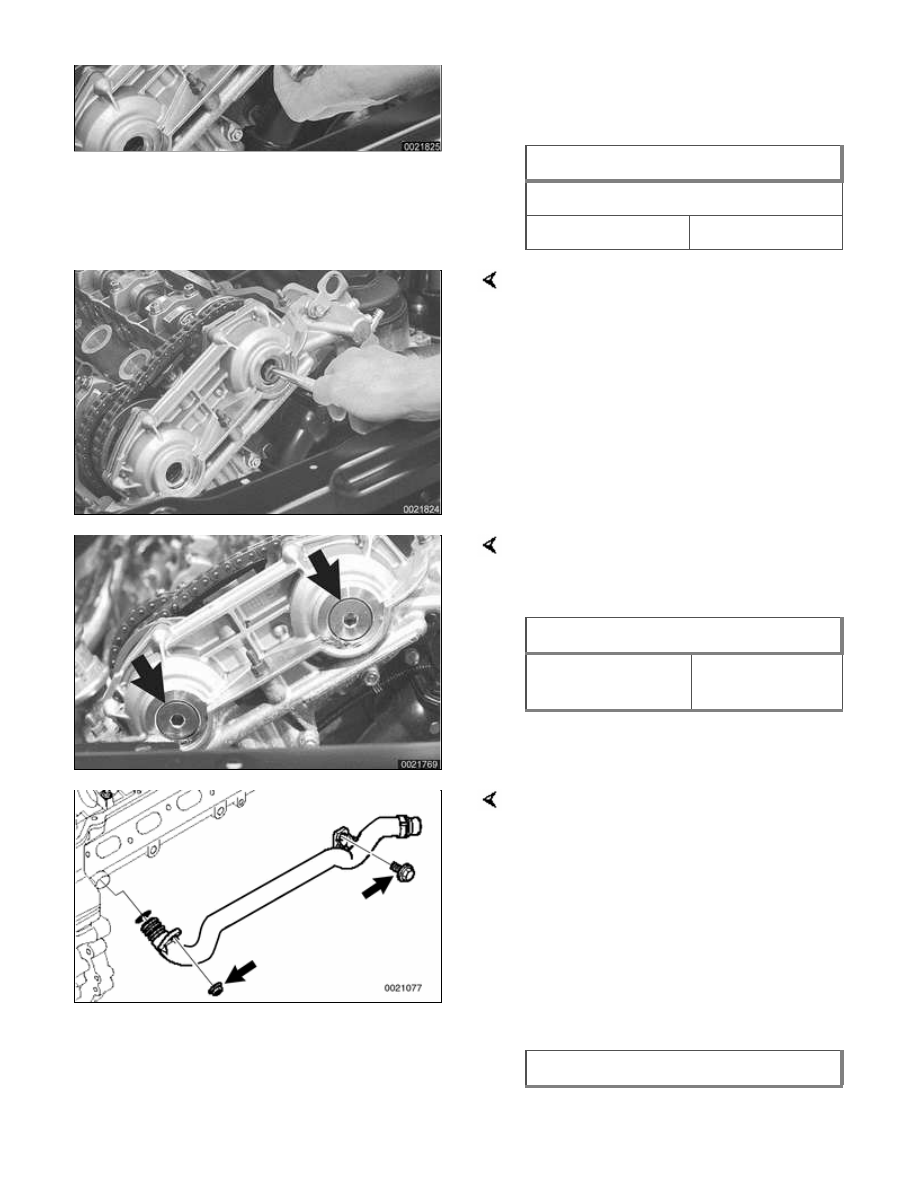
Set screws have left hand thread.
Tighten counterclockwise.

Tightening torque

Hydraulic piston to splined shaft

M6 set screw

10 Nm (89 in-lb)

Replace sealing caps inside VANOS
unit with BMW special tool 11 6 170, or
short flat nosed pliers.

Insert and secure VANOS sealing
plugs (arrows) with new sealing
O-rings.

Tightening torque

Sealing plug to
VANOS unit

50 Nm (37 ft-lb)

Install coolant pipe fasteners at base of
cylinder head and tighten fasteners
(arrows).

Note:

Use new sealing O-ring on coolant pipe.

 -

Install VANOS oil line banjo bolt
with new seals. Attach oil line to
VANOS unit.

Tightening torque

Tightening torque

Oil line to VANOS
unit (banjo bolt)

32 Nm (24 ft-lb)

 -

Remove BMW special tool 11 4
220 and reinstall chain tensioner
cylinder.

Tightening torque

Primary chain
tensioner cylinder
to cylinder head

70 Nm (52 ft-lb)

 -

Remove flywheel locking tool from
transmission bellhousing. Replace
special tool bore sealing plug.

 -

Remove camshaft locking tools
from cylinder head.


Cylinder head cover,
manifolds, cooling system,
installing

Install intake camshaft cover and
cylinder head cover.

Check for correct seating of
half-moon seals (A) in back of
cylinder head cover.

Use a small amount of
3-Bond®1209 or equivalent
sealant at corners (B) of
half-moon cutouts.

Seat gasket and seal corners in
front of cylinder head at VANOS
unit.

Tightening torque

Cylinder head
cover to cylinder
head (M6)

10 Nm (89 in-lb)

 -

Install exhaust manifolds using
new gaskets and nuts. Coat
manifold studs with copper paste
prior to installing nuts.

Tightening torque

Exhaust manifold
to cylinder head
(M7)

20 Nm (15 ft-lb)

 -

Install electrical harness
connectors for oil pressure sender
and coolant temperature sensor
before installing intake manifold.

Intake manifold Installation is reverse of
removal.

1 - Manifold mounting nuts -tighten to

15 Nm (11 ft-lb)

2 - Fuel pipe bracket

3 - Fuel pipe bracket

4 - Vacuum pump bracket

5 - Manifold mounting bracket

6 - Tank venting valve bracket

7 - Mounting bracket to manifold bolt

(M6) -tighten to 10 Nm (7 ft-lb)

8 - Mounting bracket to cylinder block

nut (M10) -tighten to 47 Nm (33
ft-lb)

Use new fuel injector seals.

Carefully check intake manifold
gasket and replace if necessary.

Inspect O-ring seal between mass
air flow sensor and air filter
housing. To facilitate reassembly,
coat seal with acid-free grease.

CAUTION!

When reattaching throttle assembly
harness connector, connector is fully
tightened when arrows on connector
and plug line up.

Tightening torques

Intake manifold to cylinder head

M7

15 Nm (11 ft-lb)

M8

22 Nm (16 ft-lb)

Mounting bracket
to cylinder block
(M10)

47 Nm (33 ft-lb)

Mounting bracket
to intake manifold
(M6)

10 Nm (7 ft-lb)

 -

Installation of remaining parts is
reverse of removal, noting the
following:

Refill cooling system as described
in 


170 Radiator and Cooling

System

.

Change engine oil and filter as
described in 

020 Maintenance

.

If necessary, adjust accelerator
cable.


Content   ..  47  48  49  50   ..