Lotus Eleven/Elise/Exige. Manual - part 22
Lotus Service Notes Section BR
Page 28
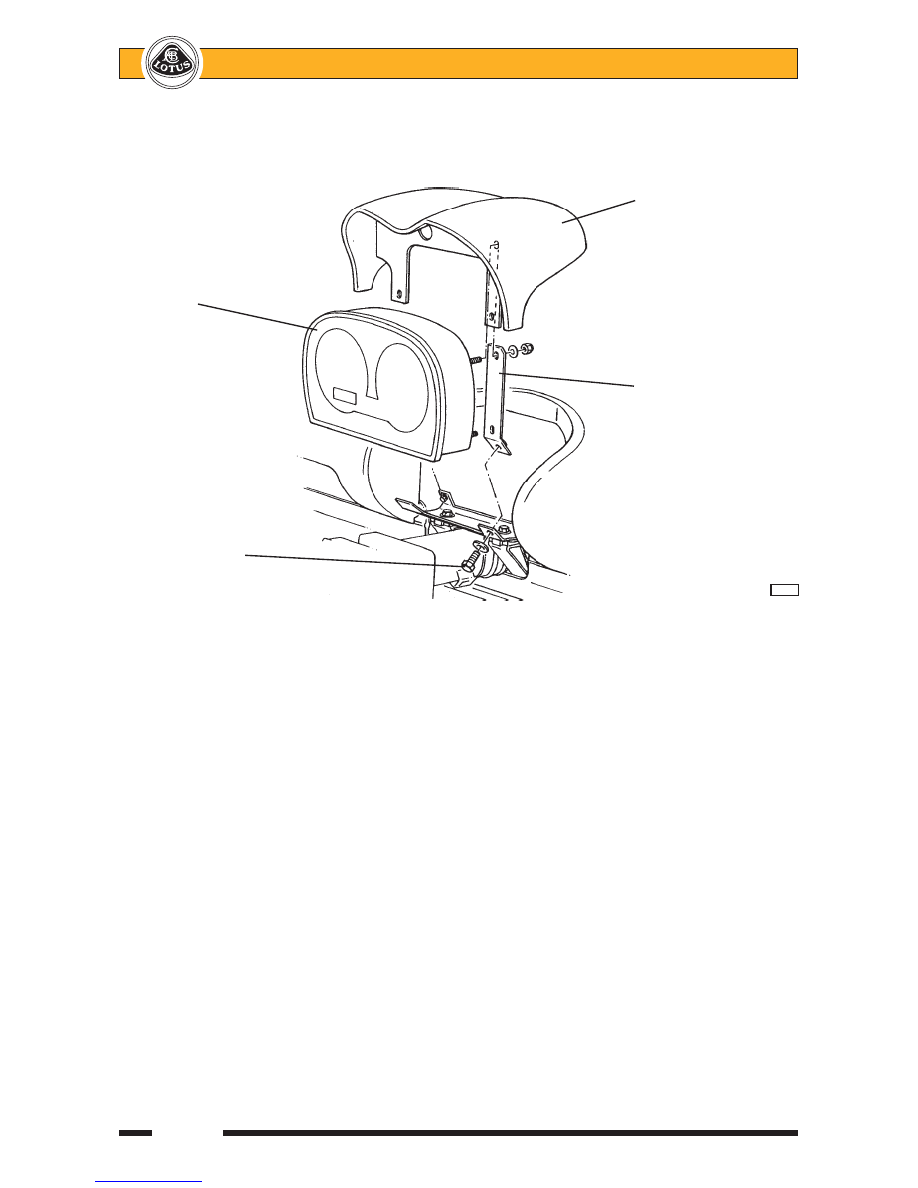
2.
Release the two fixings securing the binnacle mounting brackets to the column, and withdraw the instru-
ment pack and cowl. Unplug the harness connector.
3.
Release the screws securing each fascia end (speaker) panel, disconnect the switch and speaker har-
nesses and withdraw the panels.
4.
Carefully prise each windscreen outlet vent from the fascia.
5.
Remove the screws at each end securing the fascia capping panel, and withdraw the panel.
6.
Remove the plastic finisher above the climate controls. Remove the four screws securing the top flange
of the dash extrusion to the underside of the fascia top.
7.
Lift the rear of the fascia top to release the two locating bosses from the keyhole slots in the dash, and pull
the fascia rearwards to withdraw the two front edge spigot pins.
8.
If the demist ducting is found to have become detached, or loose from the facia top foam moulding, the
duct should be refixed as follows:
- Remove any fixing screws, separate the duct from the fascia and remove any glue from the ducting.
- Roughen the bonding surface of the fascia with sand paper and clean and degrease with Betaclean 3900
or Acetone. Similarly clean and degrease the bonding surface of the demist duct.
- Prime bonding surfaces with Betaprime 5404 and bond with Betaseal 1701 or similar one component
polyurethane adhesive.
Instrument cowl
Instrument
pack
Binnacle
mounting
bracket
Mounting bracket
fixing screw
b259a