Snowmobile Polaris 700 Classic / 700 touring (2006 year). Manual - part 7
28
FEATURES
RIDER SELECT Adjustable Steering System
The RIDER SELECT adjustable steering system allows you to adjust
the handlebar position to fit your style of riding. Some models have
five (5) adjustment positions. Other models have seven (7) positions.
WARNING
If your snowmobile has five adjustment positions, do not remove
the RIDER SELECT lockout. Your Polaris snowmobile has been
engineered for this range of adjustability. Removing this lockout
and using RIDER SELECT position 6 or 7 will result in the
handlebars and brake lever contacting other components and
interfering with steering and braking. This could lead to loss of
control resulting in serious injury or death. Always be sure that
the handlebars and brake lever do not contact any other
snowmobile components at any steering position AND at any
RIDER SELECT position.
Do not use RIDER SELECT positions 6 or 7 unless riding
conditions require it. Operation in position 6 or 7 can reduce
vehicle handling for other types of riding and result in serious
injury or death.
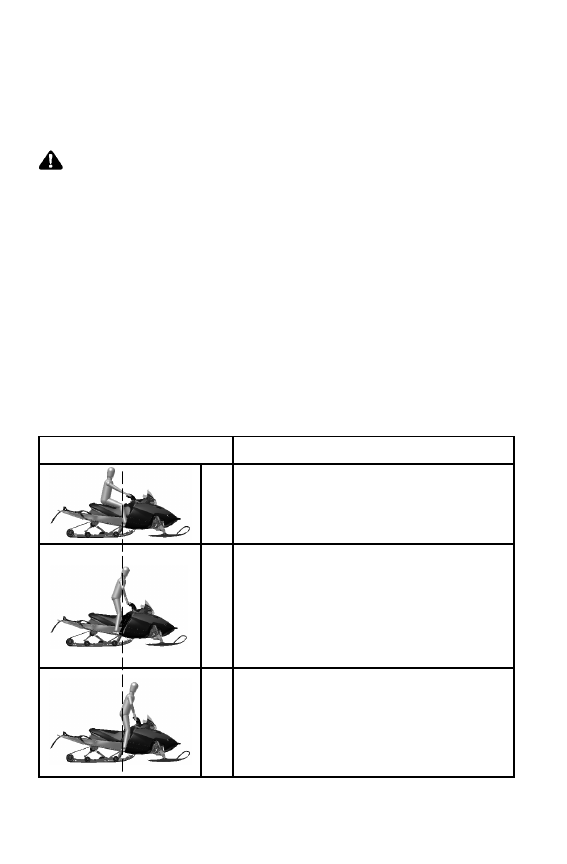
Choosing the Best RIDER SELECTt Position
Position
Riding Style
1
2
3
Relaxed Trail Riding
Rider weight is slightly behind the center
of the snowmobile for comfortable and
relaxed riding.
4
5
General Trail Riding, Boondocking,
Deep Snow Riding
Rider weight is centered on the snow-
mobile, providing balance, comfort and
control for both novice and experienced
riders. This is the recommended posi-
tion for most riding situations.
6
7
Snowcross/Steep Hill Climbing Only
Rider weight is ahead of the center of
the snowmobile, adding weight to the
skis and making the snowmobile heavier
in the front. These positions are ONLY
for snowcross and severe hill climbing.