Nissan Rogue (2023 year). Manual in english - page 7
.
The supplemental air bag warning
light remains on after approximately
7 seconds.
.
The supplemental air bag warning
light flashes intermittently.
.
The supplemental air bag warning
light does not illuminate at all.
It is recommended you visit a NISSAN
dealer for these services.
Unless checked and repaired, the Supple-
mental Restraint Systems and/or the
pretensioners may not function properly.
For additional information, see “Supple-
mental Restraint System (SRS)” (P.1-47).
WARNING
If the supplemental air bag warning
light is on, it could mean that the
front air bag, side air bag, curtain air
bag and/or pretensioner systems
will not operate in an accident. To
help avoid injury to yourself or
others, have your vehicle checked. It
is recommended you visit a NISSAN
dealer for this service.
WARNING/INDICATOR LIGHTS (yel-
low)
See “Vehicle information display” (P.2-22).
or
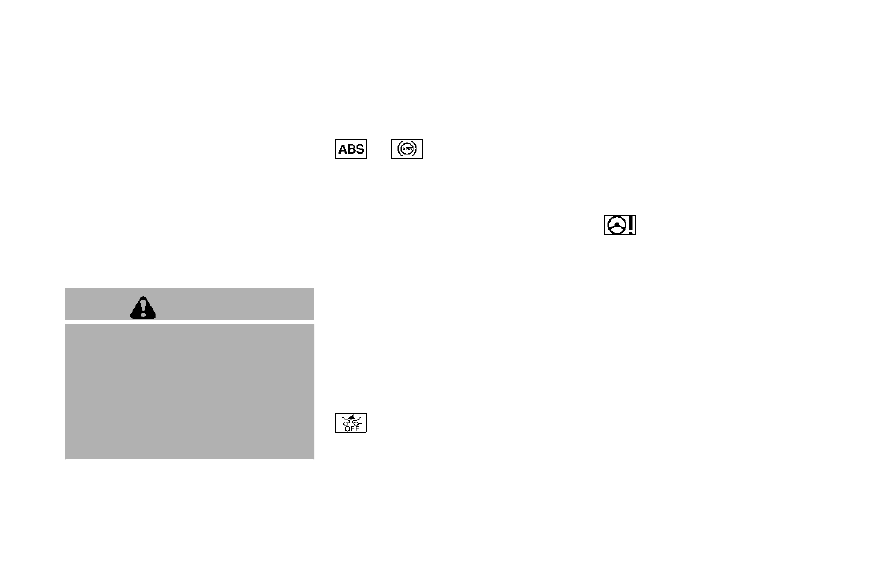
Anti-lock Braking Sys-
tem (ABS) warning light
When the ignition switch is in the ON
position, the Anti-lock Braking System
(ABS) warning light illuminates and then
turns off. This indicates the ABS is opera-
tional.
If the ABS warning light illuminates while
the engine is running, or while driving, it
may indicate the ABS is not functioning
properly. Have the system checked. It is
recommended you visit a NISSAN dealer
for this service.
If an ABS malfunction occurs, the anti-
lock function is turned off. The brake
system then operates normally, but with-
out anti-lock assistance. (See “Brake sys-
tem” (P.5-157).)
Automatic Emergency Braking
(AEB) system OFF warning light
When the ignition switch is in the ON
position, the AEB system OFF warning
light illuminates. After starting the engine,
the warning light turns off.
This light illuminates when the AEB with
Pedestrian Detection system is set to OFF
on the vehicle information display.
If the light illuminates or flashes when the
AEB with Pedestrian Detection system is
ON, it may indicate that the system is
unavailable. See “Automatic Emergency
Braking (AEB) with Pedestrian Detection
system” (P.5-124) or “Intelligent Forward
Collision Warning (I-FCW)” (P.5-134).
Electric power steering warn-
ing light
When the ignition switch is in the ON
position, the electric power steering
warning light illuminates. After starting
the engine, the electric power steering
warning light turns off. This indicates the
electric power steering is operational.
If the electric power steering warning
light illuminates while the engine is run-
ning, it may indicate the electric power
steering is not functioning properly and
may need servicing. Have the system
checked. It is recommended that you visit
a NISSAN dealer for this service.
When the electric power steering warning
light illuminates with the engine running,
the power assist to the steering will cease
operation but you will still have control of
the vehicle. At this time, greater steering
efforts are required to operate the steer-
Instruments and controls
2-17