Nissan Titan (2023 year). Manual in english - page 32
NOTE:
Do not try to open the top of the battery.
The Type B battery is not equipped with
removable vent caps.
JUMP STARTING
If jump starting is necessary, see “Jump
starting” (P. 6-10). If the engine does not
start by jump starting, the battery may
have to be replaced. It is recommended
that you visit a NISSAN dealer for this
service.
CAUTION
•
Do not ground accessories directly to
the battery terminal. Doing so will
bypass the variable voltage control
system and the vehicle battery may
not charge completely.
•
Use electrical accessories with the
engine running to avoid discharging
the vehicle battery.
NOTE:
If the battery is completely drained the
transmission will not manually shift to
other positions.
Your vehicle is equipped with a variable
voltage control system. This system mea-
sures the amount of electrical discharge
from the battery and controls voltage gen-
erated by the generator.
The current sensor is located near the bat-
tery along the negative battery cable. If you
add electrical accessories to your vehicle,
be sure to ground them to a suitable body
ground such as the frame or engine block
area.
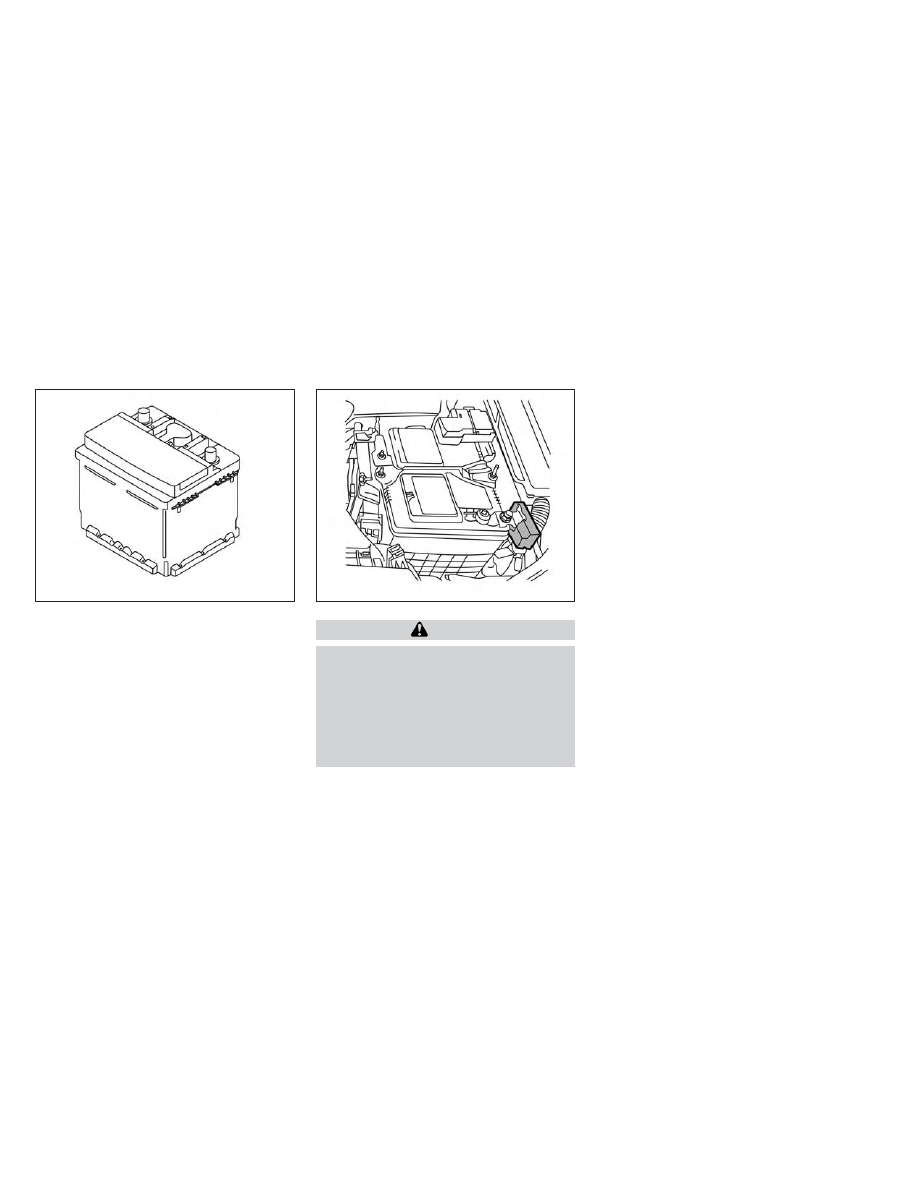
LDI3302
Battery (Type B) (if so equipped)
LDI2132
VARIABLE VOLTAGE CONTROL
SYSTEM
8-20
Do-it-yourself