Nissan Qashqai (2022 year). Manual in english - page 6
Resetting twin trip odometer:
Push the TRIP RESET switch
for more
than 1 second to reset the trip odometer
to zero.
JVI0951X
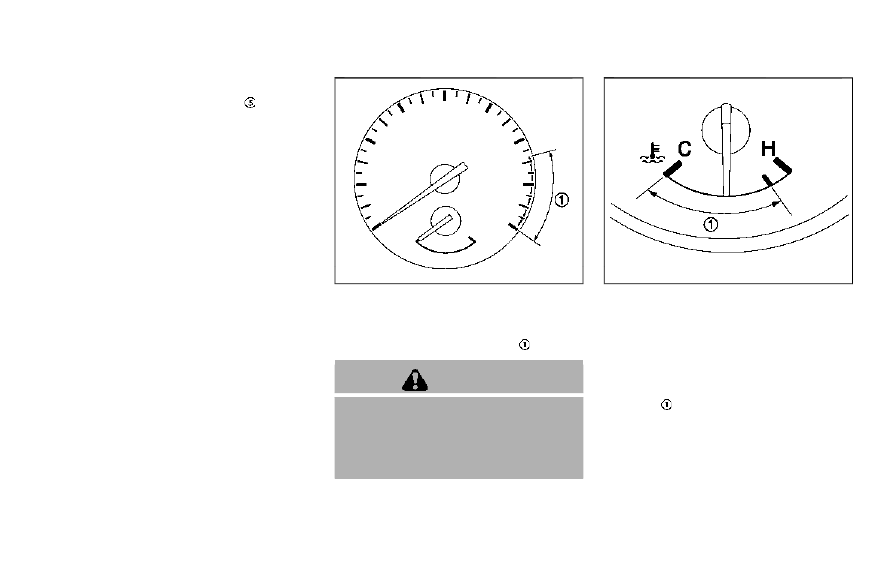
TACHOMETER
The tachometer indicates engine speed in
revolutions per minute (RPM).
Do not rev
the engine into the red zone
.
CAUTION
When engine speed approaches the
red zone, shift to a higher gear or
reduce engine speed. Operating the
engine in the red zone may cause
serious engine damage.
JVI0820X
ENGINE COOLANT TEMPERATURE
GAUGE
The engine coolant temperature gauge
indicates the engine coolant tempera-
ture.
The engine coolant temperature is nor-
mal when the gauge needle points within
the zone
shown in the illustration.
The engine coolant temperature will vary
with the outside air temperature and
driving conditions.
Instruments and controls
2-7