Nissan Murano Z50 (2007 year). Manual - part 109
SIDE WINDOW GLASS
EI-27
C
D
E
F
G
H
J
K
L
M
A
B
EI
Revision: 2006 July
2007 Murano
SIDE WINDOW GLASS
PFP:83300
Removal and Installation
NIS001E8
SIDE WINDOW MOLDING
Removal
Remove side window molding. Refer to
GW-15, "Removal and Installation"
.
Installation
Install side window molding. Refer to
GW-15, "Removal and Installation"
.
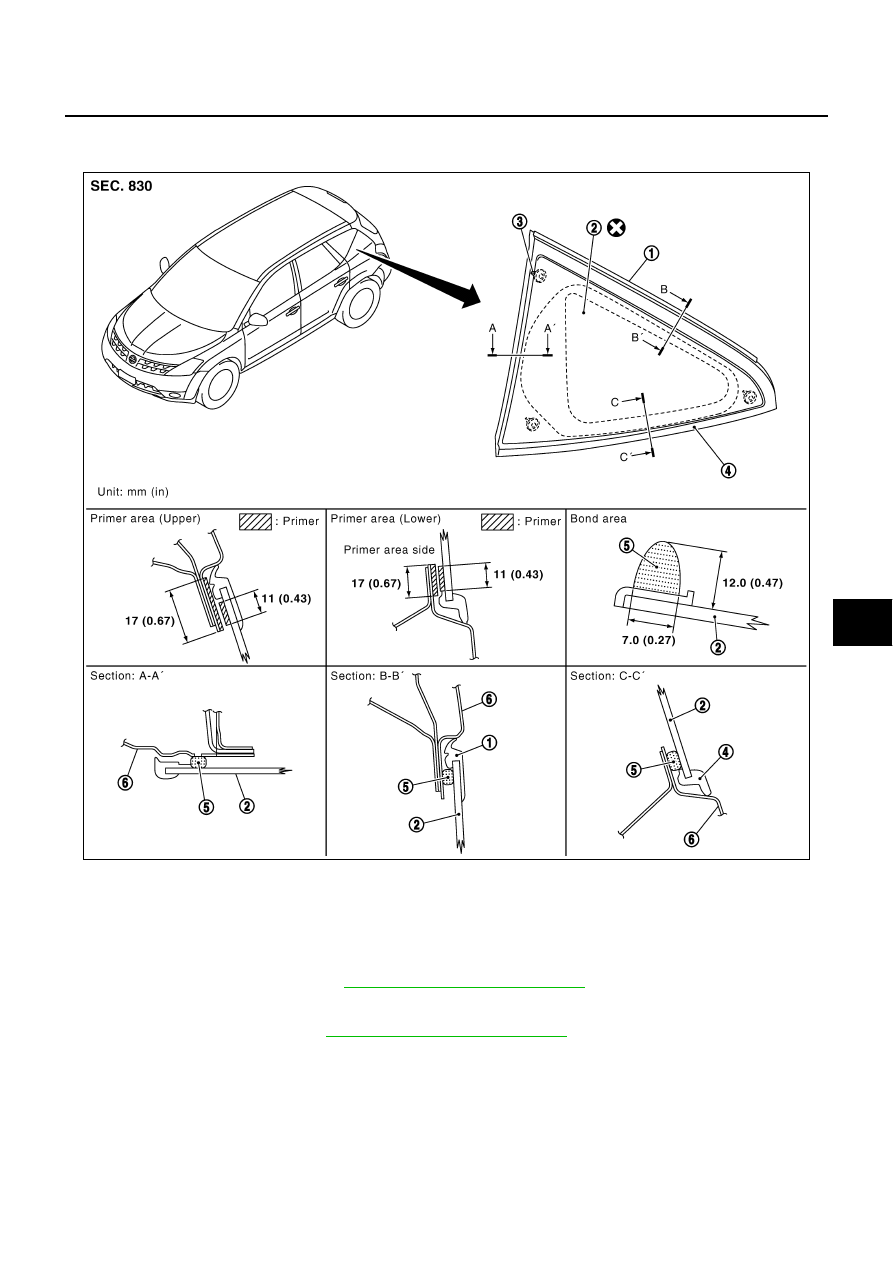
PIIA3793E
1.
Side window glass molding (Upper)
2.
Side window glass
3.
Clip
4.
Side window glass molding (Lower)
5.
Bond
6.
Body side outer panel