Nissan Murano Z50 (2006 year). Manual - part 133
PREPARATION
FSU-3
C
D
F
G
H
I
J
K
L
M
A
B
FSU
Revision: 2006 August
2006 Murano
PREPARATION
PFP:00002
Special Service Tools (SST)
NES00086
The actual shapes of Kent-Moore tools may differ from those of special service tools illustrated here.
Commercial Service Tools
NES00087
Tool number
(Kent-Moore No.)
Tool name
Description
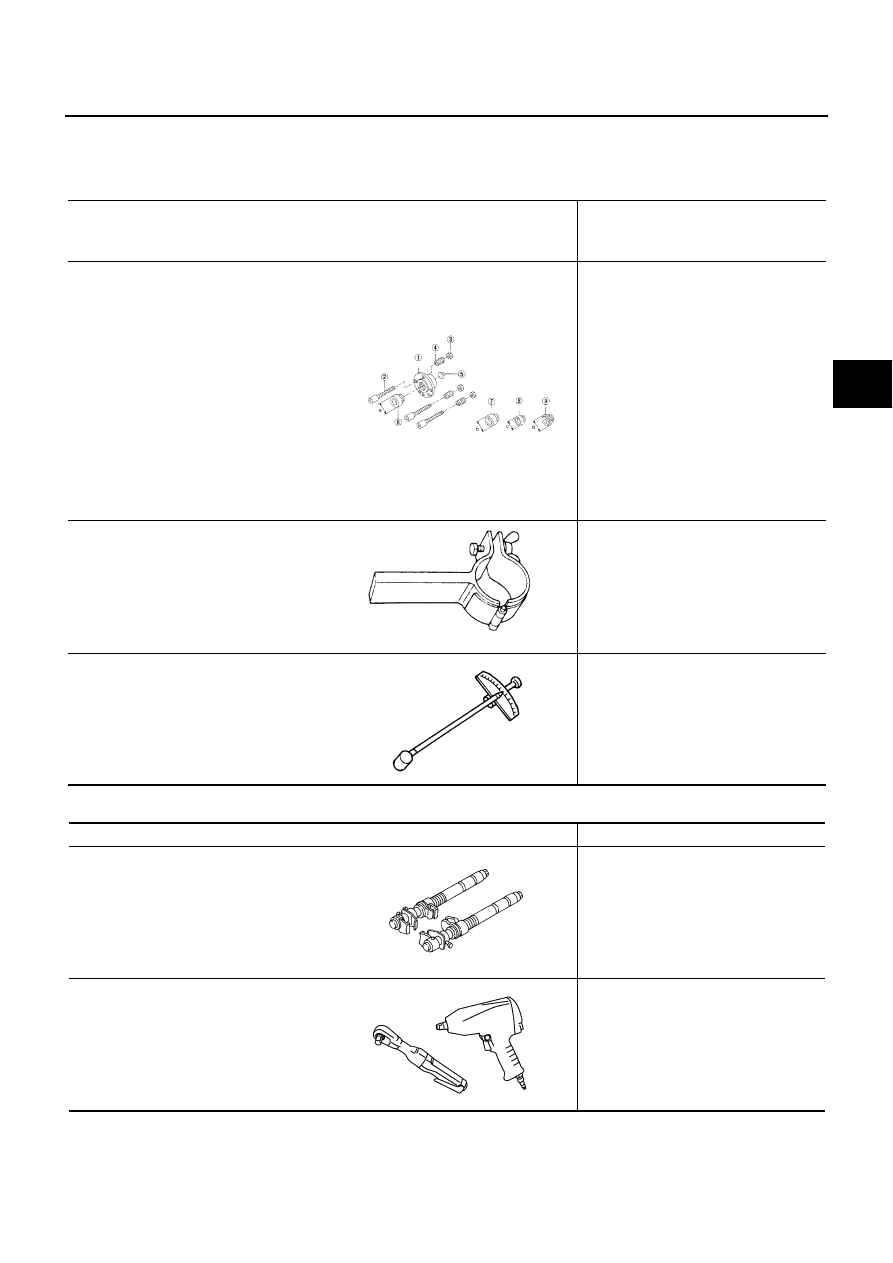
KV991040S0
( — )
CCK gauge attachment
1. Plate
2. Guide bolts
3. Nuts
4. Springs
5. Center plate
6. KV99104020 Adapter A
a: 72 mm (2.83 in) dia.
7. KV99104030 Adapter B
b: 65 mm (2.56 in) dia.
8. KV99104040 Adapter C
c: 57 mm (2.24 in) dia.
9. KV99104050 Adapter D
d: 53.4 mm (2.102 in) dia.
Measuring wheel alignment
ST35652000
( — )
Strut attachment
Disassembling and assembling strut
ST3127S000
(J-25765-A)
Measuring sliding torque of ball joint
S-NT498
ZZA0807D
ZZA0806D
Tool name
Description
Spring compressor
Removing and installing coil spring
Power tool
Loosening bolts and nuts
S-NT717
PBIC0190E