Nissan Murano Z50 (2006 year). Manual - part 115
ASCD INDICATOR
EC-619
C
D
E
F
G
H
I
J
K
L
M
A
EC
Revision: 2006 August
2006 Murano
Diagnostic Procedure
NBS003EM
1.
CHECK OVERALL FUNCTION
Check ASCD indicator under the following conditions.
OK or NG
OK
>> INSPECTION END
NG
>> GO TO 2.
2.
CHECK DTC
Check that DTC U1000 or U1001 is not displayed.
OK or NG
OK
>> GO TO 3.
NG
>> Perform trouble diagnoses for DTC U1000, U1001. Refer to
.
3.
CHECK DTC WITH “UNIFIED METER AND A/C AMP.”
Refer to
OK or NG
OK
>> GO TO 4.
NG
DI-34, "DTC [B2202] Meter Communication Circuit"
4.
CHECK INTERMITTENT INCIDENT
Refer to
EC-142, "TROUBLE DIAGNOSIS FOR INTERMITTENT INCIDENT"
>> INSPECTION END
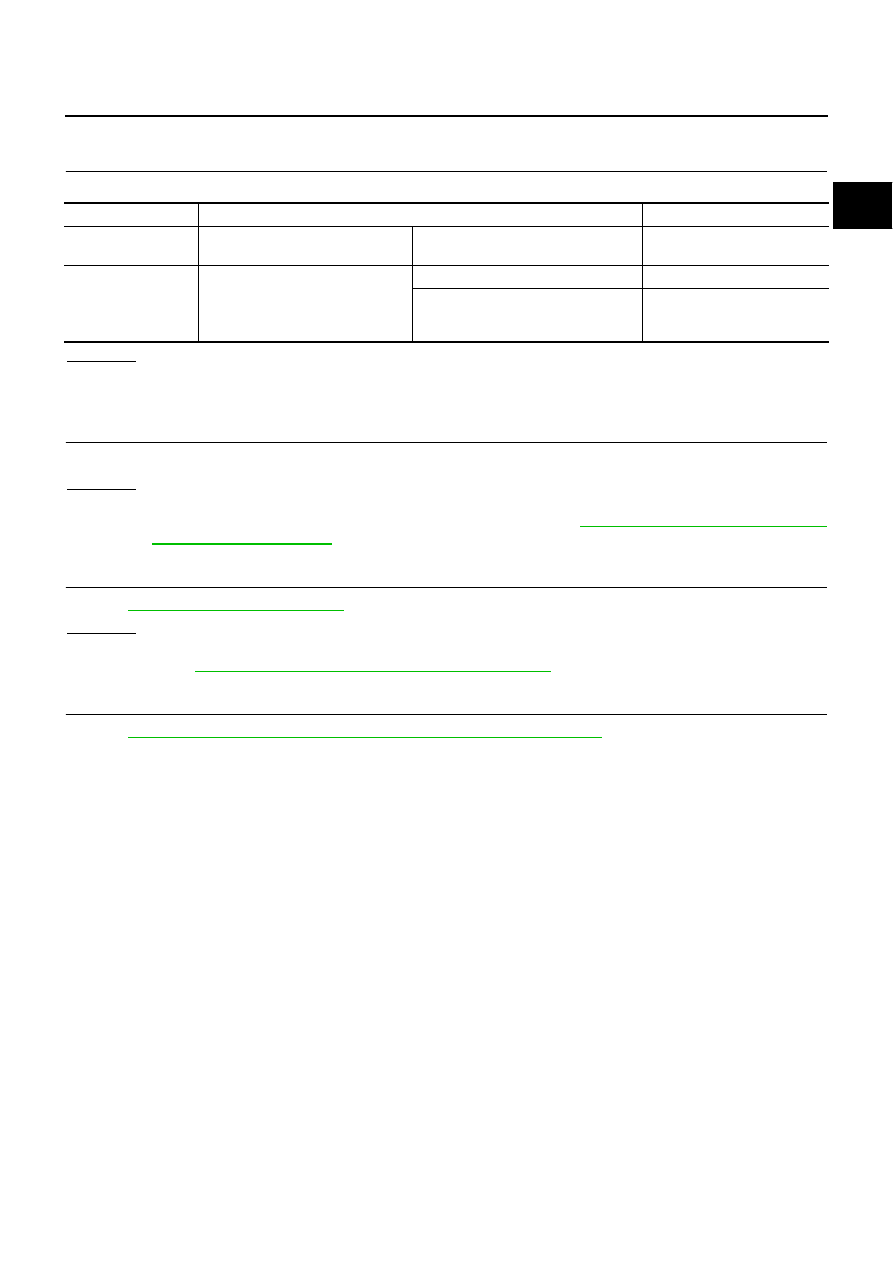
MONITOR ITEM
CONDITION
SPECIFICATION
CRUISE LAMP
●
Ignition switch: ON
MAIN switch: Pressed at the 1st time
→
at the 2nd time
ON
→
OFF
SET LAMP
●
MAIN switch: ON
●
When vehicle speed is between
40 km/h (25 MPH) and 144 km/h
(89 MPH)
ASCD: Operating
ON
ASCD: Not operating
OFF