Nissan Murano Z50 (2004 year). Manual - part 61
TROUBLE DIAGNOSIS FOR SYMPTOMS
CVT-195
D
E
F
G
H
I
J
K
L
M
A
B
CVT
Revision: 2004 November
2004 Murano
Vehicle Does Not Creep Forward in “D”, “S” or “L” Position
ACS004MQ
SYMPTOM:
Vehicle does not creep forward when selecting “D”, “S”*, or “L”* position.
*: Without manual mode
DIAGNOSTIC PROCEDURE
1.
CHECK SELF-DIAGNOSTIC RESULTS
Perform self-diagnosis. Refer to
CVT-62, "SELF-DIAGNOSTIC RESULT MODE"
.
Is any malfunction detected by self-diagnostic?
YES
>> Check the malfunctioning system.
NO
>> GO TO 2.
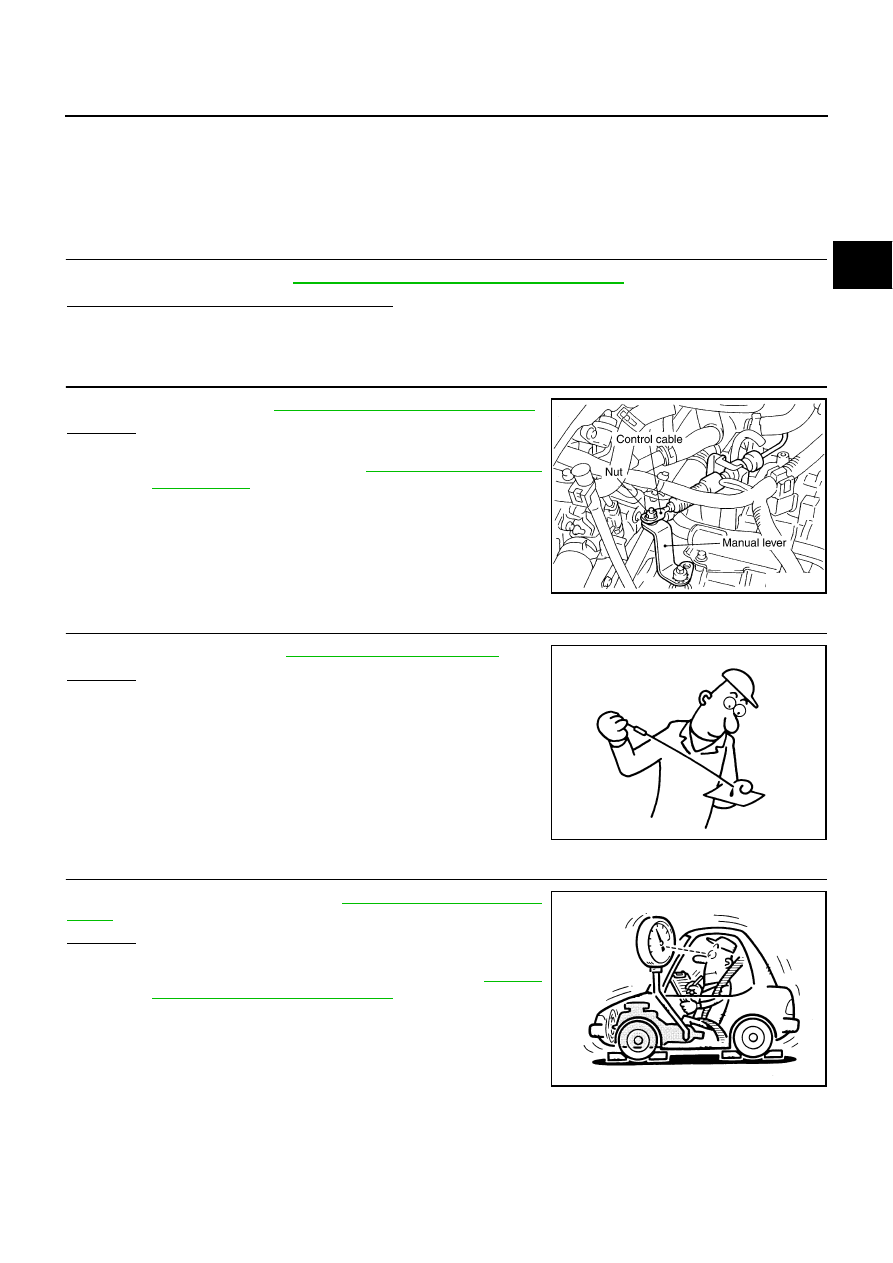
2.
CHECK CONTROL CABLE
Check control cable. Refer to
CVT-209, "Checking of CVT Position"
OK or NG
OK
>> GO TO 3.
NG
>> Adjust control cable. Refer to
.
3.
CHECK CVT FLUID LEVEL
Check CVT fluid level. Refer to
OK or NG
OK
>> GO TO 4.
NG
>> Refill CVT fluid.
4.
CHECK LINE PRESSURE
Check line pressure at idle. Refer to
.
OK or NG
OK
>> GO TO 5.
NG
>> Check the malfunctioning item. Refer to
"Judgement of Line Pressure Test"
.
SCIA2001E
SAT638A
SAT494G