Nissan Murano Z50 (2003 year). Manual - part 276
TF-16
TRANSFER ASSEMBLY
Revision; 2004 April
2003 Murano
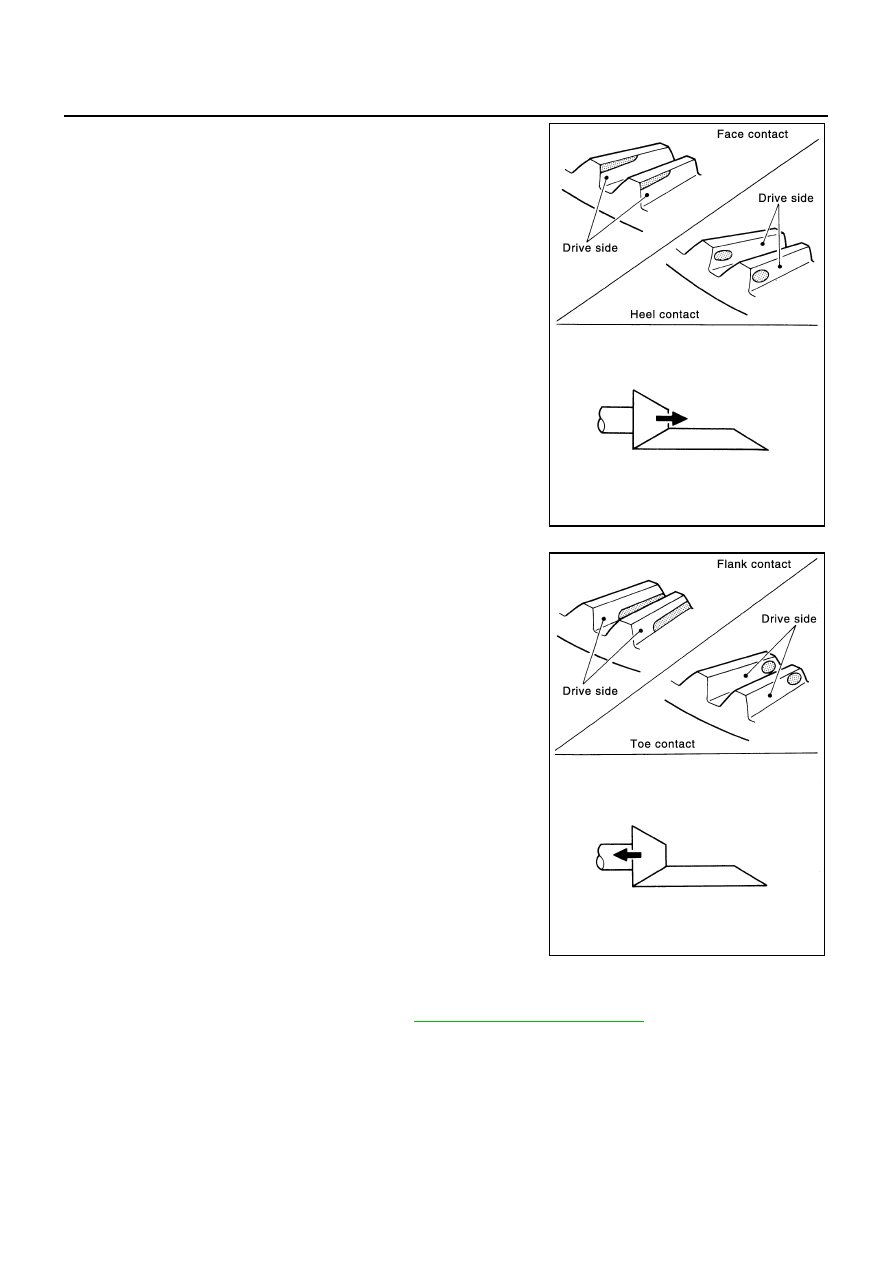
●
If the tooth contact is near the face (face contact), or near the
heal (heel contact), thin the pinion sleeve shims to move the
drive pinion gear closer to the drive gear.
●
If the tooth contact is near the flank (flank contact), or near the
toe (toe contact), thicken the pinion sleeve shims to move the
drive pinion gear farther from the drive gear.
PRELOAD TORQUE
Pinion Bearing Preload Torque
1.
Remove the pinion sleeve assembly. Refer to
TF-18, "Pinion Sleeve Assembly"
2.
Rotate the companion flange back and forth 2 to 3 times. Check for unusual noise, rotation malfunction,
and other malfunctions.
3.
Rotate the companion flange at least 20 times to check for smooth operation of the bearing.
SDIA0518E
SDIA0519E