Nissan Murano Z51 (2008 year). Manual - part 234
A/C AUTO AMP.
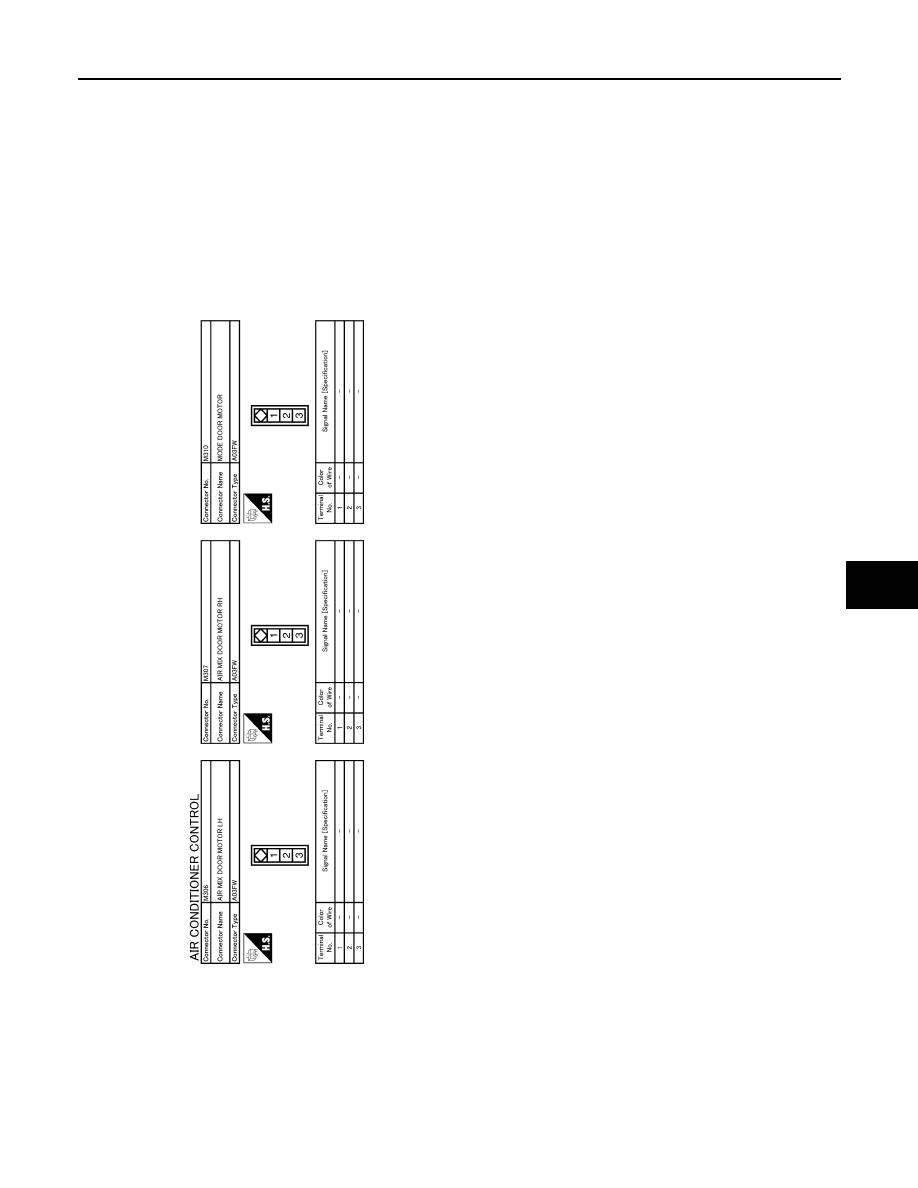
HAC-219
< ECU DIAGNOSIS >
[WITH 7 INCH DISPLAY]
C
D
E
F
G
H
J
K
L
M
A
B
HAC
N
O
P
Fail-Safe
INFOID:0000000003469362
FAIL-SAFE FUNCTION
• If a communication error exists between the A/C auto amp., and the AV control unit and preset switch for 30
seconds or longer, air conditioner is controlled under the following conditions:
JCIWM0367GB
Revision: 2008 October
2009 Murano