Mazda CX-9 Grand Touring. Manual - part 573
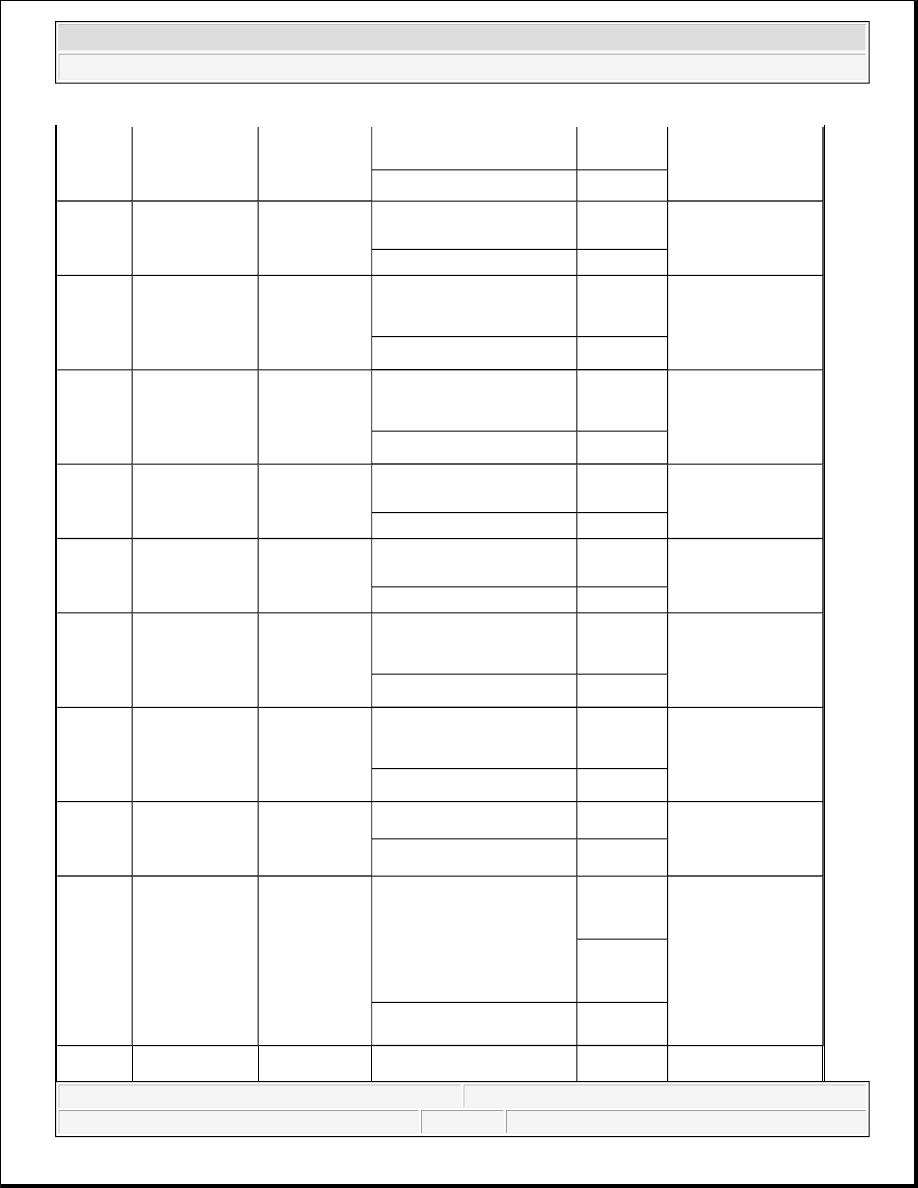
3A
Slide motor
output (forward)
Slide motor
While slide motor is
moving to forward
B+
Slide motor
Related wiring
harness
Other
1.0 or less
3B
Slide motor
output
(backward)
Slide motor
While slide motor is
moving to backward
B+
Slide motor
Related wiring
harness
Other
1.0 or less
3C
Front tilt motor
output (up)
Front tilt
motor
While front tilt motor is
moving to up
B+
Front tilt
motor
Related wiring
harness
Other
1.0 or less
3D
Front tilt motor
output (down)
Front tilt
motor
While front tilt motor is
moving to down
B+
Front tilt
motor
Related wiring
harness
Other
1.0 or less
3E
Rear tilt motor
output (up)
Rear tilt motor
While rear tilt motor is
moving to up
B+
Rear tilt motor
Related wiring
harness
Other
1.0 or less
3F
Rear tilt motor
output (down)
Rear tilt motor
While rear tilt motor is
moving to down
B+
Rear tilt motor
Related wiring
harness
Other
1.0 or less
3G
Recliner motor
output (forward)
Recliner motor
While recliner motor is
moving to forward
B+
Recliner
motor
Related wiring
harness
Other
1.0 or less
3H
Recliner motor
output
(backward)
Recliner motor
While recliner motor is
moving to backward
B+
Recliner
motor
Related wiring
harness
Other
1.0 or less
3I
Slide motor
power supply
Slide motor
Slide motor moving
B+
Slide motor
Related wiring
harnesses
Slide motor stopped
1.0 or less
3J
Slide motor
pulse
Slide motor
Measure the waveform
while driving motor
operation using the
oscilloscope.
High
output: 4.8
or more
Slide motor
Related wiring
harnesses
Low
output: 1.0
or less
Slide motor stopped
1.0 or less
or 5.0
Front tilt motor moving
B+
Front tilt
2008 Mazda CX-9 Grand Touring
2008 BODY & ACCESSORIES Seats - Mazda CX-9
Microsoft
Sunday, November 15, 2009 10:40:01 AM
Page 22
© 2005 Mitchell Repair Information Company, LLC.