Mazda CX-9 Grand Touring. Manual - part 53
 

  Index      Mazda     Mazda CX-9 Grand Touring - service repair manual 2008 year


Search            


Content   ..  51  52  53  54   ..


Mazda CX-9 Grand Touring. Manual - part 53


Fig. 89: Removing Snap Ring From C3 Clutch Drum 
Courtesy of MAZDA MOTORS CORP. 

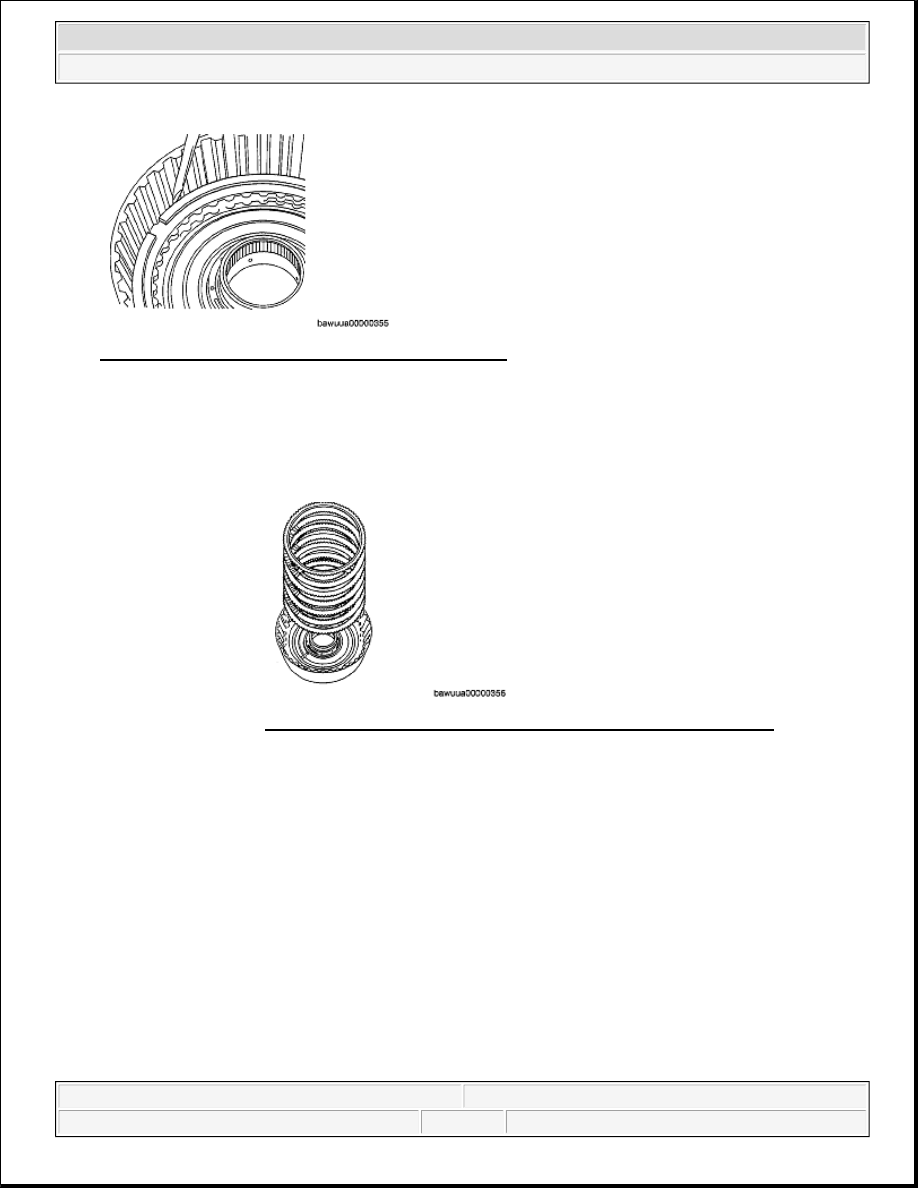
2. Remove the retaining plate, drive and driven plates from the C3 clutch drum. 

3. Place the SST on the clutch balancer and compress the return spring with a press. 

4. Remove the snap ring using snap ring pliers. 

NOTE:

Inspect the number of drive and driven plates. 

Fig. 90: Identifying Retaining Plate, Drive And Driven Plates
Courtesy of MAZDA MOTORS CORP. 

CAUTION:

Be careful not to expand the snap ring too much. 

CAUTION:

Do not damage the seal on the clutch balancer. 


2008 Mazda CX-9 Grand Touring 

2005-08 TRANSMISSION Automatic Transaxle Overhaul (AW6A-EL) - CX-7, CX-9 & Mazda 6


Microsoft 


Sunday, November 15, 2009 10:28:16 AM

Page 46 

© 2005 Mitchell Repair Information Company, LLC. 

5. Remove the clutch balancer, return spring and the retainer from the C3 clutch drum. 

Fig. 92: Identifying Clutch Balancer, Return Spring And Retainer 
Courtesy of MAZDA MOTORS CORP. 

6. While pushing the C3 clutch piston by hand, apply compressed air into the oil passage as shown in the 

figure and remove the C3 clutch piston from the C3 clutch drum. 

Air pressure 392 kPa {4.0 kgf/cm

2

 , 57 psi} 


Fig. 91: Placing SST On Clutch Balancer 
Courtesy of MAZDA MOTORS CORP. 

NOTE:

When applying compressed air, shut the 3 oil passages of the C3 
clutch drum as shown in the figure. 


2008 Mazda CX-9 Grand Touring 

2005-08 TRANSMISSION Automatic Transaxle Overhaul (AW6A-EL) - CX-7, CX-9 & Mazda 6


Microsoft 


Sunday, November 15, 2009 10:28:16 AM

Page 47 

© 2005 Mitchell Repair Information Company, LLC. 

7. Remove the O-rings from the C3 clutch drum. 

Fig. 94: Identifying O-Rings Of C3 Clutch Drum 
Courtesy of MAZDA MOTORS CORP. 

C3 CLUTCH INSPECTION 

1. Inspect the lining of all drive plates. 

If the lining is flaking or has changed color, or if it is worn or the print mark is wearing away, 
replace with a new drive plate. When replacing, inspect the contact surfaces between the retaining 
plate, driven plate and drive plate. If they are scratched or have changed color, replace with new 
parts.  

Fig. 93: Applying Compressed Air Into Oil Passage 
Courtesy of MAZDA MOTORS CORP. 

NOTE:

Before replacing with new drive plates, soak them at least 2 h in ATF. 


2008 Mazda CX-9 Grand Touring 

2005-08 TRANSMISSION Automatic Transaxle Overhaul (AW6A-EL) - CX-7, CX-9 & Mazda 6


Microsoft 


Sunday, November 15, 2009 10:28:16 AM

Page 48 

© 2005 Mitchell Repair Information Company, LLC. 

2. Using vernier calipers, measure the free length of the piston return spring. 

C3 clutch return spring free length Standard: 12.91 mm {0.5083 in}  

If it is less than the specification, replace the piston return spring with a new one. 

Fig. 96: Measuring Free Length Of Piston Return Spring 
Courtesy of MAZDA MOTORS CORP. 

C3 CLUTCH COMPONENT ASSEMBLY 

Components 

Fig. 95: Inspecting Lining Of All Drive Plates 
Courtesy of MAZDA MOTORS CORP. 


2008 Mazda CX-9 Grand Touring 

2005-08 TRANSMISSION Automatic Transaxle Overhaul (AW6A-EL) - CX-7, CX-9 & Mazda 6


Microsoft 


Sunday, November 15, 2009 10:28:16 AM

Page 49 

© 2005 Mitchell Repair Information Company, LLC. 


Content   ..  51  52  53  54   ..