Mazda CX 7. Manual - part 415
INTERIOR TRIM
09-17–25
09-17
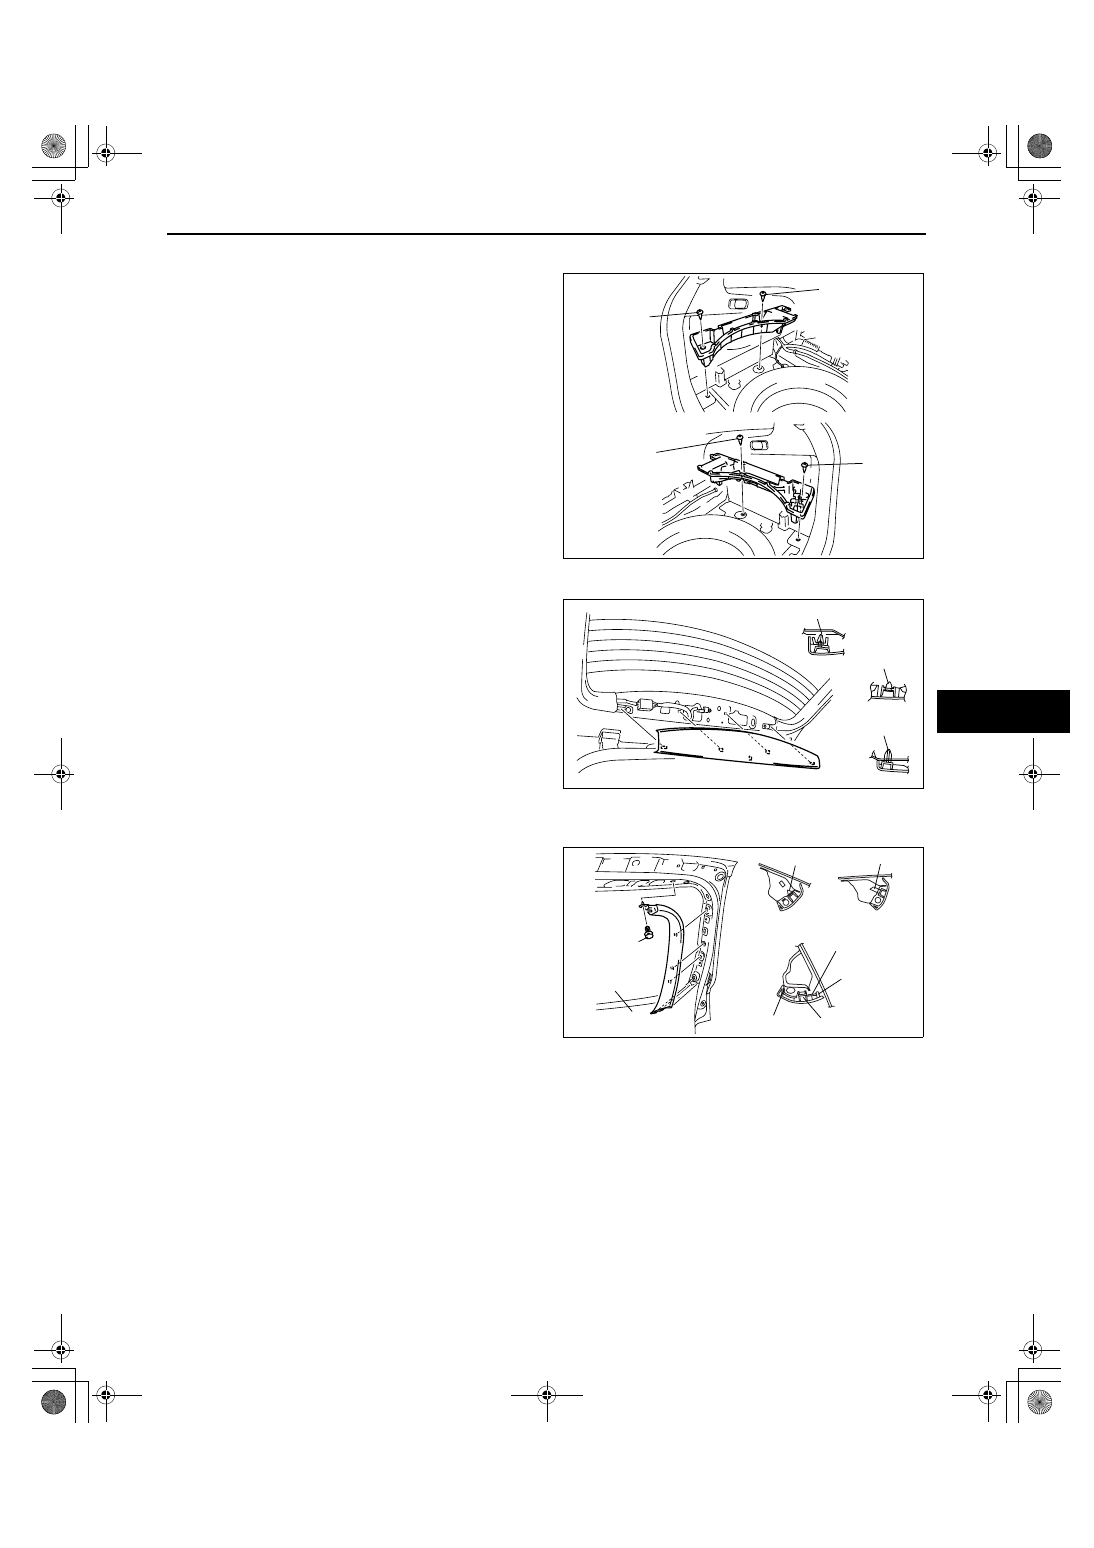
SUB TRUNK BOX REMOVAL/INSTALLATION
id091700805200
1. Remove the screws.
2. Remove the sub trunk box.
3. Install in the reverse order of removal.
End Of Sie
WM: LIFTGATE TRIM
LIFTGATE UPPER TRIM REMOVAL/INSTALLATION
id091700803600
1. Pull the liftgate upper trim and detach clips A and
B, pin C.
2. Remove the liftgate upper trim.
3. Install in the reverse order of removal.
End Of Sie
LIFTGATE SIDE TRIM REMOVAL/INSTALLATION
id091700803700
1. Remove the liftgate upper trim. (See 09-17-25 LIFTGATE UPPER TRIM REMOVAL/INSTALLATION.)
2. Remove the fastener.
3. Pull the liftgate side trim toward you, then
disengage the clip A and pin B from the body.
4. Remove the tab C, E and clip D.
5. Remove the liftgate side trim.
6. Install in the reverse order of removal.
End Of Sie
SCREW
SCREW
SCREW
LH
RH
SCREW
acxuuw00000921
A
A
CLIP A
CLIP B
PIN C
B
B
C
acxuuw00000868
CLIP A
CLIP D
TAB E
TAB C
FASTENER
LIFTGATE
LOWER
TRIM
LIFTGATE LOWER
TRIM
PIN B
A
A
B
C D
E
acxuuw00000869