Mazda CX 7. Manual - part 112
COOLING SYSTEM [L3 WITH TC]
01-12–3
01-12
ENGINE COOLANT LEVEL INSPECTION[L3 WITH TC]
id011239800300
Warning
• Never remove the cooling system cap or loosen the radiator drain plug while the engine is
running, or when the engine and radiator are hot. Scalding engine coolant and steam may shoot
out and cause serious injury. It may also damage the engine and cooling system.
• Turn off the engine and wait until it is cool. Even then, be very careful when removing the cap.
Wrap a thick cloth around it and slowly turn it counterclockwise to the first stop. Step back while
the pressure escapes.
• When you are sure all the pressure is gone, press down on the cap using the cloth, turn it, and
remove it.
Note
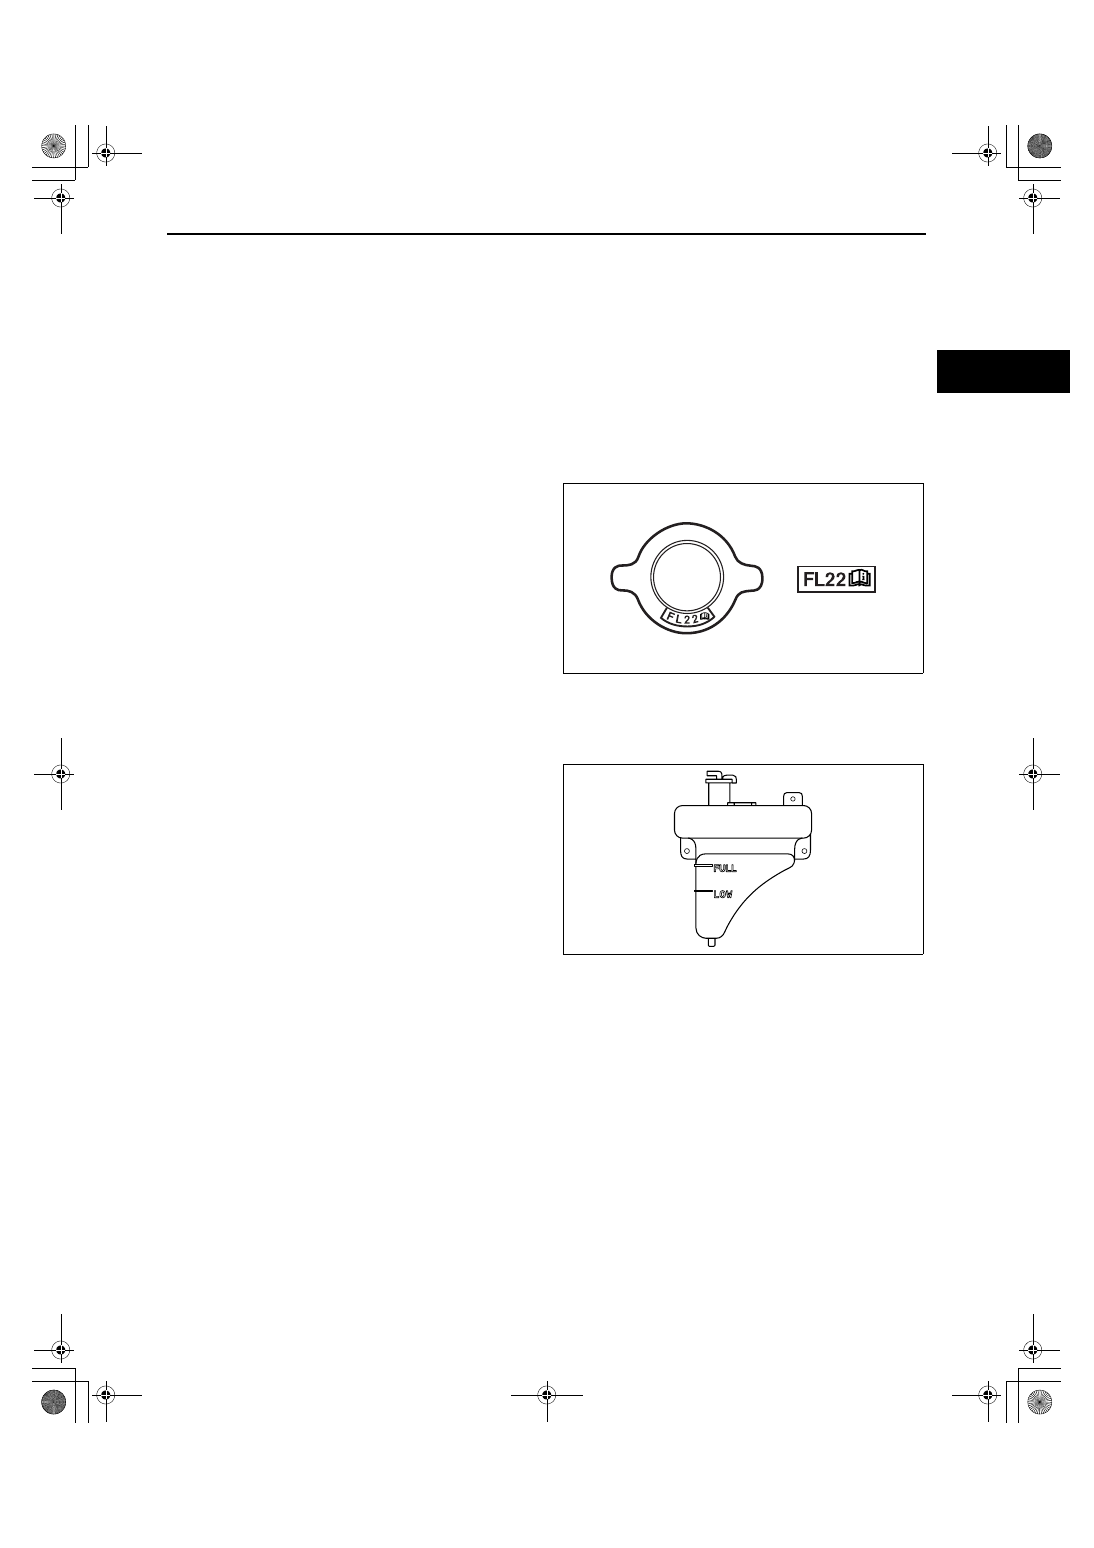
• If the “FL22” mark is shown on or near the cooling system cap, use FL22 type engine coolant.
• FL22 type engine coolant is shipped as a
diluted solution (55% coolant, 45% water).
Use the solution as is when replacing
coolant.
1. Remove the cooling system cap.
2. Verify that the engine coolant is filled close to the top of the radiator filler neck.
• If the engine coolant level is low, add engine coolant.
3. Verify that the engine coolant level in the coolant
reserve tank is between the FULL and LOW
marks.
• If the engine coolant level is below the LOW
mark, add engine coolant.
End Of Sie
acxuuw00002056
acxuuw00002057
1871-1U-06B(01-12).fm 3 ページ 2006年3月15日 水曜日 午前10時43分