Range Rover Body Repair Manual - part 39
CHASSIS AND BODY
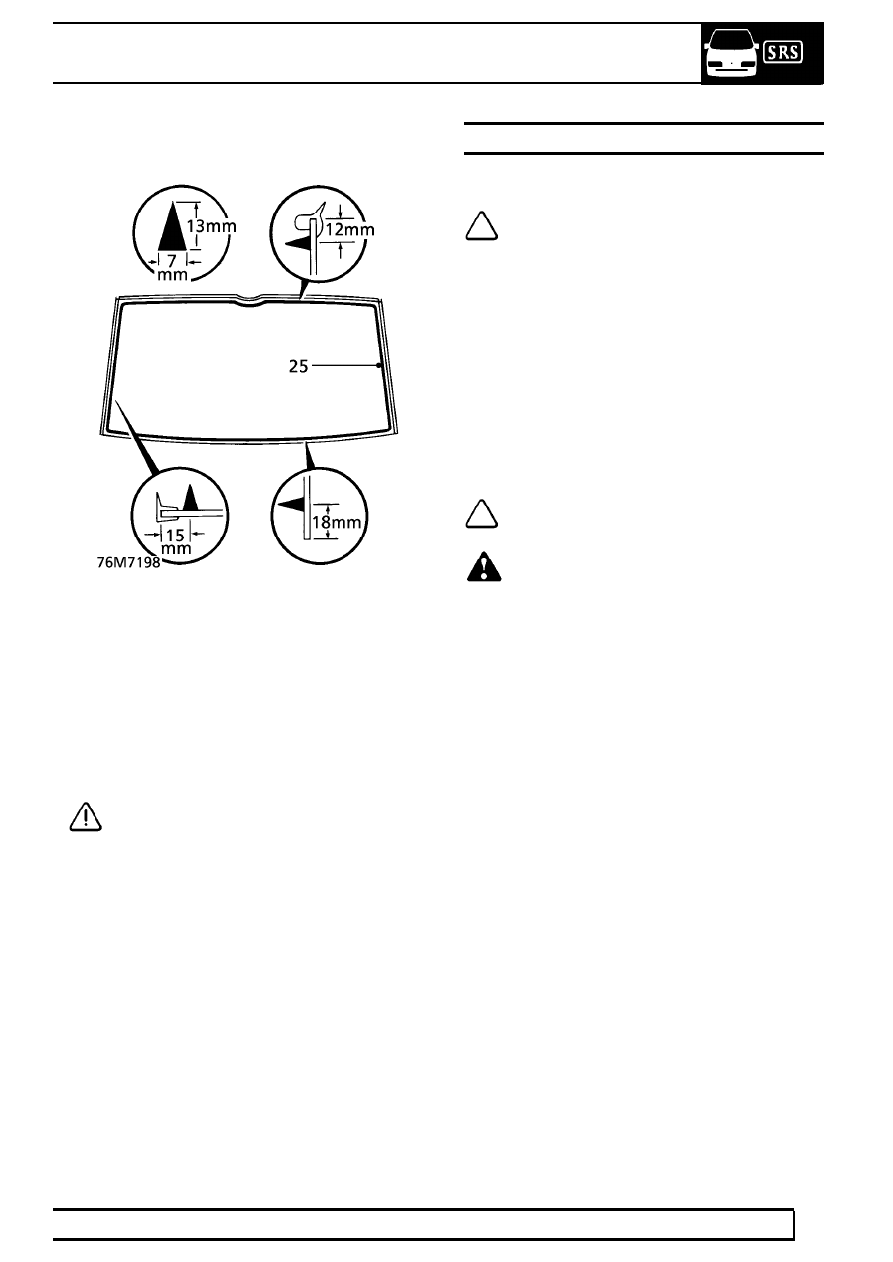
81
REPAIR
25. Apply a continuous bead of sealer to backlight
as shown.
26. Original glass:Apply 3mm bead of sealer to
channels of side finishers and fit to backlight.
27. Fit suction lifters to glass.
28. With assistance, fit glass and centralize to
previously made tape markings. Set glass to
correct depth.
29. Connect screen heater.
30. Remove reference and protective tapes.
31. Position lower finisher and secure to clips.
32. Fit interior trim to tailgate,
See this section.
CAUTION: A curing time of 6 hours is
recommended. During this time, leave the
windows open and DO NOT slam the
doors.
REAR QUARTER LIGHT
Service repair no - 76.81.20
NOTE: The following equipment is
required:
Masking tape.
Sharp knife.
Cutting wire and handles, or a reciprocatig
blade, powered cutting knife*.
Suction Lifters.
Windscreen repair kit.
Sealer applicator gun.
*A reciprocating blade cutting tool, such as ’FEIN
Special Cutter’ is recommended for this operation. A
flat blade, with an effective length of at least 25mm
and a ’U’ shaped blade of at least 30mm is required.
NOTE: New rear quarter glass is supplied
with exterior trim fitted.
WARNING: Wear protective gloves when
handling glass, solvents and primers.
Remove
1. Remove parcel tray support,
See this section.
2. Remove both ’E’ post trims,
See this section.
3. Remove relevant ’B’ post upper trim,
See this
section.
4. Remove relevant side interior lamp assembly,
See ELECTRICAL, Repair.
5. Remove relevant grab handle,
See this
section.
6. Remove relevant exterior ’E’ post finisher,
See
this section.