Range Rover. Manual - part 282
HEATING AND VENTILATION
1
REPAIR
FACE LEVEL VENTS
Service repair no - 80.15.04 - RH
Service repair no - 80.15.05 - LH
Service repair no - 80.15.63 - Centre
Remove
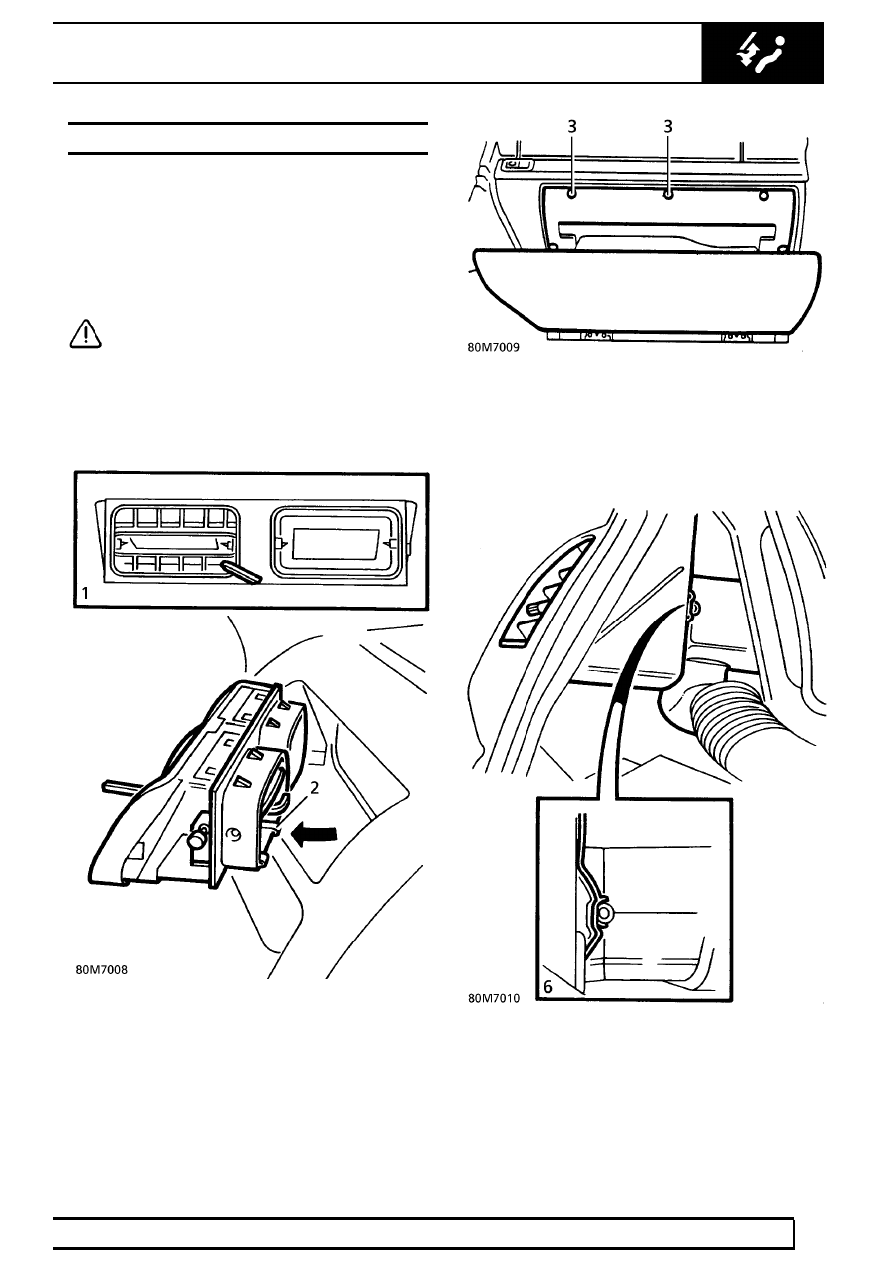
Centre Vent
CAUTION: Use of the following method
may cause damage to the vanes of the
vent. It is not advisable to remove the vent
unless it is to be renewed.
1. Carefully insert a 5 mm Allen key, or similar
hooked tool, through vent as shown.
2. Withdraw central face level vent from fascia.
Side Vents
3. Passenger side. Open glove box. Remove 5
screws securing glove box liner to fascia and
lower glove box for access to rear of vent.
4. Drivers side. Remove fascia closing panel for
access to rear of vent.
See CHASSIS AND
BODY, Repair.
5. Drivers side. Remove lap vent elbow and tube.
6. Remove clip securing vent to fascia. Release
vent from fascia. Remove vent.
Refit
7. Reverse removal procedure.