Frelander 2. Manual - part 111
Rear Disc Brake - Brake Disc
Removal and Installation
Removal
• NOTE: If the parking brake shoes or the brake discs have been removed for access to other components then DO NOT
carry out the bedding in procedure.
1.
WARNING: Make sure to support the vehicle with axle
stands.
Raise and support the vehicle.
1.
Remove the wheels and tires.
Refer to:
Wheel and Tire
(204-04 W heels and Tires, Removal and
Installation).
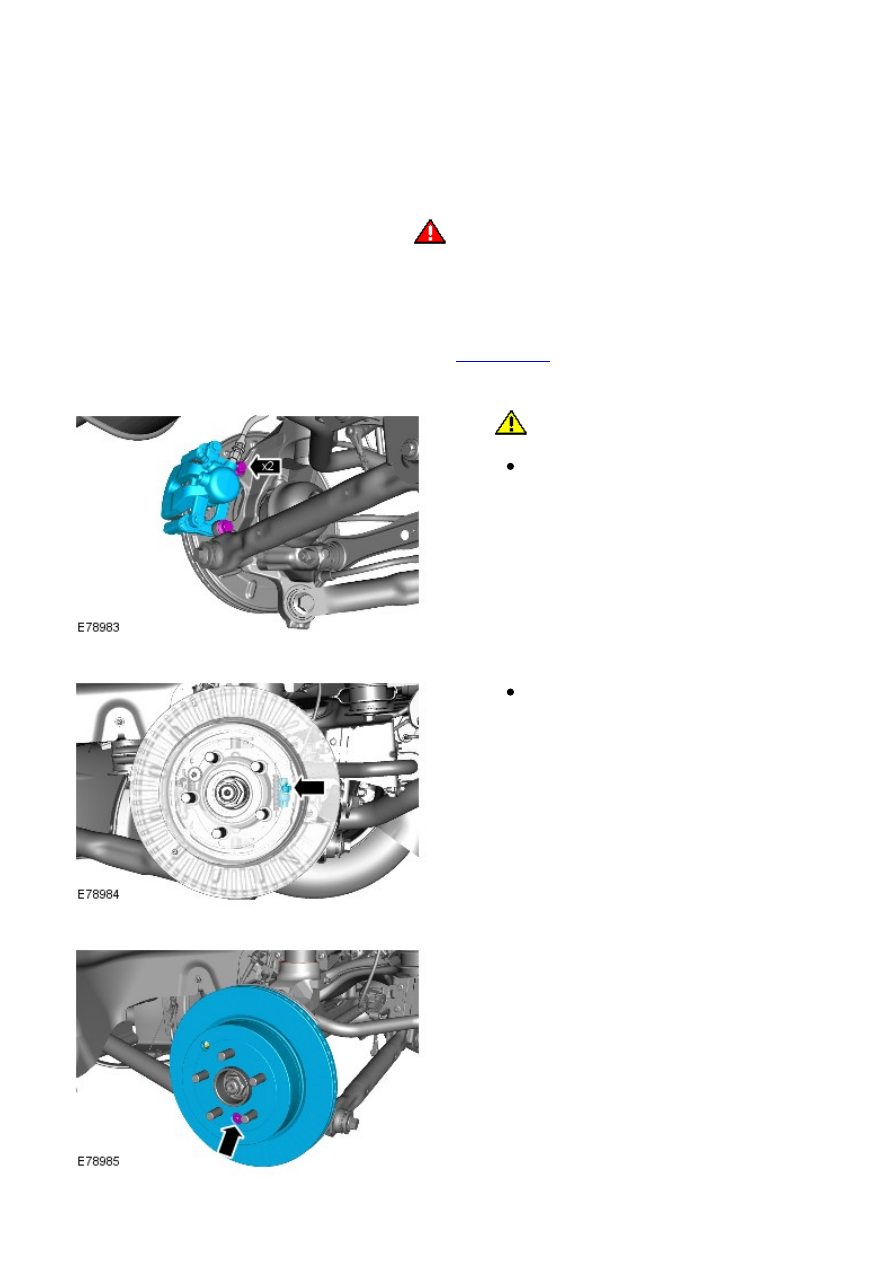
2.
3.
CAUTION: Make sure that no load is placed on
the brake hose.
Tie the brake caliper and anchor aside.
3.
Release the park brake shoe adjustment.
4.
5.