Freelander Body Repair Manual - part 70
PANEL REPAIRS
REPAIRS
15
Repair
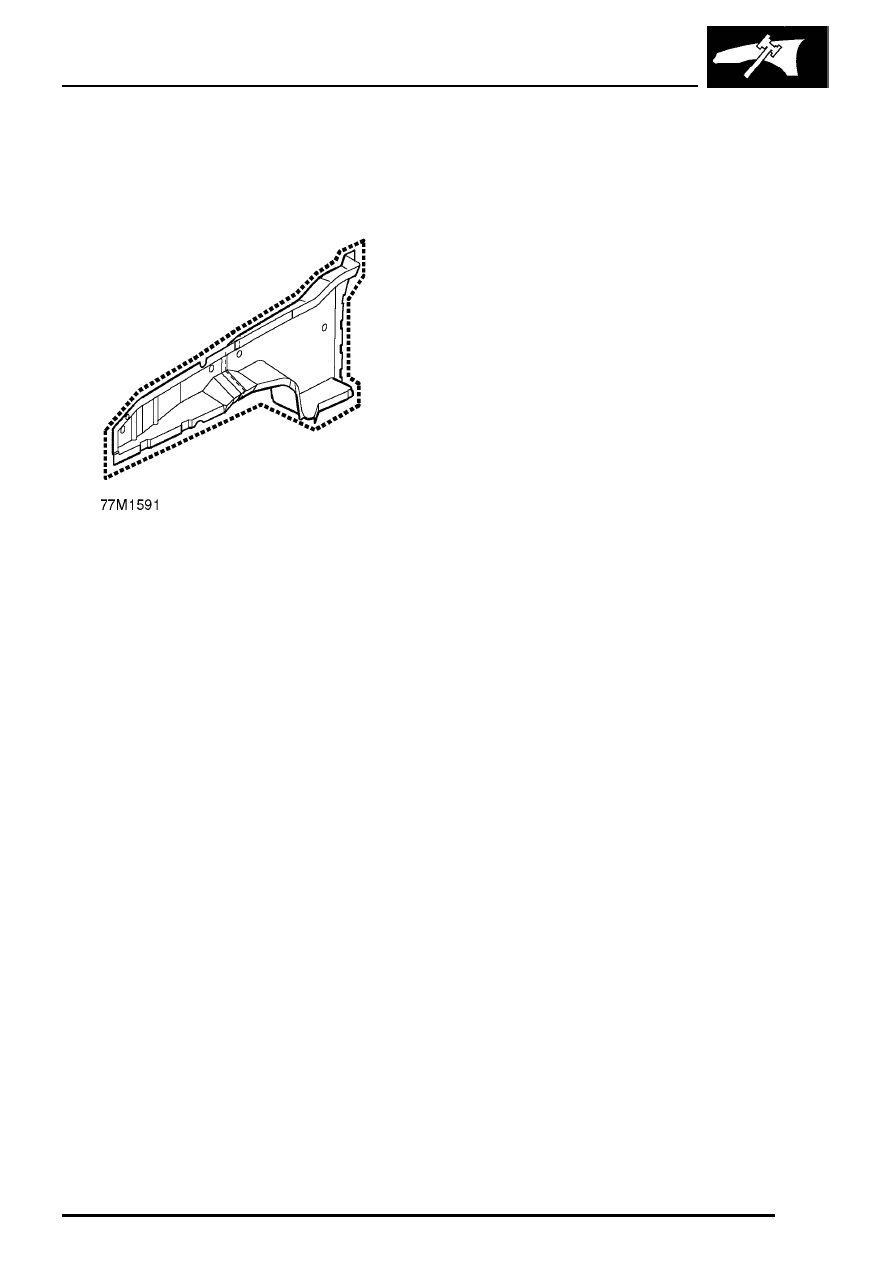
1. Remove existing panel(s), prepare panel joint
faces and install new panel(s) in accordance
with Panel Replacement Procedure. Punch or
drill holes in new panel for plug welding as
shown.
Refit
For LH side
1. Fit engine compartment fuse box and related
wiring.
2. Fit battery carrier.
See ELECTRICAL,
Repairs.
3. Fit relay module.
See ELECTRICAL, Repairs.
4. Fit ECM.
5. Fit tool kit.
6. Fit battery. Do not connect earth lead.
See
ELECTRICAL, Repairs.
For RH side
7. Fit PAS fluid reservoir.
See STEERING,
Repairs.
8. Fit brake pipes to valance. Bleed brakes.
See
BRAKES, Adjustments.
For both sides
9. Secure wiring to valance.
10. Fit headlamp.
See ELECTRICAL, Repairs.
11. Fit front bumper valance.
See BODY, Exterior
fittings.
12. Fit front wing.
See BODY, Exterior fittings.
13. Fit front wheel arch liner.
See BODY, Exterior
fittings.
14. Fit road wheel(s) and tighten nuts to correct
torque.
See INFORMATION, Torque wrench
settings.
15. Connect all ECUs.
16. Connect alternator.
See ELECTRICAL,
Repairs.
17. Connect battery earth lead.