Freelander Body Repair Manual - part 27


  Index      Land Rover     Freelander Body Repair Manual 1998 year


Search            


Content   ..  25  26  27  28   ..


Freelander Body Repair Manual - part 27


BODY

6

DOORS

SEAL - GLASS CHANNEL - REAR DOOR

Service repair no - 76.31.14

Remove

1. Remove rear door glass.

See this section.

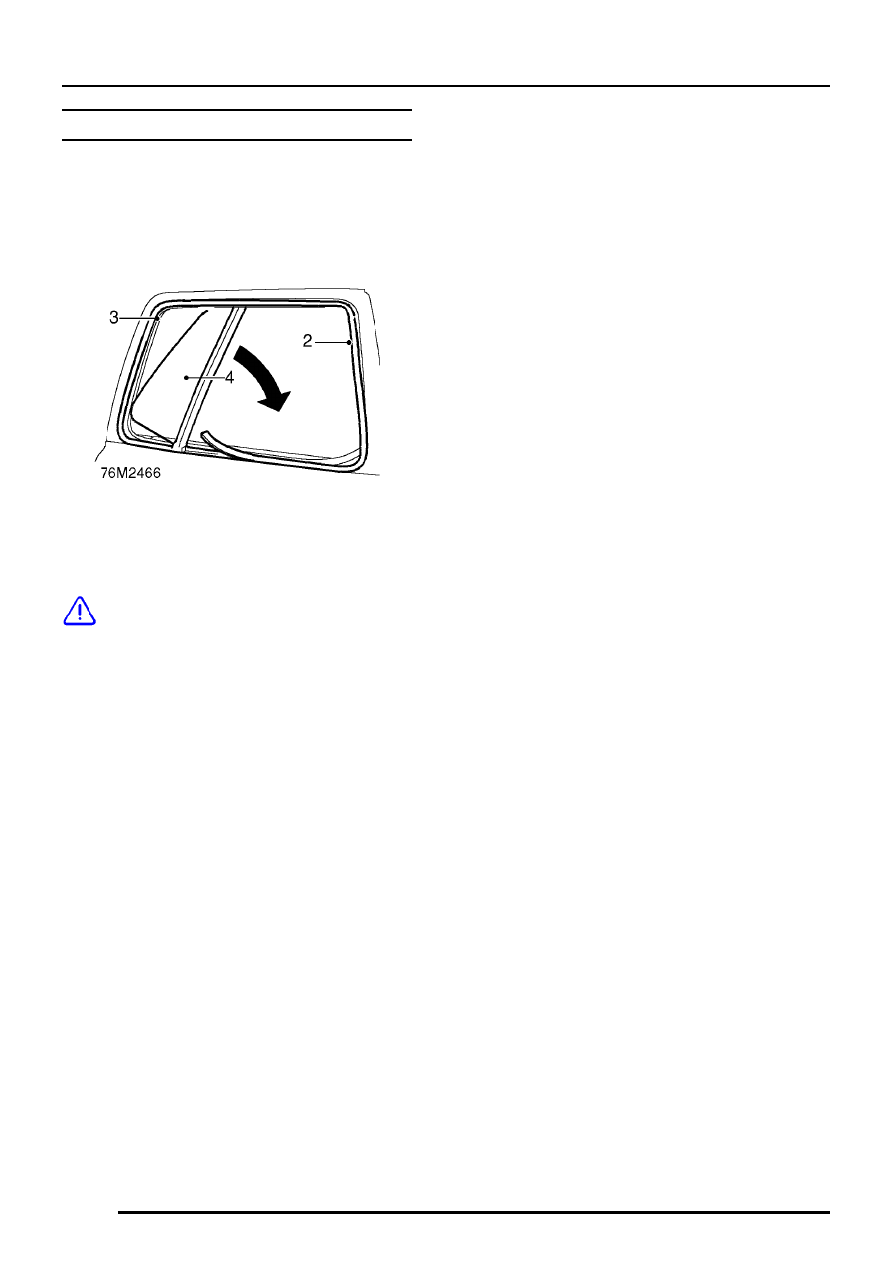
2. Release seal from flange. Remove lower

section first, then the front vertical section,
followed by the top section.

CAUTION: If seal is to be re-used, do not
use excessive force or seal will be
damaged.

3. Release top corner of quarter light from frame.

Rotate quarter light and seal, release rest of
seal from flange and remove quarter light and
seal from door.

4. Remove quarter light from seal.

Refit

1. Fit quarter light to seal.
2. Lubricate seal around quarter light with soft

soap.

3. Position quarter light and seal to flange at

bottom rear corner of window aperture and
rotate into top rear corner. Using dividing bar,
pull quarter light rearwards to locate seal
around quarter light on flange.

4. Starting at top of divider bar, push seal onto

top flange and locate in top front corner.
Ensure radius of seal matches door profile.

5. Ease seal away from front flange and locate

seal in bottom front corner. Ensure radius of
seal at bottom front corner matches profile of
door and that seal is still correctly located in
top front corner, then push seal onto front
flange.

6. Push seal onto bottom flange.
7. Fit rear door glass.

See this section.

BODY

DOORS

7

SCREEN - REAR

Service repair no - 76.31.20

Remove

1. Remove tail door water shedder.

See this

section.

2. Disconnect 2 Lucars from heater element.

3. Lower screen to access clamp bolts.

CAUTION: Remove screen carefully to
avoid damaging element connections.

4. Loosen both clamp bolts, release and remove

rear screen.

BODY

8

DOORS

Refit

CAUTION: Fit screen carefully to avoid
damaging heater element connections.

1. Position screen to door and align in clamps

using timing marks on screen.

2. Ensure glass is fully pushed down in clamp

closest to door hinge, then tighten clamp bolt.
Position screen horizontally by lifting clamp
closest to door latch so that screen heater
element is aligned with waist seal.

3. Tighten clamp bolts to 8 Nm.
4. Raise screen and connect Lucars to screen

heater element.

5. Ensure a 5mm equal gap exists between

screen and both ’E’ post finishers. If required,
adjust screen again using timing marks.

6. Loosen lower adjuster lock nuts.
7. Loosen pre-load screws so screen clears seal.
8. Adjust pre-load screws until screen is just in

contact with seal.

9. Adjust pre-load screws until screen applies a

1mm pre-load on seal.

10. Ensure there is full screen to seal contact.
11. Lower glass and tighten lock nuts to 14 Nm.

CAUTION: Always tighten lock nuts with
the screen lowered.

12. Recheck pre-load.
13. Raise and lower screen to confirm correct

alignment.

14. Fit water shedder.

See this section.

BODY

DOORS

9

QUARTER LIGHT - REAR DOOR

Service repair no - 76.31.31

The procedure for renewing the quarter light is
identical to renewing the rear door glass channel
seal.

See this section.

REGULATOR - REAR DOOR GLASS

Service repair no - 76.31.46

Remove

1. Remove water shedder from rear door.

See

this section.

2. Lower glass to access clamp nuts.

3. Loosen 2 nuts securing glass to clamps.
4. Release glass from clamps, raise glass and

secure in position with a suitable wedge.

5. Remove 4 bolts securing regulator to door.
6. Manoeuvre regulator into bottom of door and

remove through aperture.

Refit

1. Position regulator in door and align to bolt

holes, fit and tighten bolts.

2. Remove wedge and lower glass.
3. Locate glass to clamps and tighten clamp nuts

to 8 Nm .

4. Raise and lower glass to ensure correct

operation.

5. Fit water shedder.

See this section.


Content   ..  25  26  27  28   ..