Discovery 2. Manual - part 264
PANEL REPAIRS
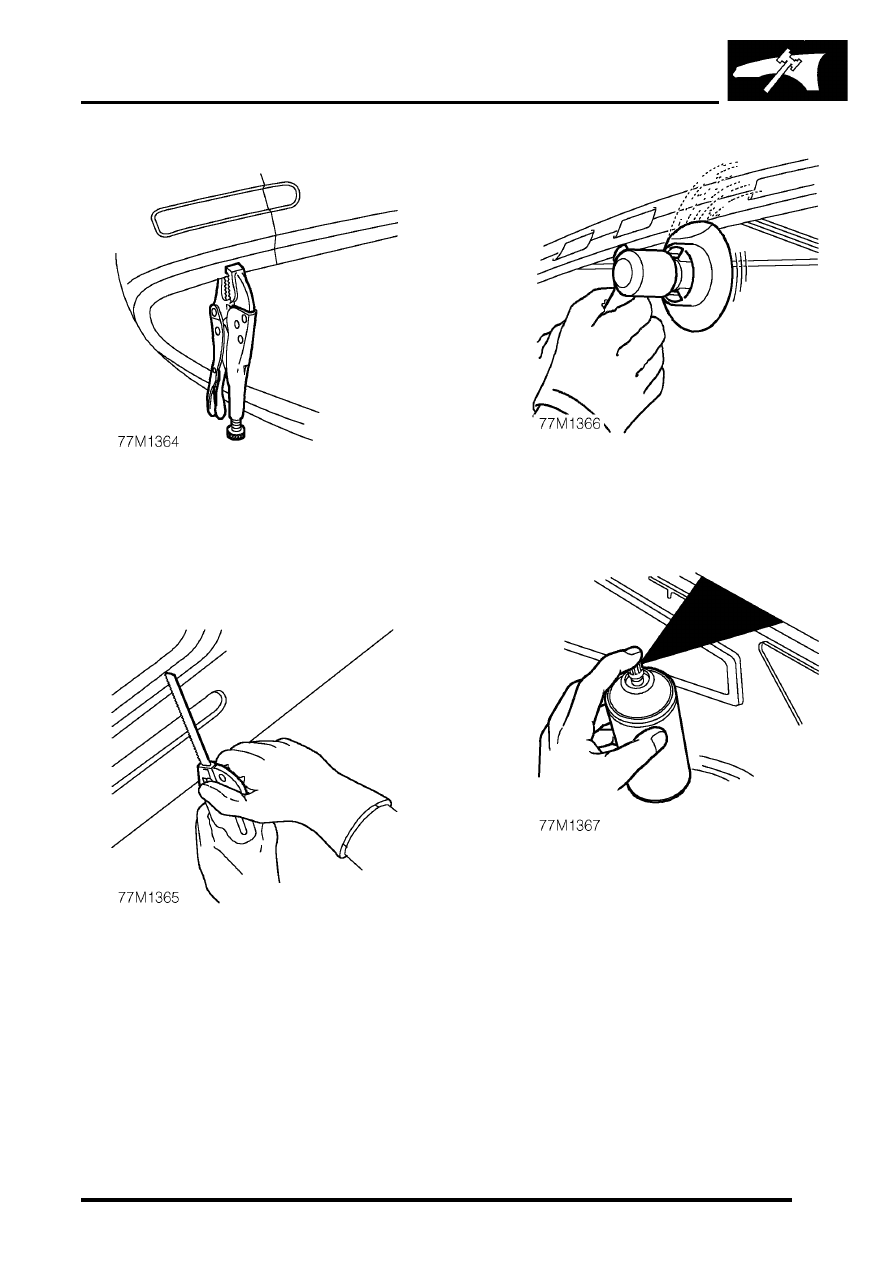
PROCEDURES 77-2-17
Prepare new surfaces
1. Mark out bulk of new panel and trim to size,
leaving approximately 50 mm (1.968 in) overlap
with existing panel. Offer up new panel/section,
align with associated panels (e.g. new body
side panel aligned with door and taildoor).
Clamp into position.
2. Cut new and existing panels as necessary to
form butt, joggle or brace joint as required.
Remove all clamps and metal remnants.
3. Prepare new panel joint edges for welding by
sanding to a bright finish. This must include
inner as well as outer faces.
4. Apply suitable weld-through primer, to panel
joint surfaces to be welded, using brush or
aerosol can.