Discovery 2. Manual - part 28
MAINTENANCE
PROCEDURES
10-17
Manual gearbox
WARNING: Avoid excessive skin contact with
mineral oil. Mineral oils remove the natural fats
from the skin, leading to dryness, irritation and
dermatitis.
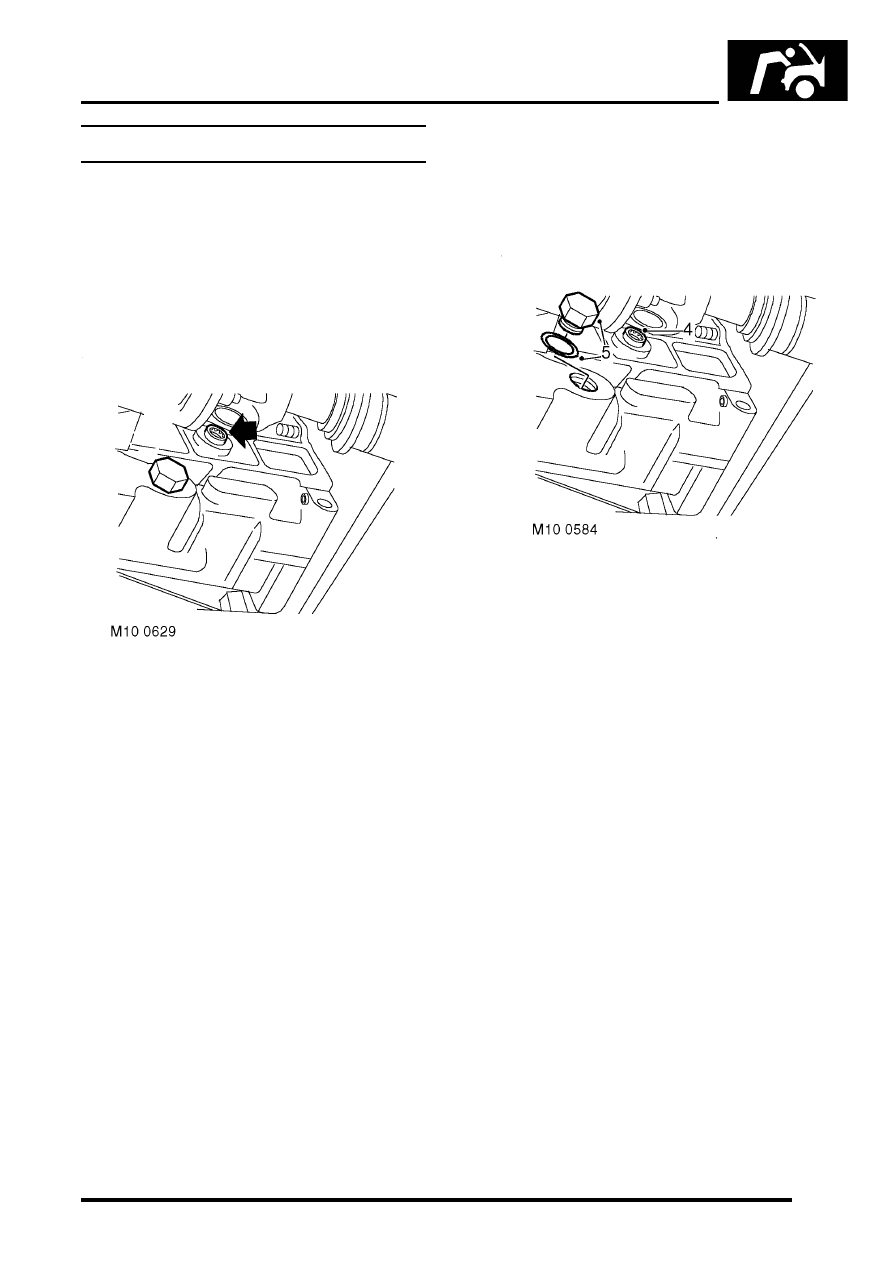
Check/top-up oil level
1. Release fixings, remove rear underbelly panel.
2. Clean area around oil filler/level plug.
3. Remove oil filler/level plug.
4. Check that oil level is to bottom of oil filler/level
plug hole.
5. Top-up level (if required) with recommended oil
to bottom of filler/level plug hole.
LUBRICANTS AND SEALANTS,
Lubrication.
6. Remove all traces of sealant from threads of oil
filler/level plug.
7. Apply Loctite 290 to threads of oil filler/level
plug.
8. Fit manual gearbox filler/level plug and tighten
to 30 Nm (22 lbf.ft).
9. Remove all traces of oil from gearcase.
10. Fit rear underbelly panel, secure fixings.
Replace oil
1. Release fixings, remove rear underbelly panel.
2. Place a suitable container beneath gearbox
drain plug.
3. Clean area around oil filler/level and drain
plugs.
4. Remove oil filler/level plug.
5. Remove oil drain plug, remove and discard
sealing washer.
6. Allow oil to drain.
7. Clean magnet in oil drain plug.
8. Fit new sealing washer to oil drain plug.
9. Fit manual gearbox drain plug and tighten to 50
Nm (37 lbf.ft).
10. Fill gearbox with recommended oil to bottom of
filler/level plug hole.
LUBRICANTS AND SEALANTS,
Lubrication.
11. Remove all traces of sealant from threads of oil
filler/level plug.
12. Apply Loctite 290 to threads of oil filler/level
plug.
13. Fit manual gearbox filler/level plug and tighten
to 30 Nm (22 lbf.ft).
14. Remove all traces of oil from gearcase.
15. Fit rear underbelly panel, secure fixings.