Content .. 1275 1276 1277 1278 ..
Jeep Liberty KJ. Manual - part 1277
CODE
FAMILY NAME
COMMON TRADE NAME
TYPICAL APPLICATION
EPDM
ETHYLENE/
PROPROPYLENE DIENE
MONOMER
EPDM, NORDEL, VISTALON
BUMPERS
EPM
ETHYLENE/
PROPROPYLENE CO-
POLYMER
EPM
FENDERS
MPU
FOAM POLYURETHANE
MPU
SPOILERS
PE
POLYETHYLENE
ALATHON, DYLAN,
LUPOLEN, MARLEX
—
PP
POLYPROPYLENE
(BLENDS)
NORYL, AZDEL, MARLOX,
DYLON, PRAVEX
INNER FENDER, SPOILERS,
KICK PANELS
PP/EPDM
PP/EPDM ALLOY
PP/EPDM
SPOILERS, GRILLES
PUR
POLYURETHANE
COLONELS, PUR, PU
FASCIAS, BUMPERS
PUR/PC
PUR/PC ALLOY
TEXIN
BUMPERS
PVC
POLYVINYL CHLORIDE
APEX, GEON, VINYLITE
BODY MOLDINGS, WIRE
INSULATION, STEERING
WHEELS
RIM
REACTION INJECTED
MOLDED POLYURETHANE
RIM, BAYFLEX
FRONT FASCIAS, MODULAR
WINDOWS
RRIM
REINFORCED REACTION
INJECTED MOLDED
PUR, RRIM
FASCIAS, BODY PANELS,
BODY TRIMS
TPE
THERMO POLYETHYLENE
TPE, HYTREL, BEXLOY-V
FASCIAS, BUMPERS,
CLADDINGS
TPO
THERMOPOLYOLEFIN
POLYTROPE, RENFLEX,
SANTOPRENE, VISAFLEX,
ETA, APEX, TPO, SHIELDS,
CLADDINGS
BUMPERS, END CAPS,
TELCAR, RUBBER, STRIPS,
SIGHT, INTERIOR B POST
TPP
THERMO-POLYPROPYLENE
TPP
BUMPERS
TPU
THERMOPOLYURETHANE,
POLYESTER
TPU, HYTREL, TEXIN,
ESTANE
BUMPERS, BODY SIDE,
MOLDINGS, FENDERS,
FASCIAS
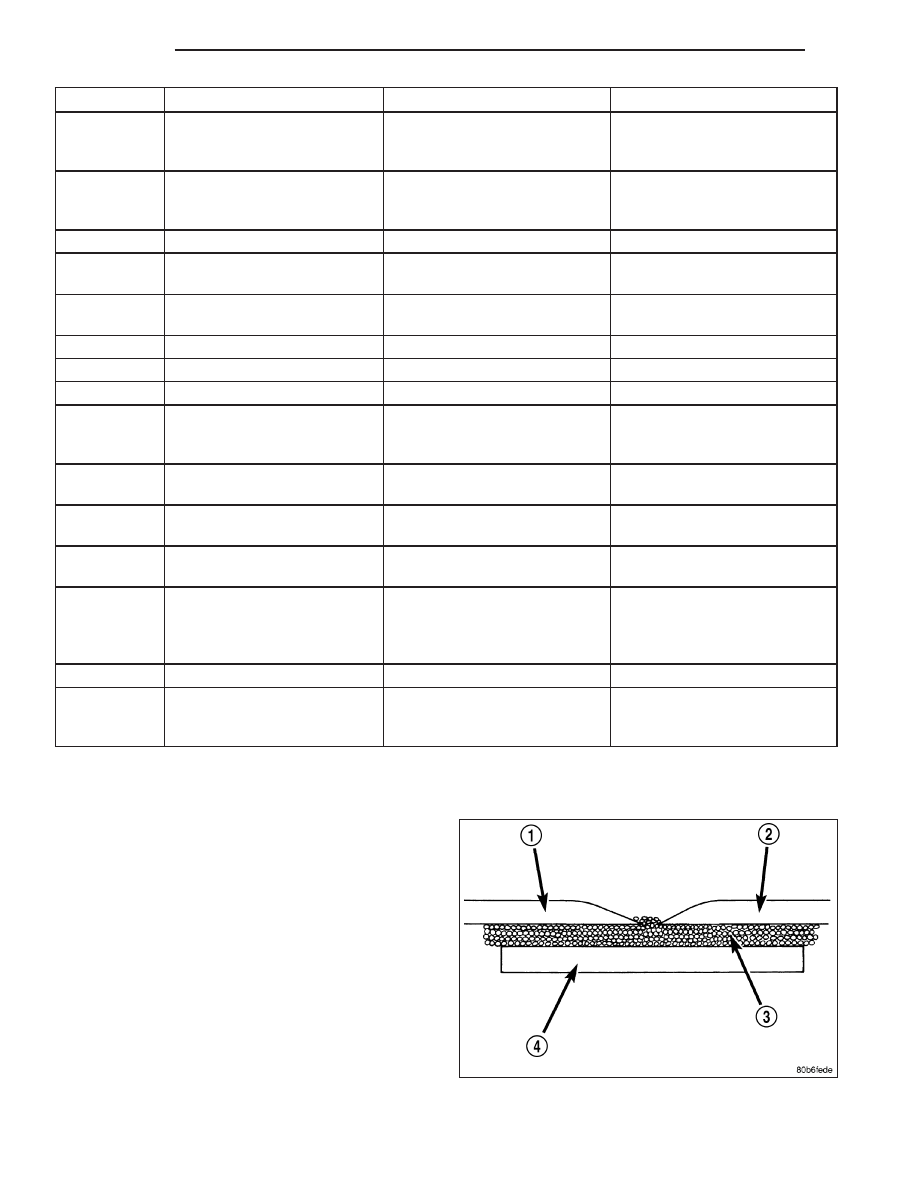
PANEL SECTIONING
If it is required to section a large panel for a plastic
repair, it will be necessary to reinforce the panel. To
bond two plastic panels together, a reinforcement
must overlap both panels. The panels must be “V’d” at
a 20 degree angle. The area to be reinforced should
be washed, then sanded. Be sure to wipe off any
excess soap and water when finished. Lightly sand or
abrade the plastic with an abrasive pad or sandpaper.
Blow off any dust with compressed air or wipe with a
clean dry rag.
When bonding plastic panels, follow repair material
manufacturers recommendations. Be sure that enough
adhesive has been applied to allow squeeze out and
to fill the full bond line. Once the pieces have been
brought together, do not move them until the adhesive
is cured. The assembly can be held together with
clamps, rivets, etc. A faster cure can be obtained by heating with a heat lamp or heat gun. After the parts have been
bonded and have had time to cure, rough sand the seam and apply the final adhesive filler to the area being
23 - 8
BODY
KJ